Hello! Thanks for stopping by! My name is Joshua Matthews and I am a Visual Effects artist with a focus in character effects, lighting, and technical direction. I have been working with CG for around four years and have been learning through my formal education at the Savannah College of Art and Design. While interning at SideFX, I was introduced to CG hair and fur and found that the Houdini tools are extremely powerful for producing procedural and art directed hair.
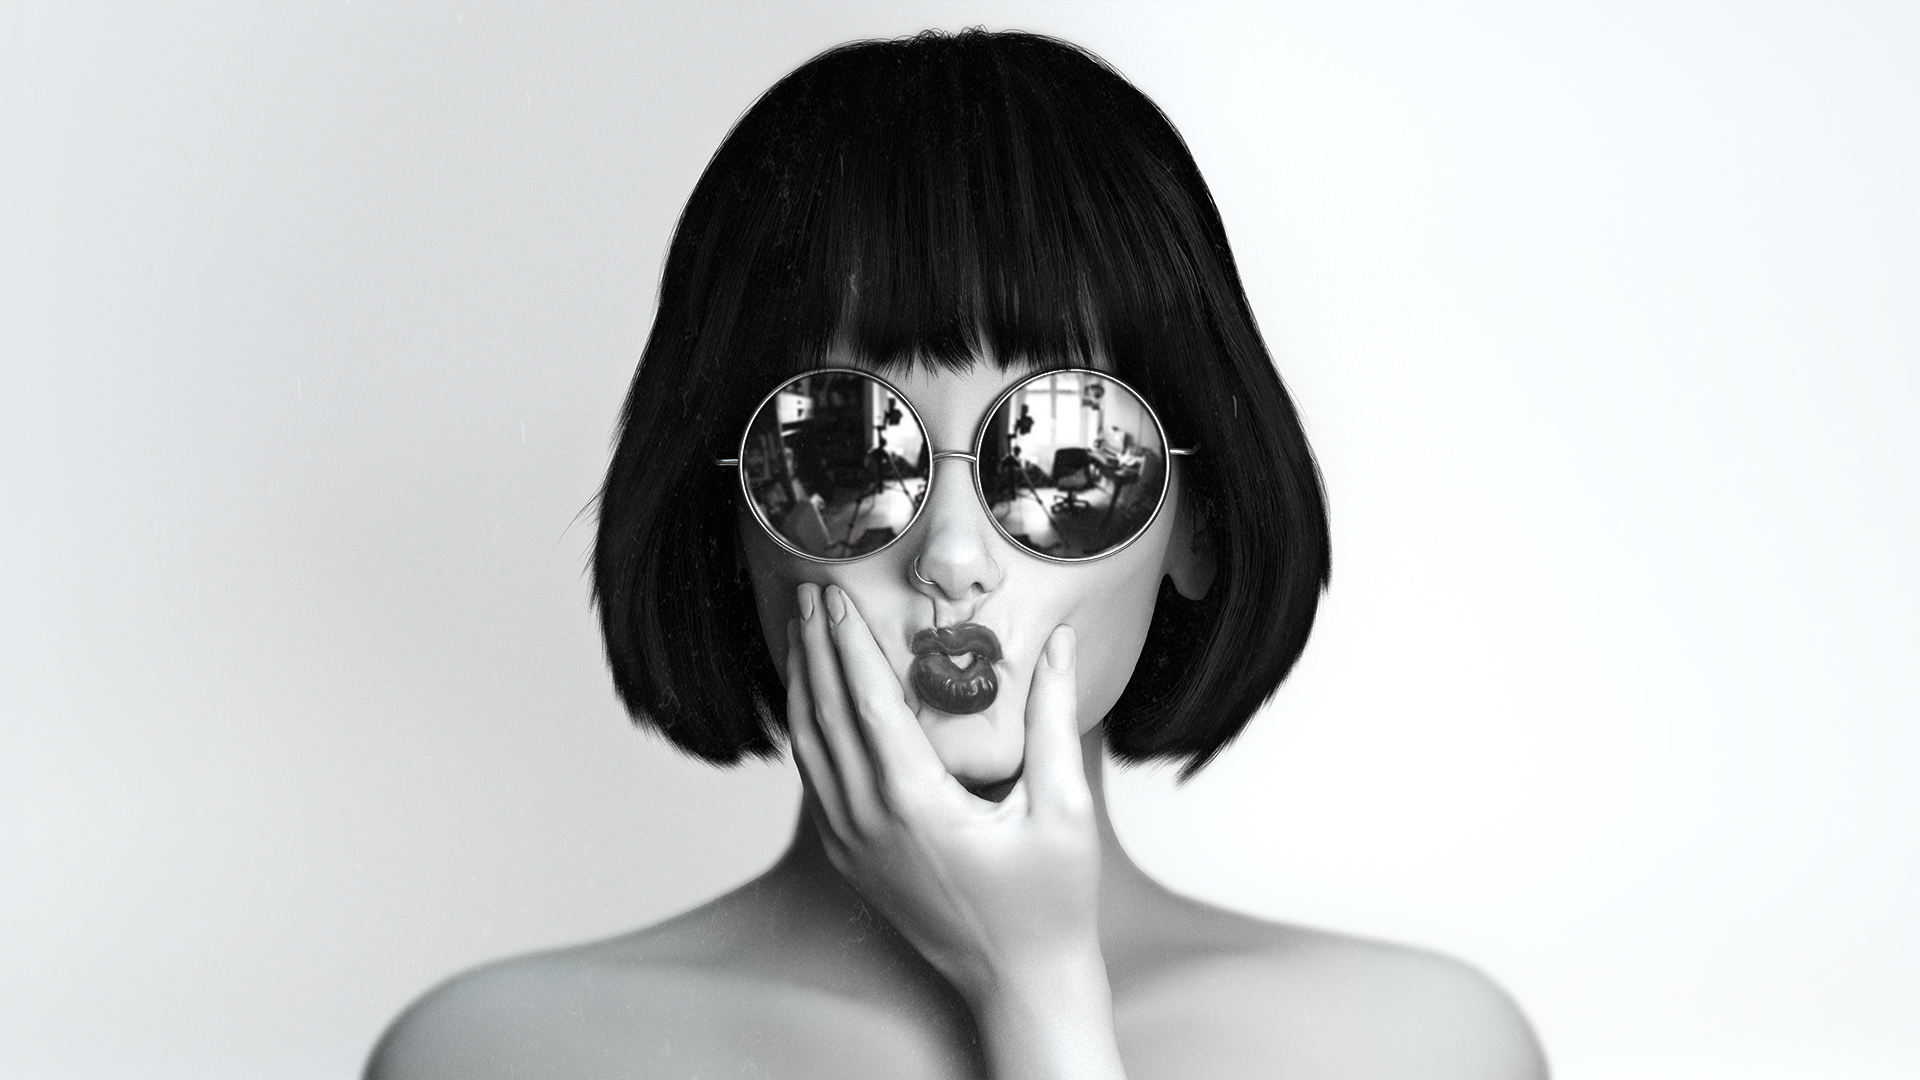
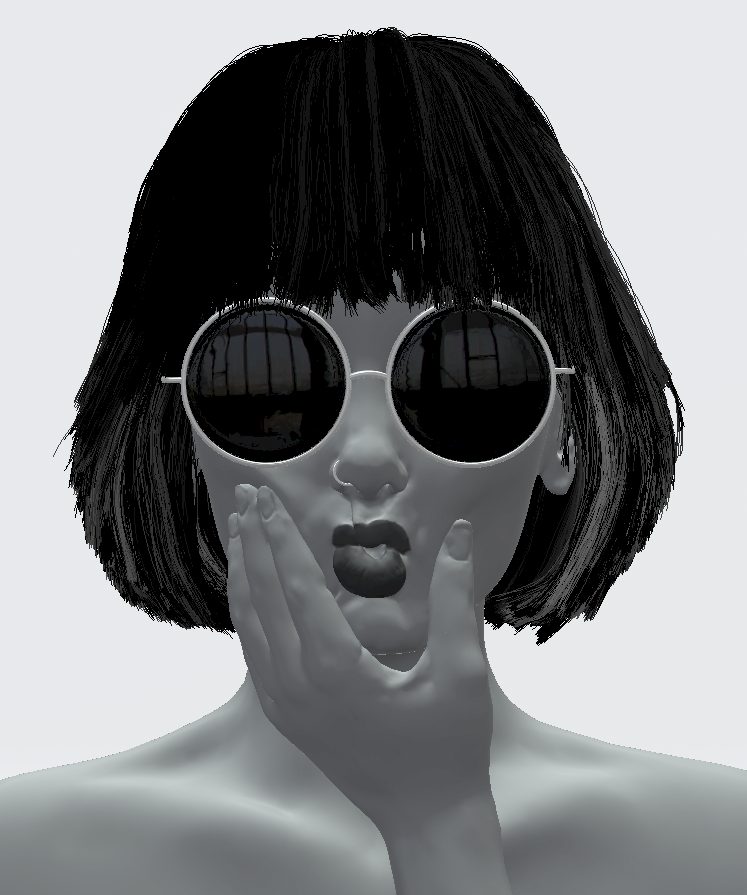
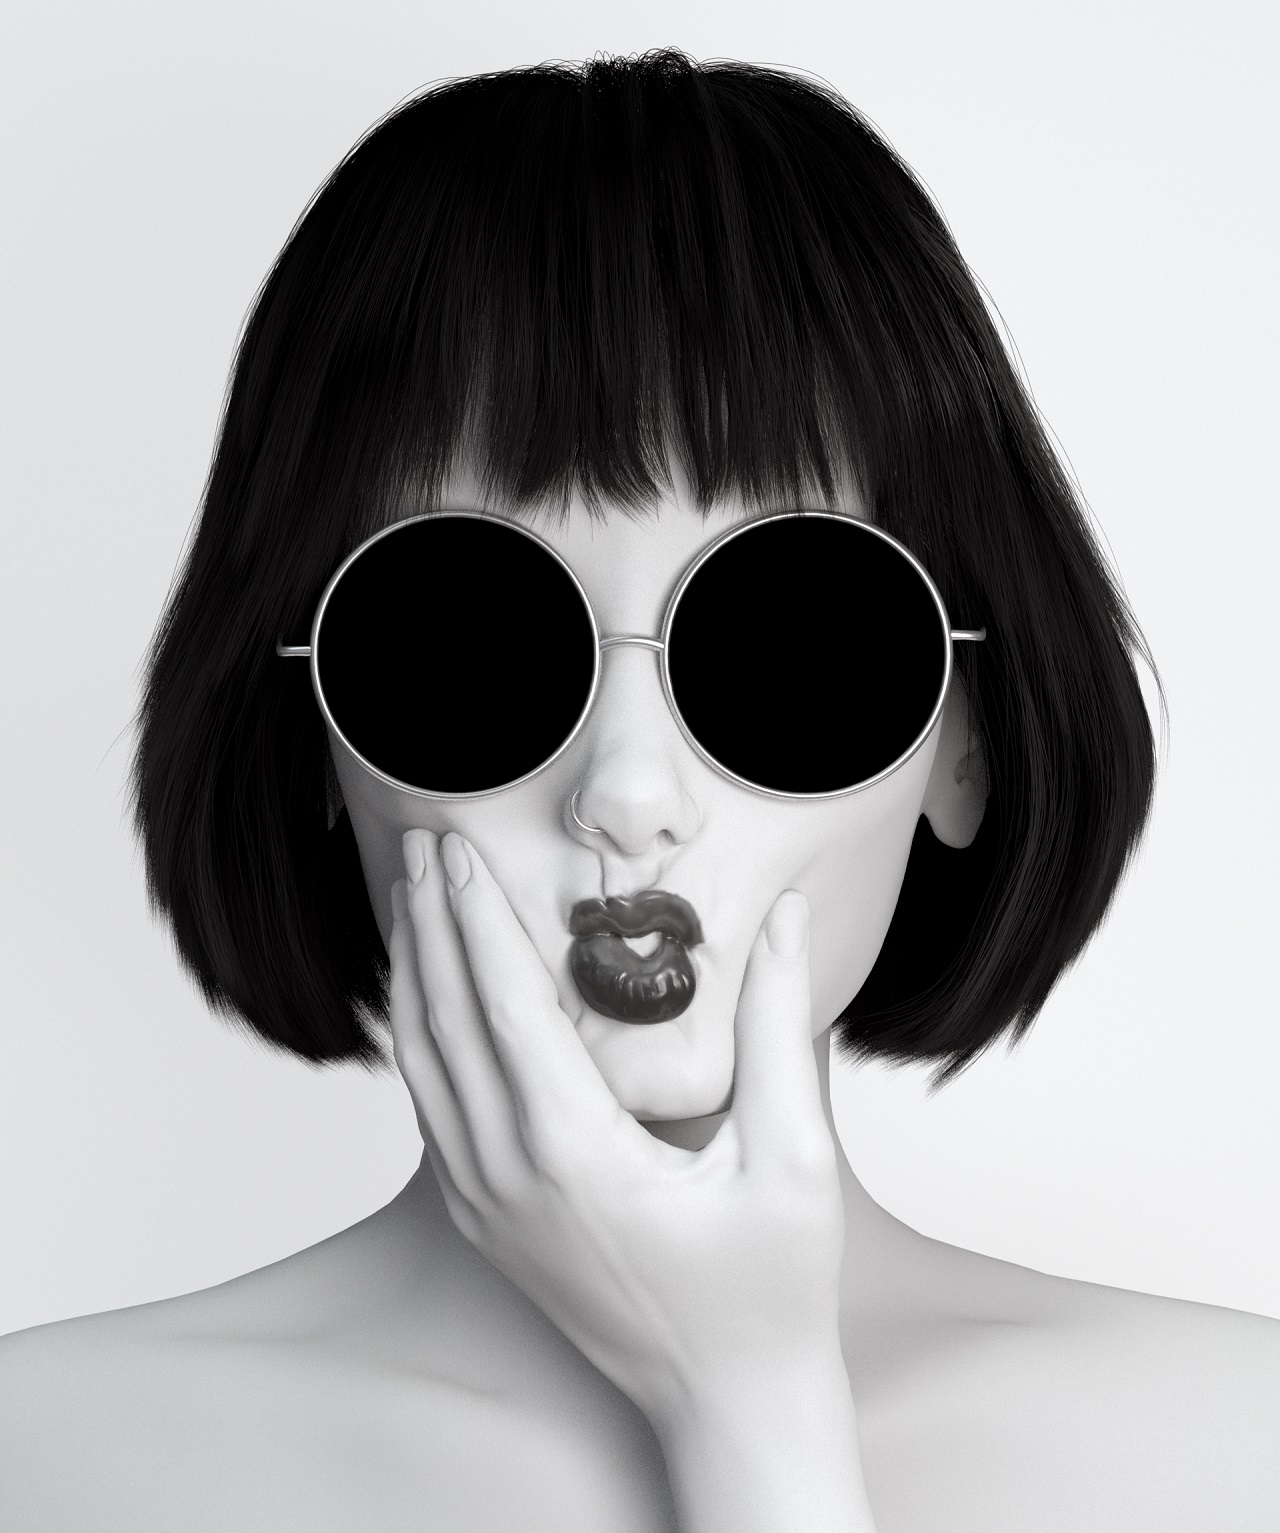
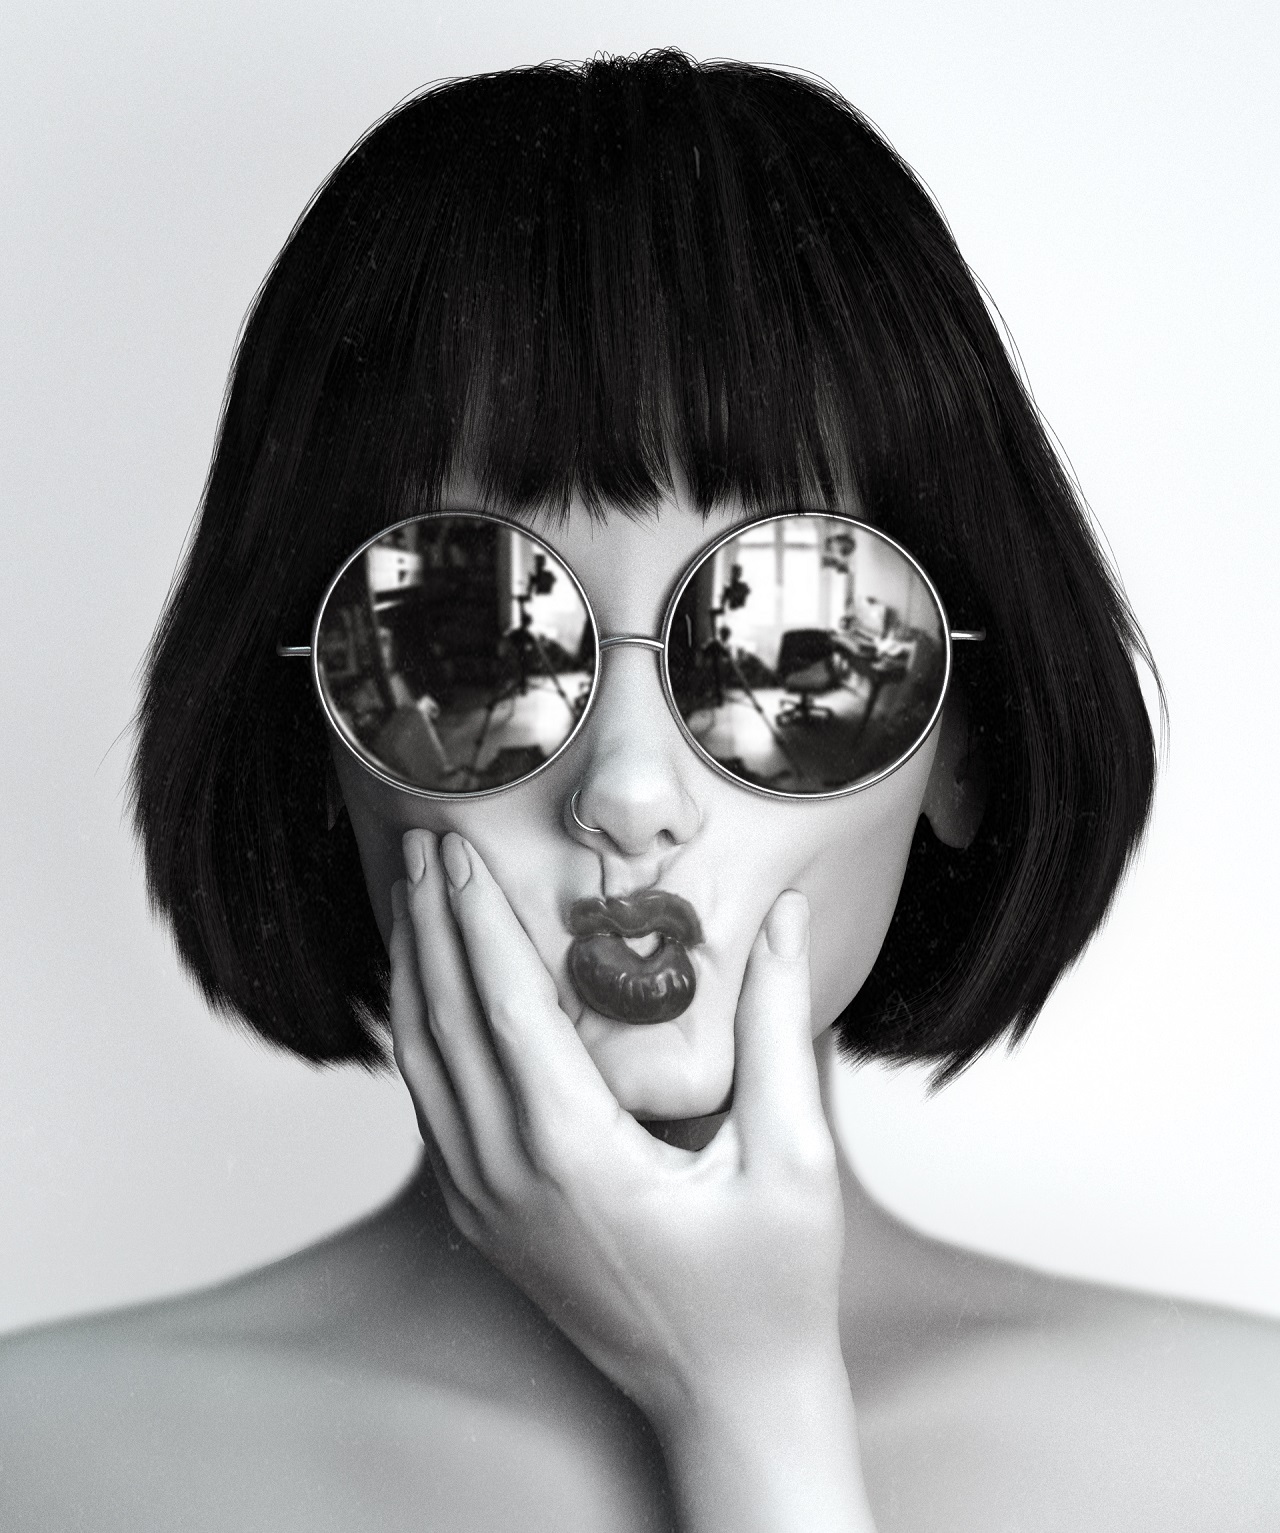
In this tutorial I will be going through the process of creating this image with a focus on hair grooming, shading, and rendering.
Preparing the Model
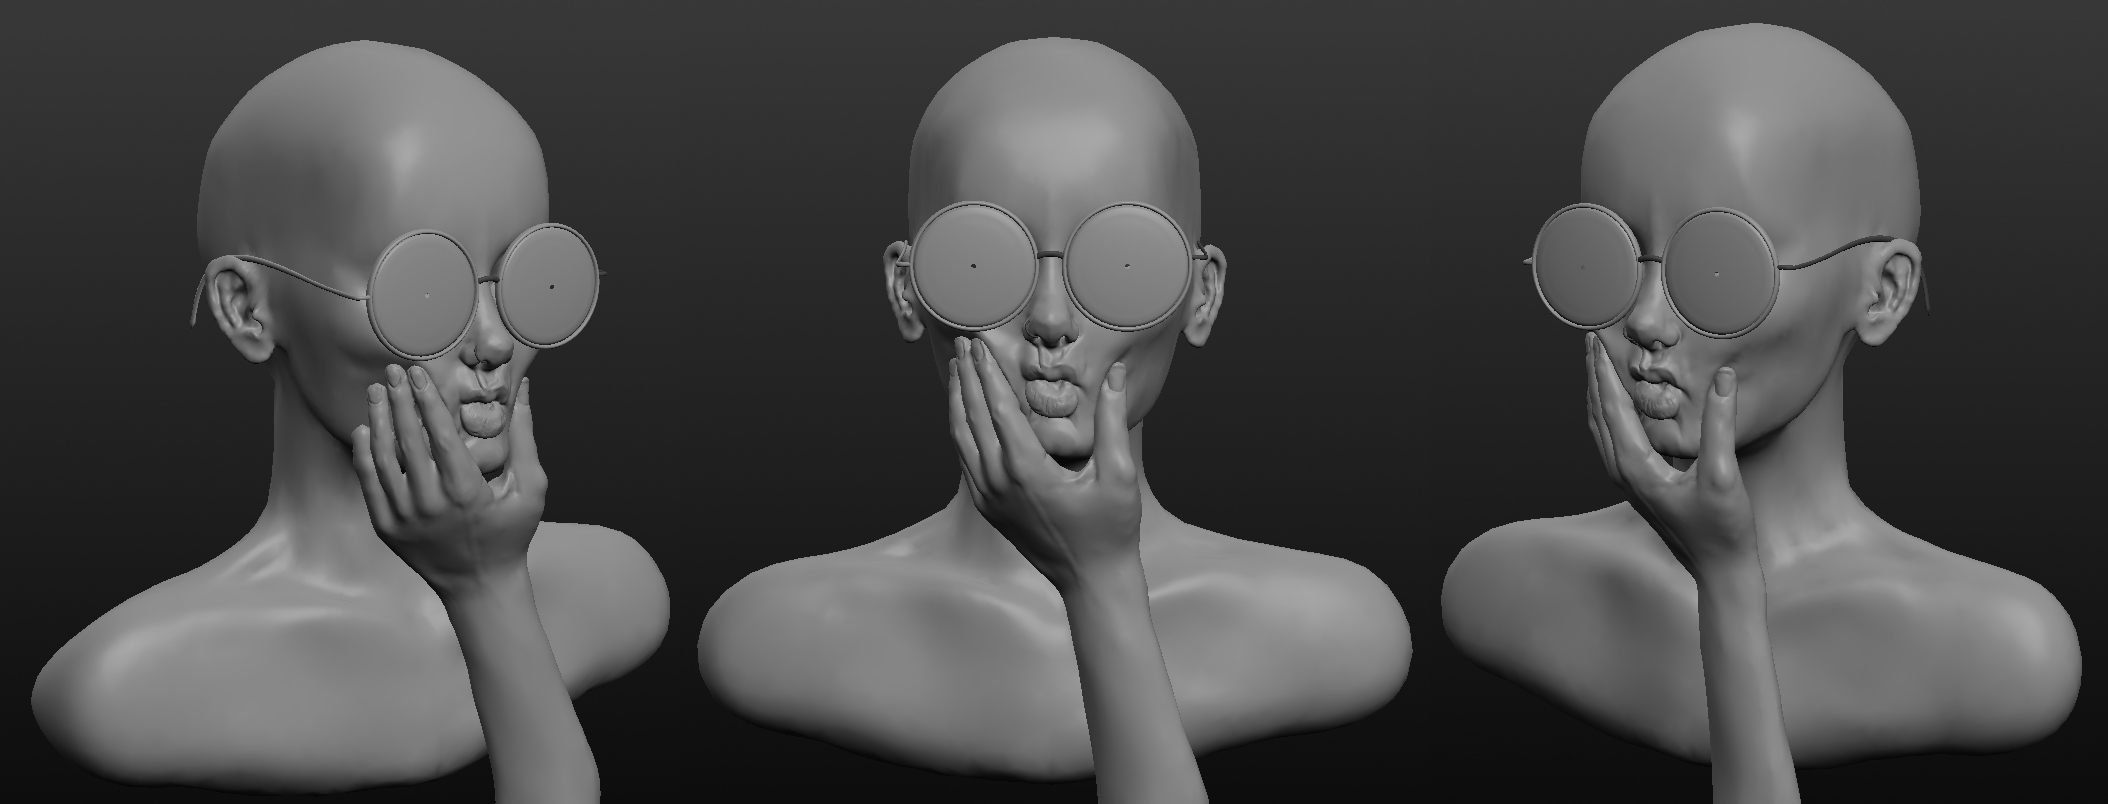
Sculptris was my software of choice for modeling this project. The ability to push and pull the model organically was necessary to create the lips and depressions in the face. Sculptris does a great job of making major changes to the model without needing to subdivide the entire mesh.
The hand was modeled and rigged in Maya. I posed it to match the depressions in the face and imported it into Sculptris. I then sculpted on top of the hand for details.
When I imported the model into Houdini, there were some changes that I needed to make to isolate the scalp and also maintain the accuracy of the collisions. I used a blast node to remove everything but the scalp by simply selecting the faces that I wanted. After creating my selection, I extruded it for thickness and ran a vdb from polygons to convert it to voxels. By then converting it back into polygons, I was able to get a much higher resolution mesh. However, I didn't want to place guides on the entire mesh because some of the guides ended up inside her head or too far down her forehead. In order to isolate the scalp even more, you can paint out an attribute where you want to generate curves and then override the density with that attribute in the guide groom sop.
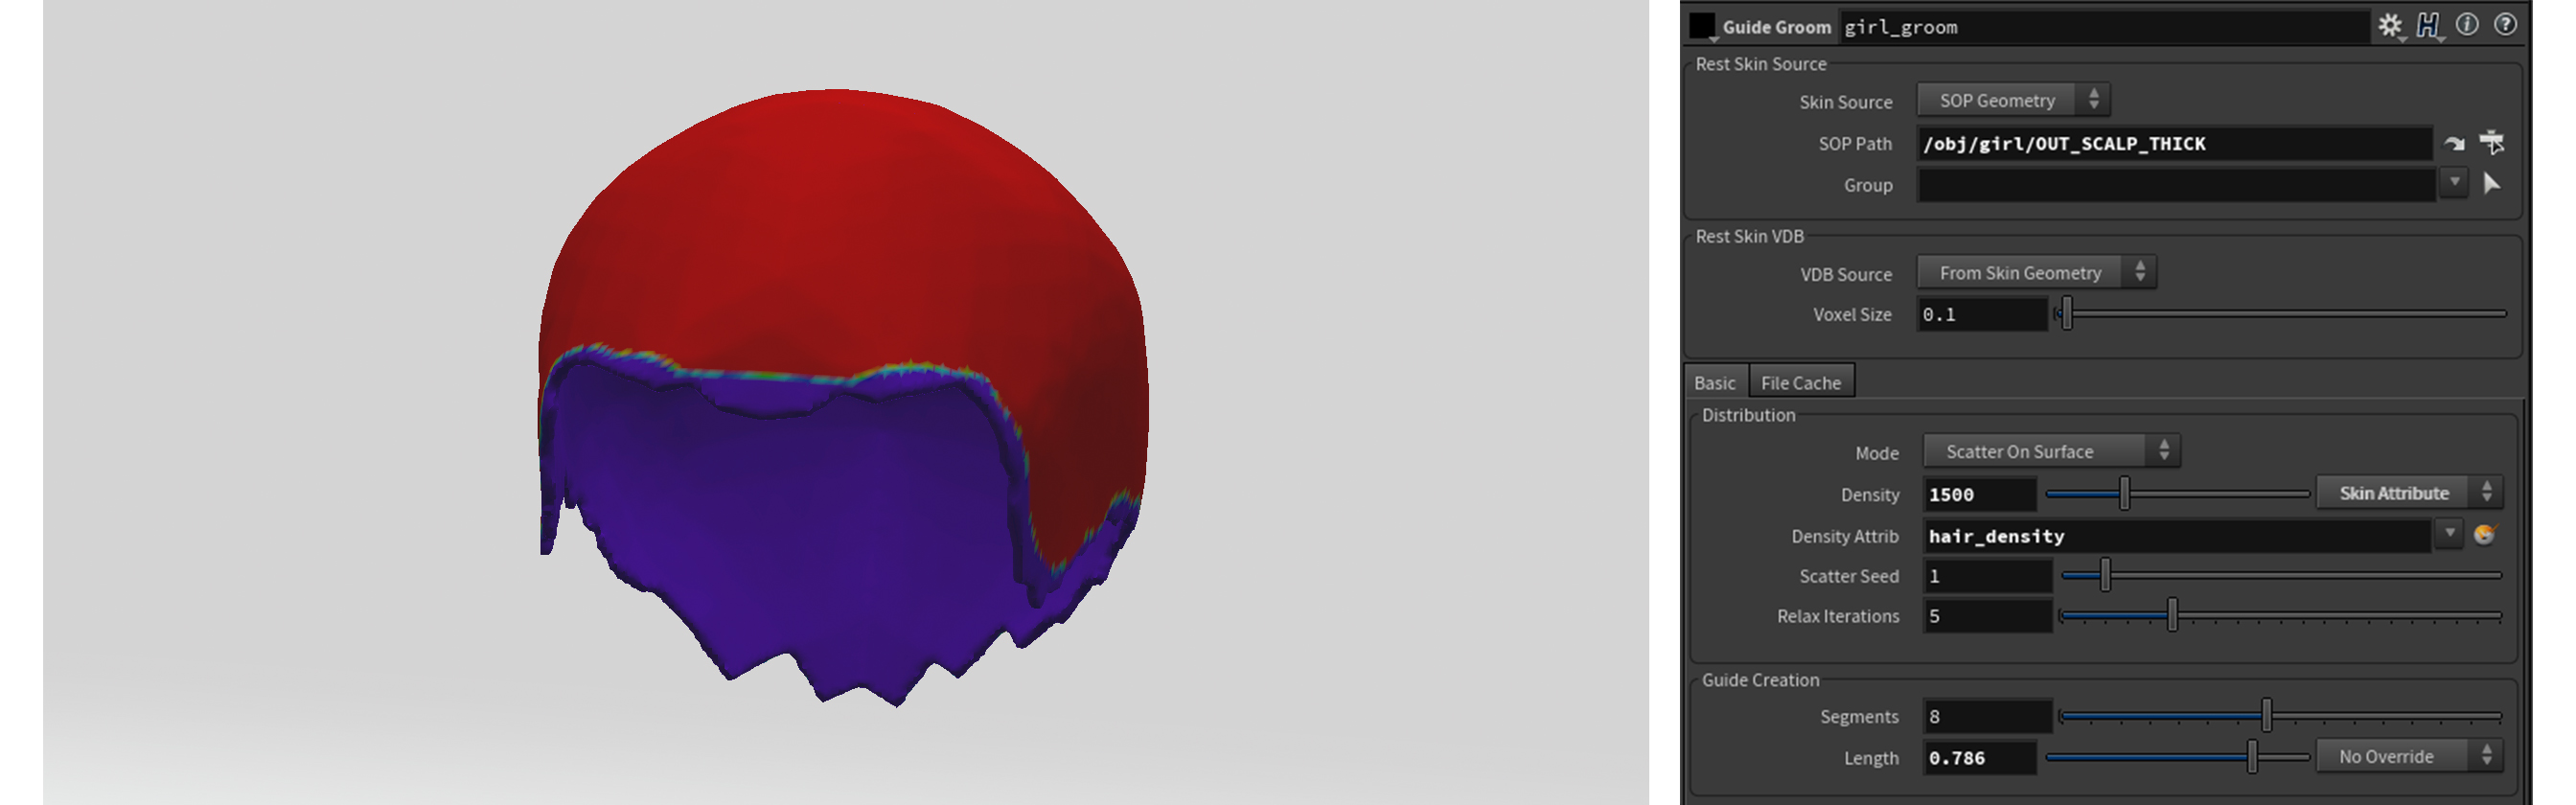
In the image above, I have painted an attribute onto the scalp with a paint sop. In the paint sop I have also specified to override Cd with an attribute that I specified called hair_density. Next to the Density parameter, select Skin Attribute from the drop down. Then type the name of your painted attribute in to the the Density Attribute field.
Quicktip:
Whenever I encounter slow calculations, I always cache out the slowest node. This will allow you to read a file rather than wait for geometry to calculate. This is especially helpful if you are ever working with high resolution geometry. I used this when I increased the resolution of the scalp geo.
Hair Guides
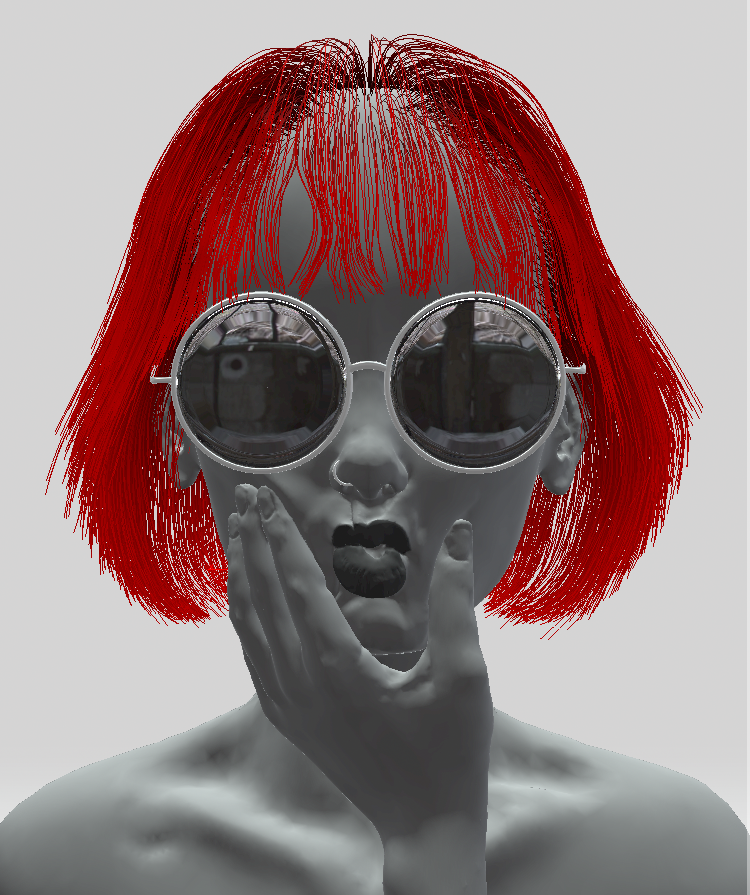
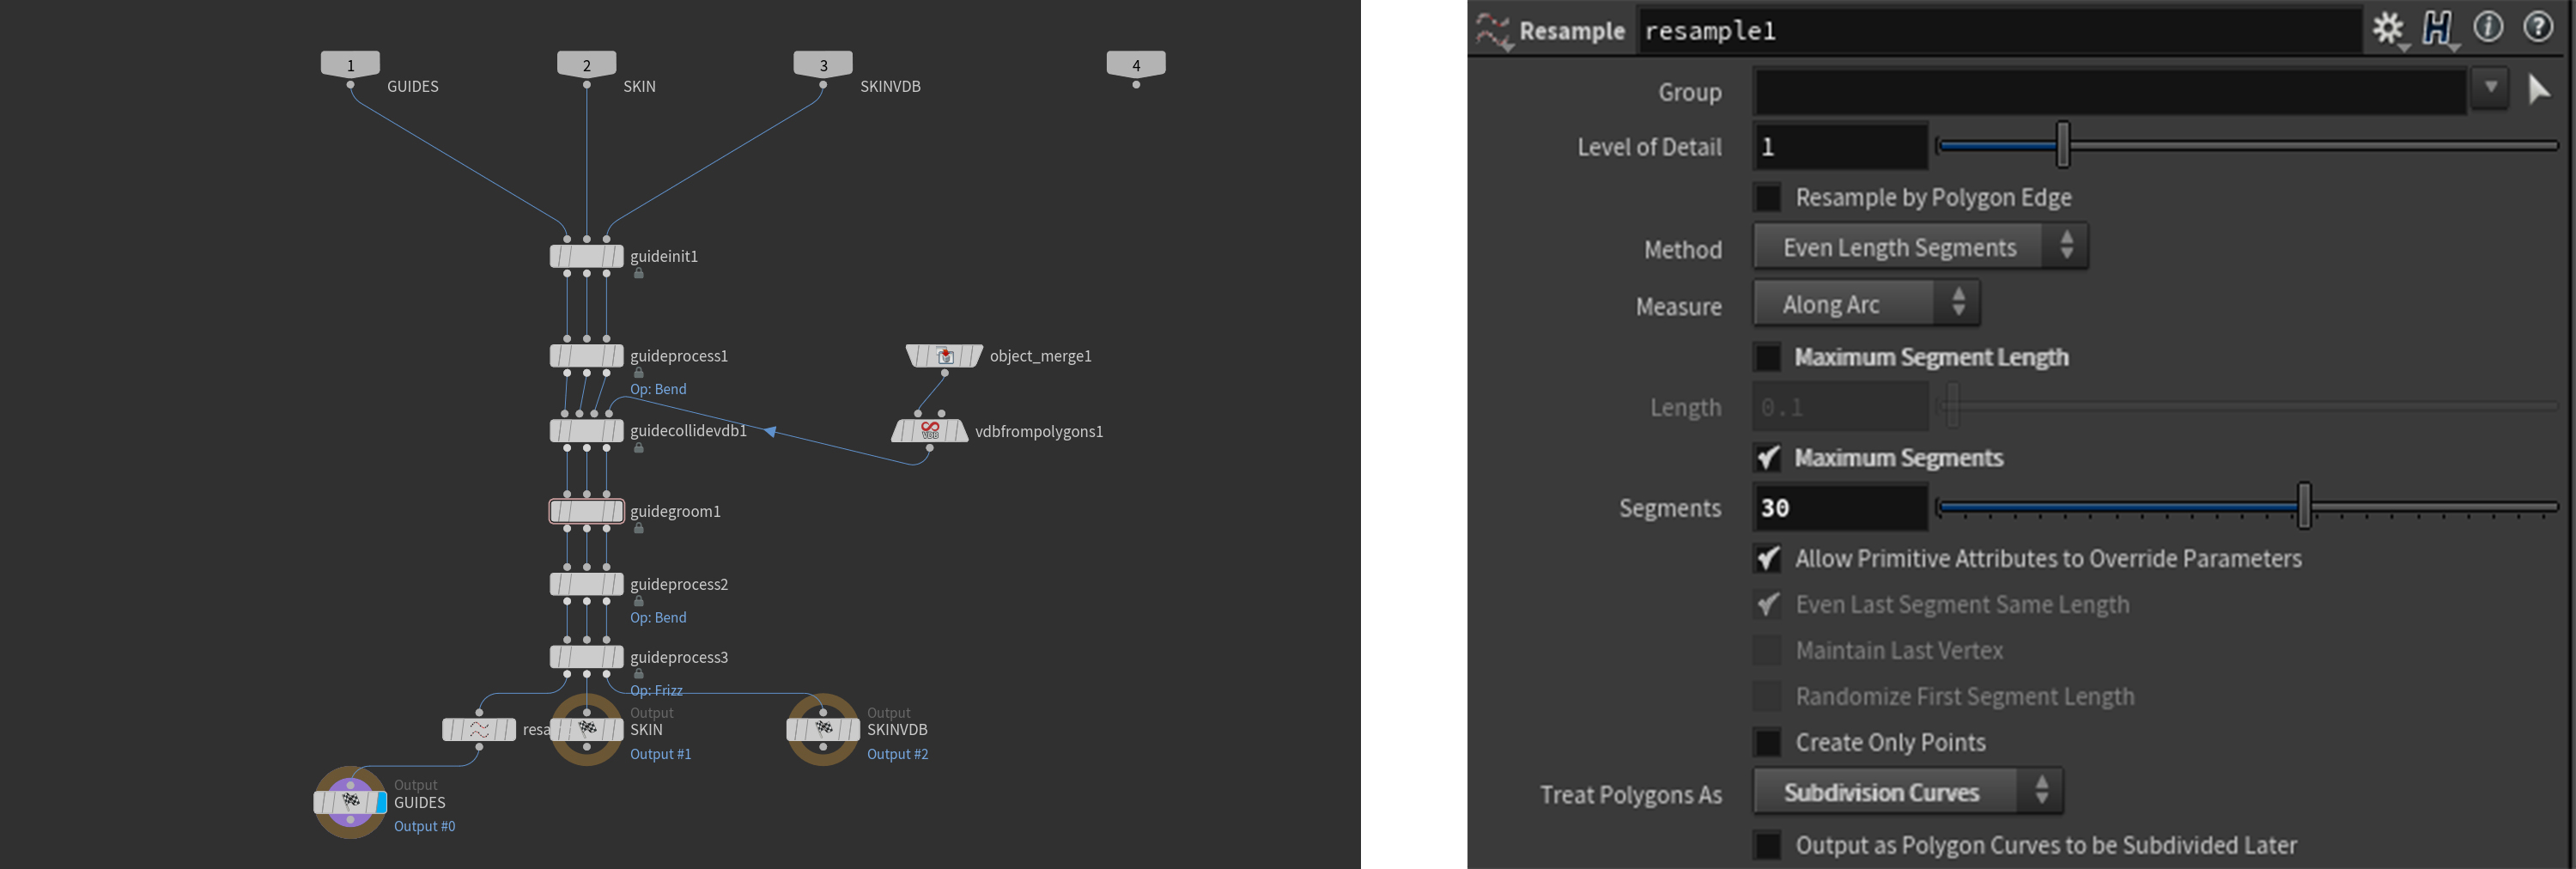
The guide initialize sets the direction of the fur downward uniformly. This will just make it easier to brush the hair into place, as they are already following the proper orientation. The bend is used to curve the tips inward to make the shape of the bob cut. The guidecollidevdb is a precaution to keep the hair from clipping through the mesh. The guide groom sop is where the magic happens. All of the brushing and cutting that I do is cached here. Mostly I use the screen brush, guide planting, and cutting. When using these I always set my lift to around at least 0.1 to prevent the brush from forcing the guides through the skin but also allowing me to move them with ease. After using the brushes, I throw in a guide process bend and frizz to add some variation to the groom before passing it to the hairgen. I also add a resample at the end so that I can have more detailed curves at the end of the tree without having to increase the number of segments at the beginning.
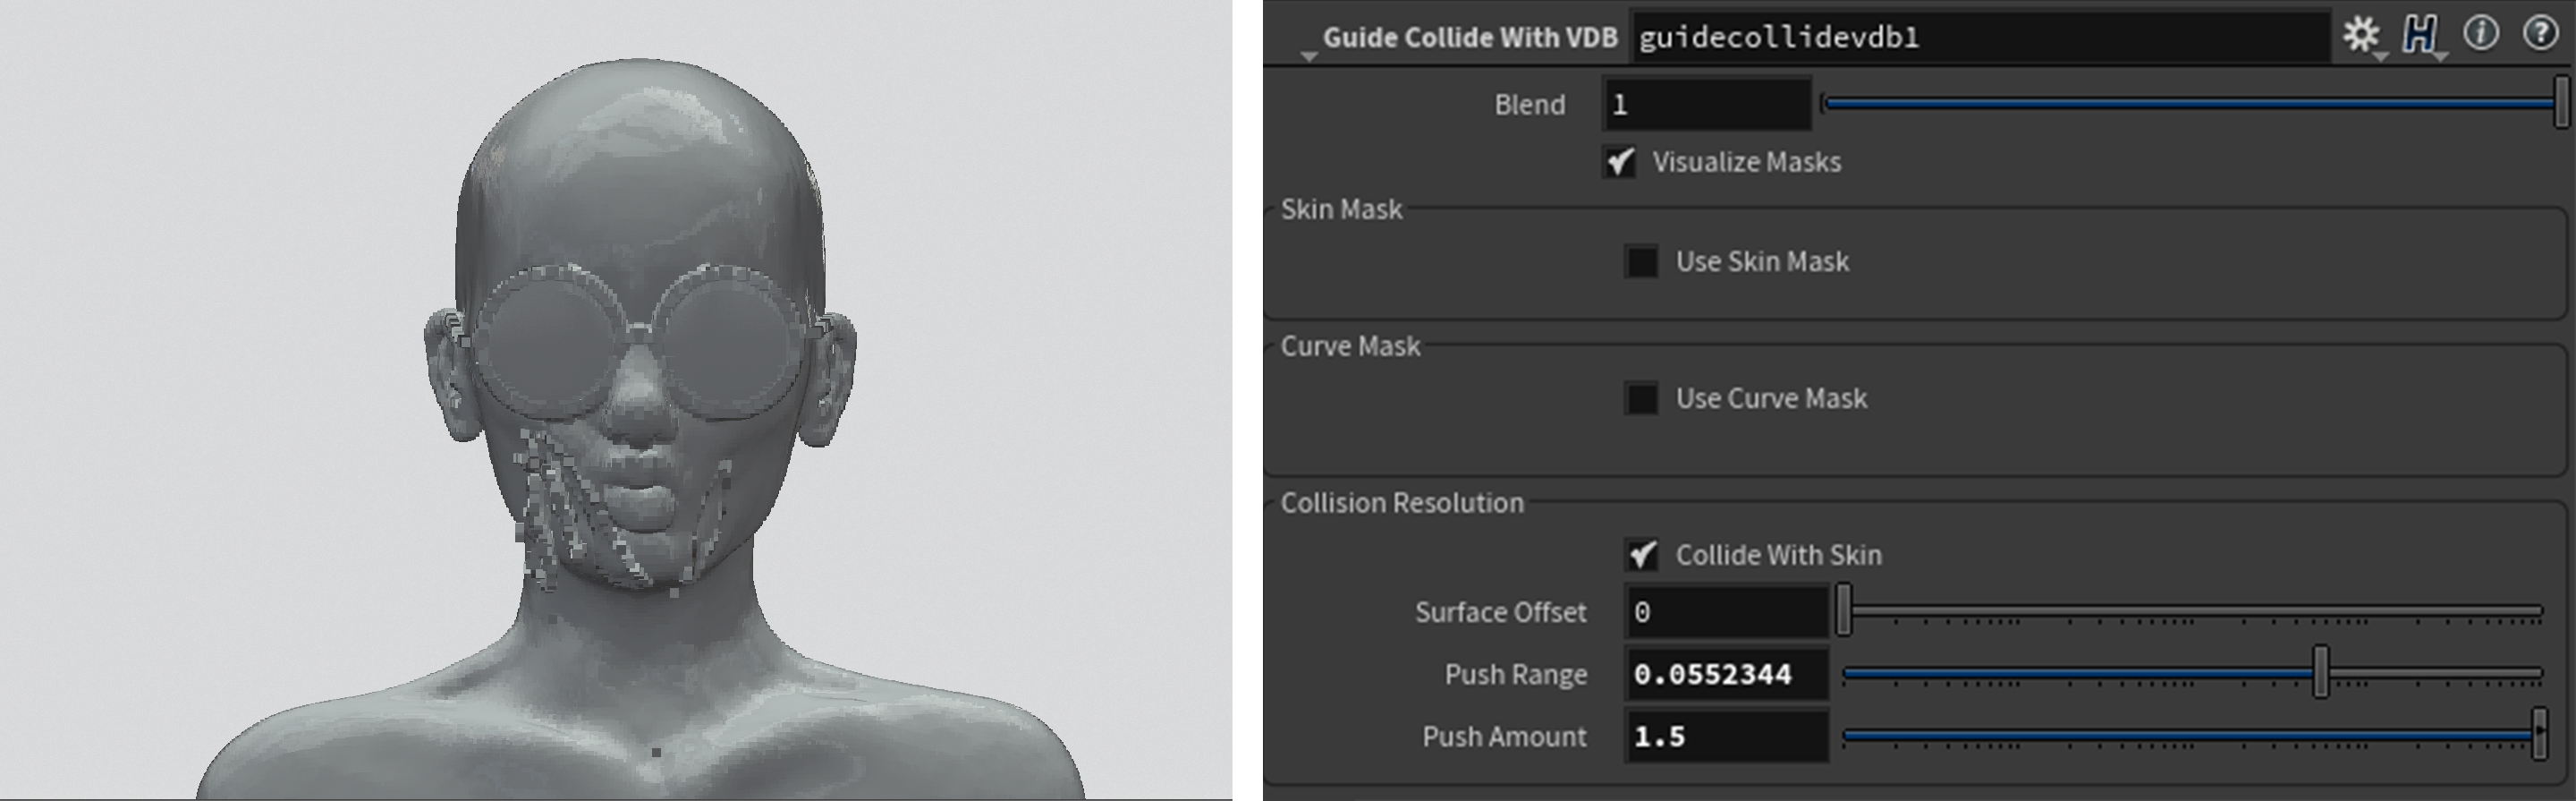
Normally, the guides will avoid the skin geometry by converting it into a vdb and using that as a collision. The vdb resolution is controlled by the voxel size parameter in the guides. This means that if you were to increase the voxel size, the groom calculation would drop significantly, but the hair might clip through your mesh. To avoid the clipping, run a guide collide with vdb at the end of the pipeline to push the guides out of the way without having to wait for the vdb to calculate for each guide process. This workflow will also allow you to visualize the resolution of your collision vdb without having to dive into the guide groom.
Quicktip:
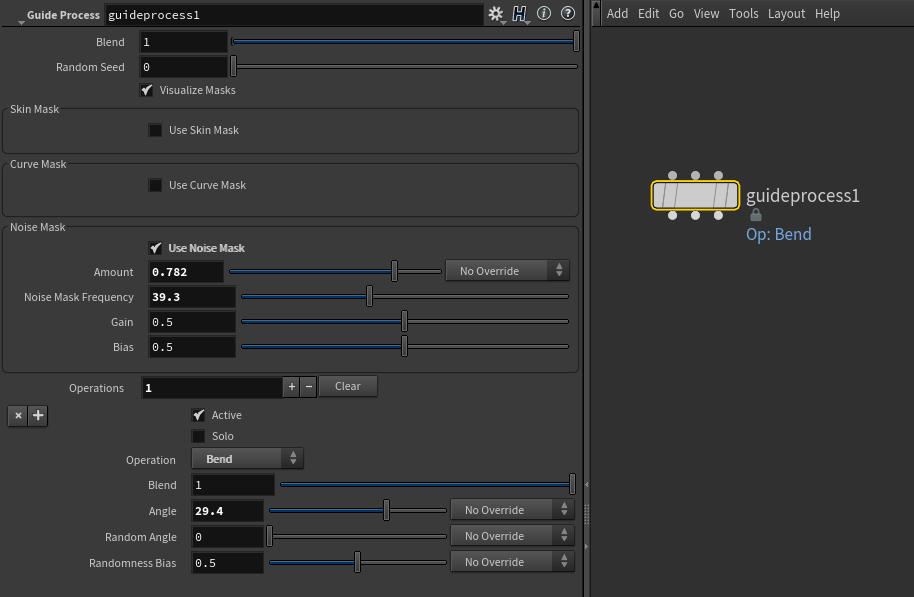
Using noise masks is one of the best ways to add variation to your fur inexpensively. You can run noise masks on guide process bend, frizz, direction, length, wave, smooth, and straighten.
Hairgen
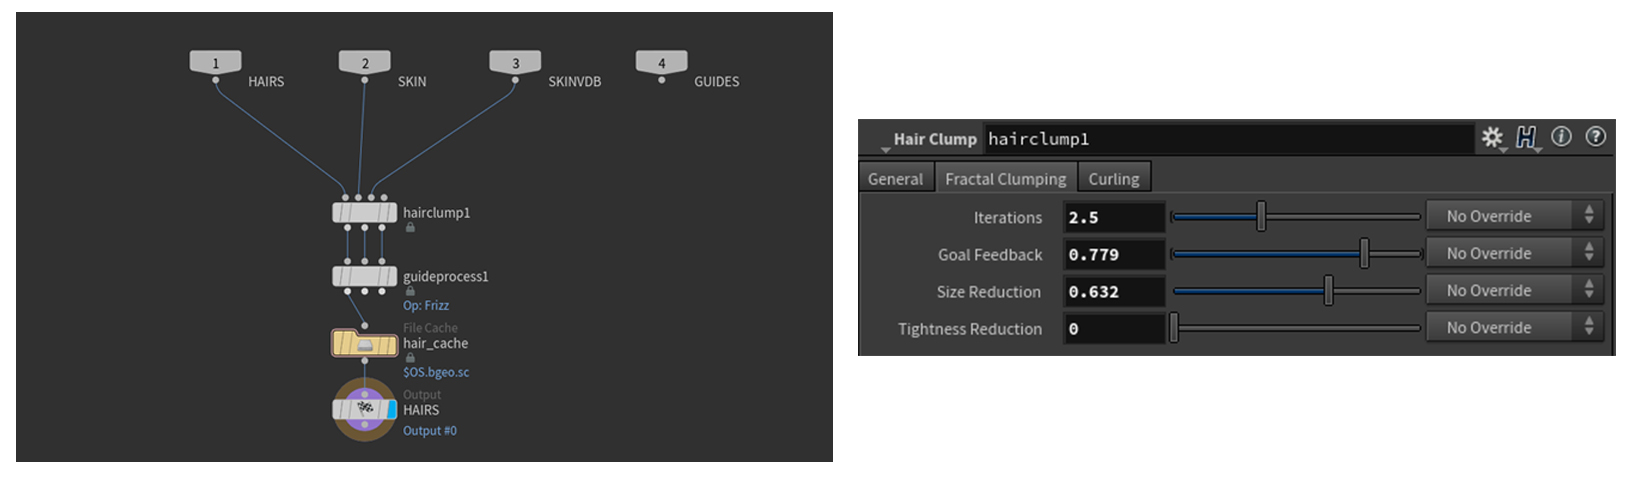
In the hairgen, hair clumping makes the most significant contribution to the natural look of hair. The clumping helps to group the hair together near the guides giving you small parting like you would normally see in real hair or fur. In the hairclump, I also always use fractal clumping. This will break the clumps into smaller pieces based on the number of iterations. The Goal Feedback parameter controls how much the subsequent iterations of clumps will adhere to the original.
I then throw down frizz to add variation to each individual strand. The difference between working in the guide groom and the hairgen is that the guide groom affects the curves within a certain radius of the guides uniformly, while the hairgen affects each individual strand.
Quicktip:
You can use a file cache node to cache out the hairgen curves which will speed up the rendering process. It will no longer cook the hairgen and does not require the guides to be visualized to render with vm procedural as it will only read as primitives.
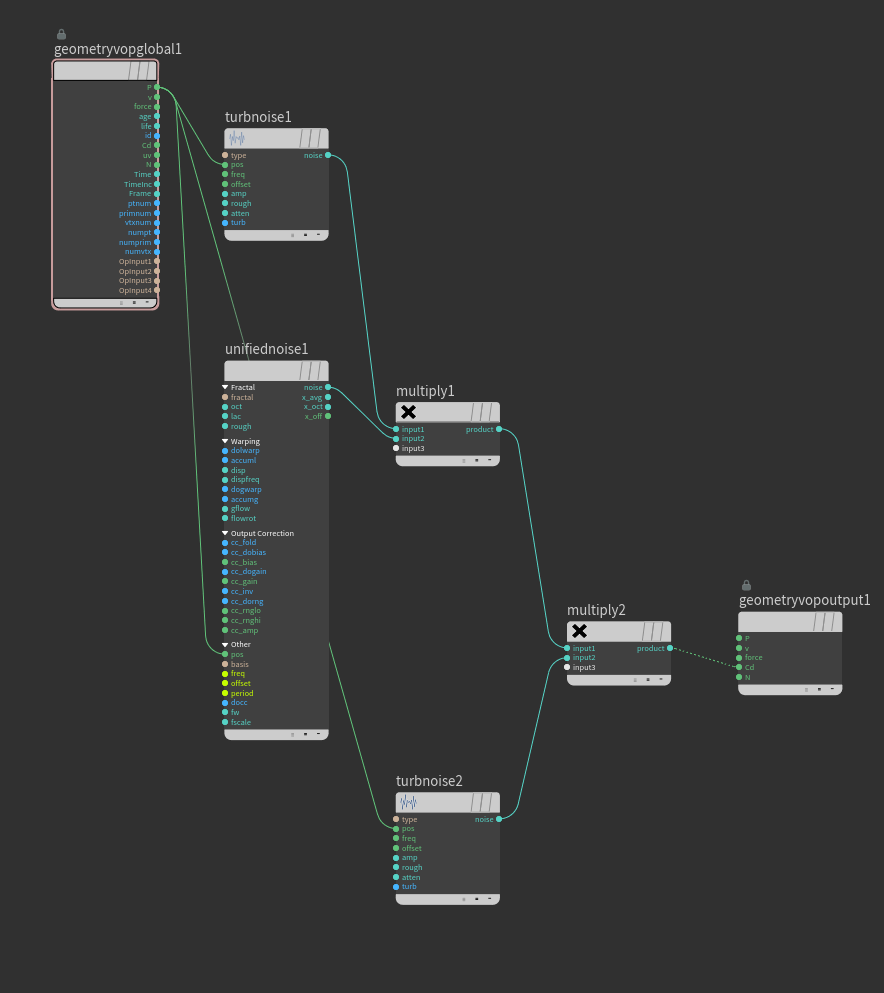
To get color variations in my hair, I used a primitive vop with different noises mixed together. I wanted to group certain areas together so I multiplied my turbulent noise with a low frequency cellular noise. All of these noises are then connected to Cd to override the prim color which can be used in the hair shader.
Shading
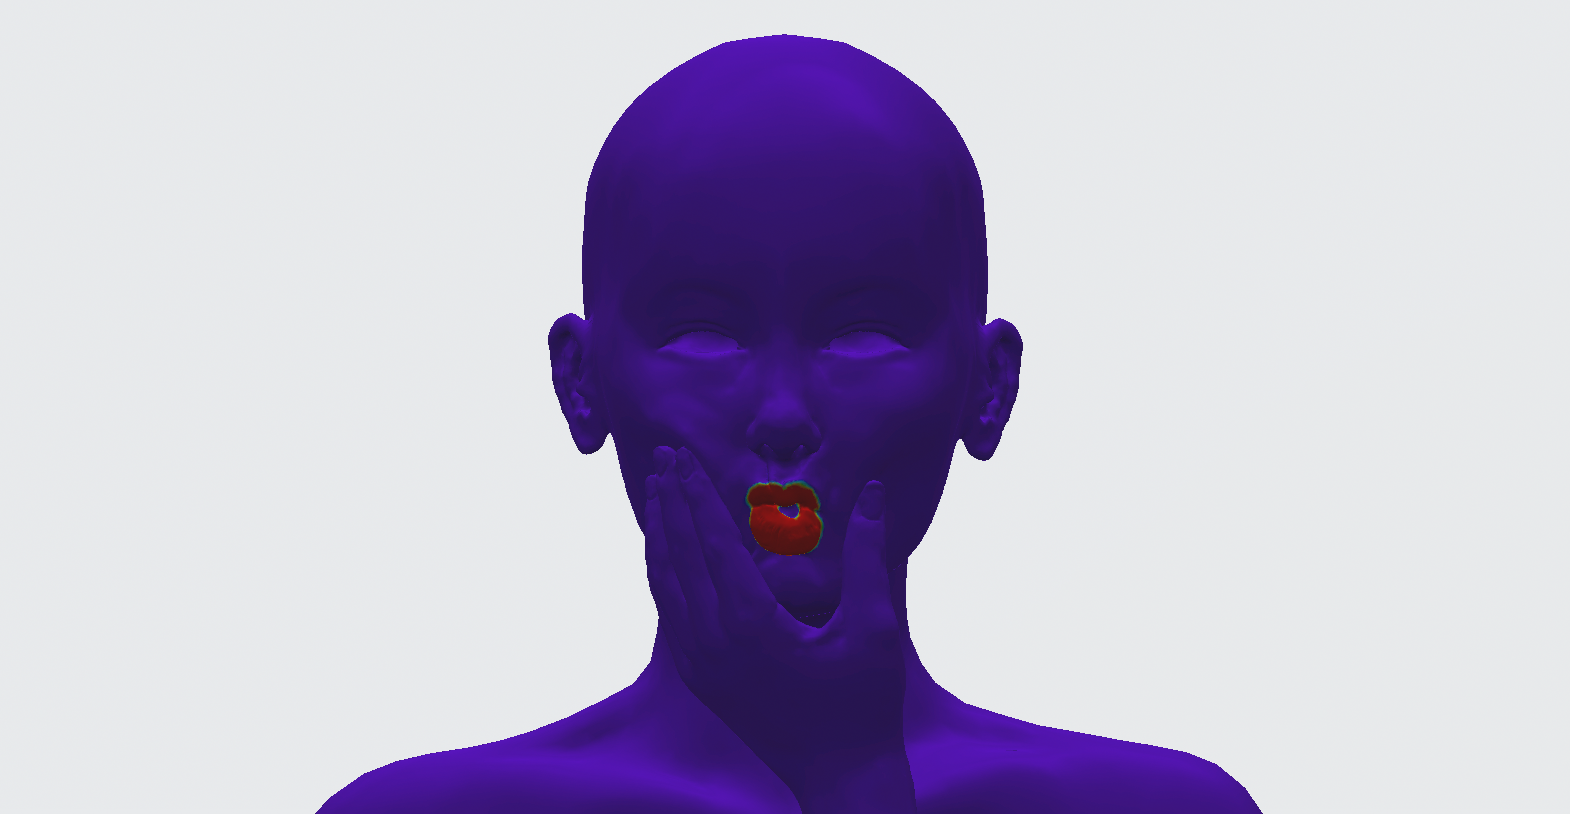
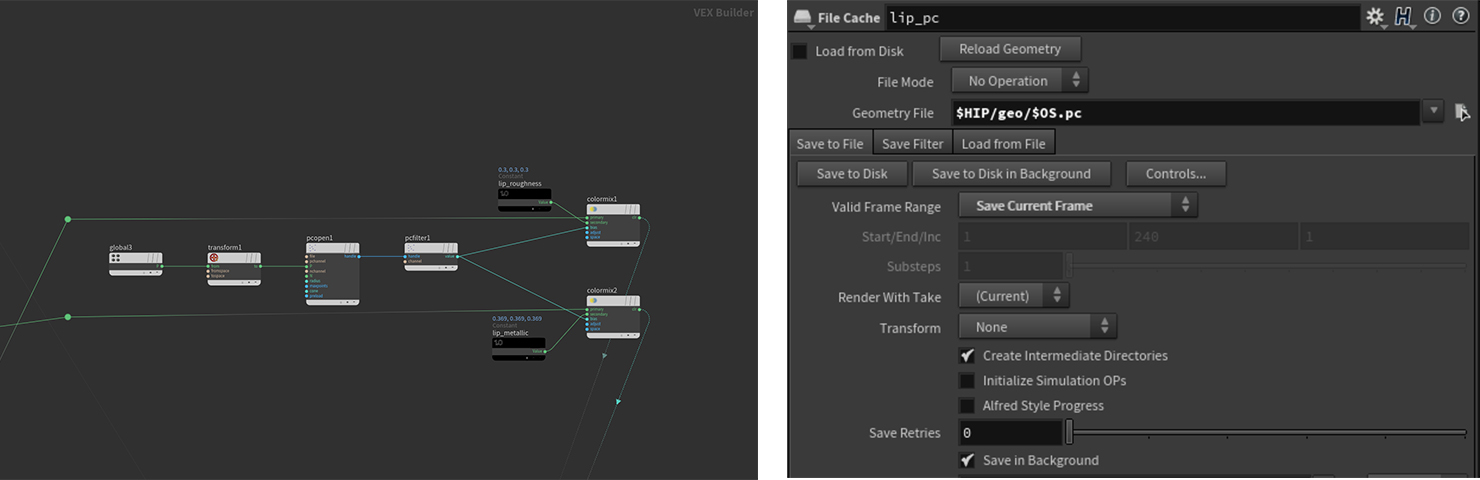
For the skin I used a principled shader with some subsurface scattering to get the the overall look. The the lips however needed to have different roughness and metallic properties. Rather than painting a texture, I decided to paint out an attribute just on the lips and save it as a point cloud. I then went into the material network and mixed the parameters of my skin shader using the point cloud as my bias. I used a point cloud so that I could bring an attribute into the shader context. This will only work however if you set the transform space to world space as the points from your point cloud are based on world position. Pcopen will grab the file, and pcfilter will grab the attribute that you specify from said file.
Rendering
I changed many of the mantra settings to work better for hair. Firstly, I set diffuse limit to 1. This will allow the renderer to calculate indirect diffuse bounces. Next the hair curves will need higher overall sampling in order to prevent noise. This is because if the curve thickness is smaller than the pixel size of the image, it tends to create issues with anti aliasing. when working with fur, I usually set my pixel samples to 4x4 at the very least or increase the min and max ray samples. The sss quality is also important to reduce the noise in the skin. I set usually set mine to around 5 minimum when working with sss. I turn off all of the volume related sampling and stochastic sampling as we are not working with fluids or volumes.
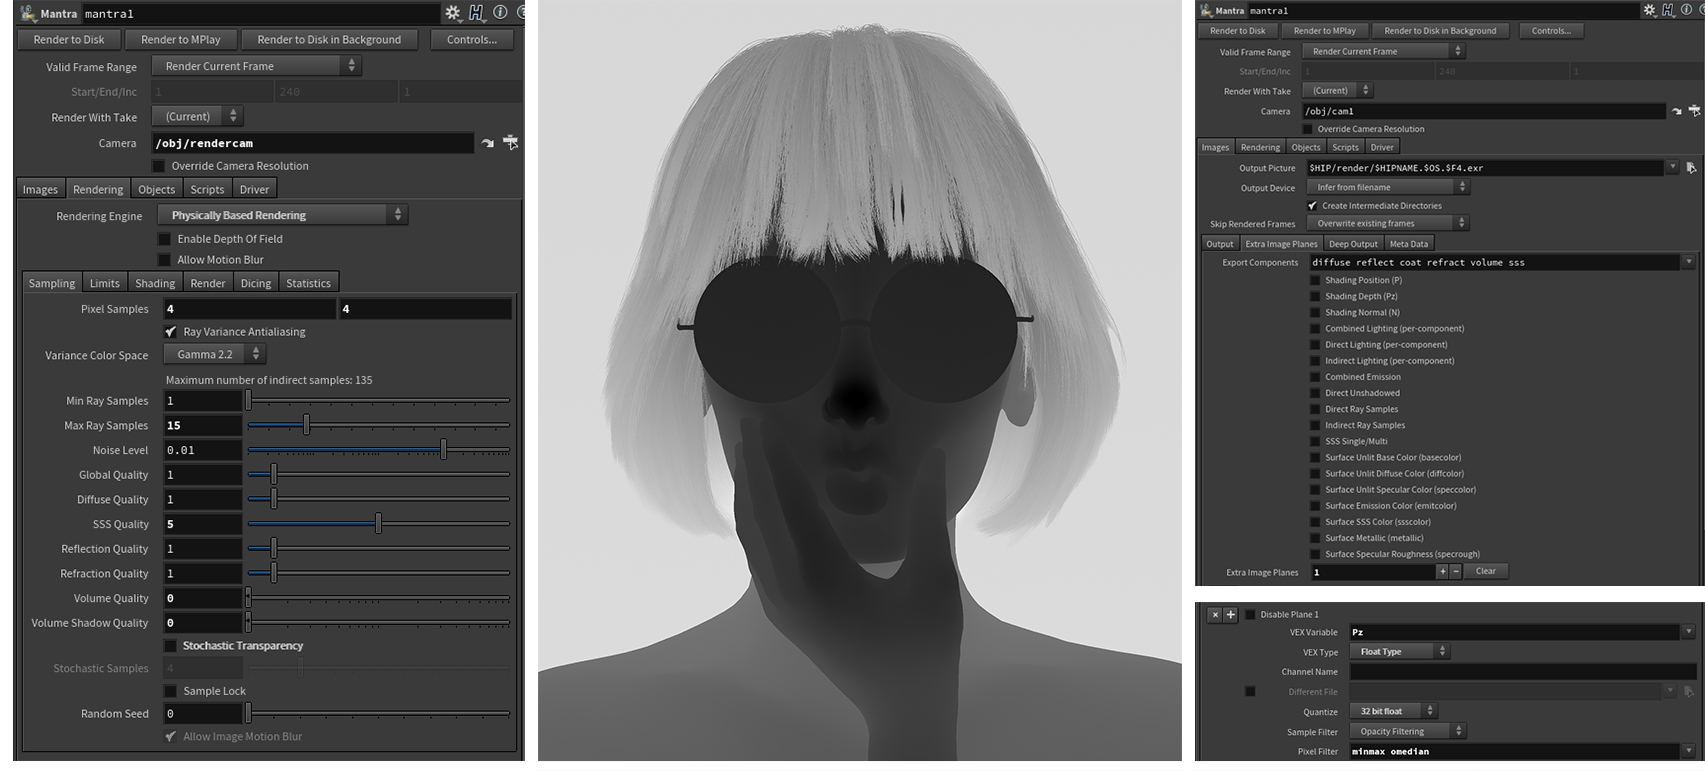
To render zdepth, I navigated to the Extra Image Planes tab of the mantra node, and added an extra image plane with the "+" button at the bottom. On the VEX Variable parameter, use the Pz (-position z) option. The depth will now render with your image if you are using an .exr file.
I hope you found this tutorial helpful and thanks for reading! If you have any questions, feel free to comment below or email me at joshmatt2144@gmail.com.
Check out my website for more of my work at: http://www.joshua-matthews.com/
Or you can follow me on vimeo at https://vimeo.com/joshuamatthewsvsfx
CREATED BY

COMMENTS
TwinSnakes007 7 years ago |
Oh nice...you did the H16 Splash Screen! Sweet! Thanks for sharing.
harryabreu 7 years ago |
Very nice tank you
kevinthebright 7 years ago |
Nicely done.
RobW 7 years ago |
Wow! Awesome work! At first glance I thought you added the hair to a photograph ;)
david_maas 7 years ago |
Very CooL! Thanks!
centinarijo 6 years, 1 month ago |
Great work Josh!
David Inlines 4 years, 11 months ago |
Cool work Joshua! Congratulations!
Please log in to leave a comment.