Modeling Tools
Learn about Houdini's modeling tools with these quickstart tutorials.From polyextrude to topobuild, these lessons offer a quick look into techniques for generating geometry.
25 チュートリアル 1:52:00
Lessons
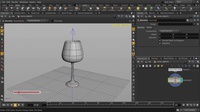
カーブのリボルブ
This video will explore how to create geometry using curves. We'll create a NURBS profile curve in the orthographic view and then use the Revolve Shelf tool to make a wine glass. Then we will output the geometry initially as a NURBS surface and then convert to polys. Afterwards, we'll look at using the Crease SOP to harden some edges and then see how to apply subdivision on the geometry at render time.
0:05:00
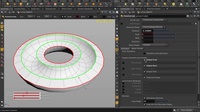
PolyExtrude ツール
This video will demonstrate how to use the PolyExtrude tool in Houdini. We look at a few options within PolyExtrude, like Output Back and Extrusion Mode (Primitive/Edge Normal and Point Normal). And don't forget that the Q key can be used to recall the last action/tool used!
0:05:00
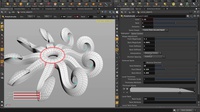
Polyextrude | カーブ入力
In this video, we're going to look at the polyExtrude tool with Curve Input inside Houdini. Let's put down a spiraly curve which we will use as our spline to extrude along. We then see how we can extrude a singular face on a box with that curve, then extrude the curve using all 6 sides/faces of the box and then swapping the box with a torus and using Divide Intro “Connected Components” and choosing select edges in the Split Group option, we can get some cool octopussy extrudes using the curve we made at the beginning of the video.
0:05:00
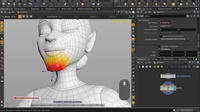
ジオメトリの編集
In this video, we're going to look at some tools we can use to edit and tweak geometry with inside Houdini. We will enable Use Mirror, to get symmetrical editing, go into tweak mode to edit geometry without the use of a transform handle, using Soft Edit Radius to get a nice falloff and switching to the Peak Handle to get the (surface) normal direction when editing. We also learn the hotkey for toggling Subdivision display!
0:05:00
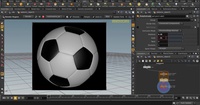
For-Each ループ
In this lesson, we are going to create a soccer ball using the for-each loop in Houdini. We begin by creating a platonic solid and then adding a subdivide node on it. Then we use a Ray SOP to ensure a round shape, and put on a PolyExtrude which will push out the patches on the soccer ball. In order to not do an overall surface extrude, we use an Attribute Create node to assign numbers to the patches, which we can then extrude in a For Each loop.
0:05:00
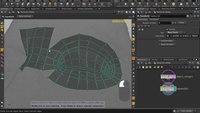
TopoBuild | ビルド / スプリット / ブラシ / スムース
このビデオは、TopoBuild ツール内の4つのモード(ビルド、分割、ブラシ、スムース)を紹介します。
TopoBuild は、デフォルトでは、ビルドモードで開始します。このモードでは、ガイドポイントを元にポリゴンを作成していきます。
ビルドモードでは、追加のオプションがあり、選択範囲をまっすぐにしたり、エッジに沿って均等に配置したり、選択範囲を真円状に変換したりすることもできます。
スプリットモードでは、エッジ上にポイントを追加したり、手動で分割したり、Shiftキーを押しながらエッジループを追加したりすることができます。
ブラシモードでは、ブラシのサイズに応じた低解像度ジオメトリの領域を、高解像度のテンプレートサーフェスに「シュリンクラップ」させた状態で移動できます。
これは、ポイント/エッジ/フェースを個別に選択して移動/編集するのではなく、おおまかな領域を編集したい場合などに理想的です。
スムーズモードは、境界線のエッジをロックし固定しつつ、内部ジオメトリのポイント配置をリラックスさせてます。
0:05:00
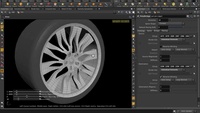
PolyBridge ツール
このビデオでは PolyBridge ツールを利用してリム スポークを作成します。ポリゴン面を正しい順番で選択し (間違えても再選択は簡単です)、内側から外側に向かって元と先を決定し、Destination/Divide Into を "Individual Elements" に変更、ブリッジされたジオメトリの様子を確認します。Destination Magnitude, Spine Shape, Thickness Ramp など、他にも様々な設定があります。
0:05:00
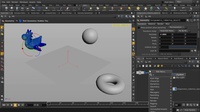
オブジェクトの作成
This video is an overview into the various ways you can create objects in Houdini. You can do it via the Shelf Tools, hitting the TAB key and typing out the object you want – both within the 3D Scene View and in the Network Editor Pane.
0:05:00
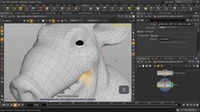
コンポーネット選択方法
This video will be an overview on how to do component selection in Houdini, using the different selection modes. We set up a side-by-side view to see the difference between having Select Visible Geometry Only enabled/disabled. In addition to Box selection, we look at Brush, Lasso and Laser and where it would be helpful to use which selection mode. And of course, because we love hotkeys, we see how Spacebar+Z hotkey will allow you to focus the camera to the position of your cursor, which not only zooms in on the spot but also tumbles on/around that position.
0:05:00
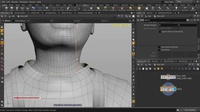
ポイント編集
このビデオでは、Houdini でのポイント編集方法を紹介します。Select Visible Geometry Only のオン/オフ切り替えによる選択範囲の指定や、Soft Edit Radius によるポイント移動時のフォールオフ設定方法を紹介します。
0:05:00
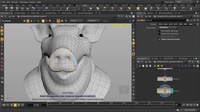
エッジループ選択
This video is a demonstration on how you can make selections in Houdini. You can do edge loops/face loops (aka primitive loops), partial loop selections, edge rings, convert selections and adding additional loop selections.
0:05:00
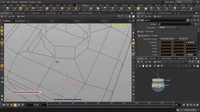
スナッピングツール
This video will cover the snapping tools in Houdini. You can enable grid snap which uses the ortho grid, point snap which allows you to snap to any point on a geometry, and additional Multi-Snapping options via the Handles & Selector controls tab on the left side of your Houdini UI.
0:05:00
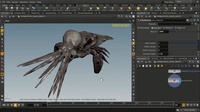
PolyReduce (ポリゴンの削減)
Learn how to reduce the number of polygons, to better prepare it for LOD use in a game. We'll do so using the PolyReduce SOP and explore the Keep % slider, Optimization, Equalize Edges and additional options that are available.
0:05:00
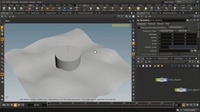
エッジスムーズ
Learn how to work with edge smoothness, for example, when preparing for soft and hard edges for your geometry, that can be exported to game engines. We'll look at using the Normal SOP on various surfaces to observe the amount of smoothness/cusping angle values and how it affects the surface smoothness.
0:05:00
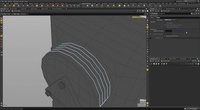
エッジループ
このビデオでは、Houdini の Edit Loop ツールを紹介します。エッジループを複数挿入しますが、それよりも、分割数を決めるエッジスナップの有効化 (例えばエッジの中心の割り出し、またはエッジをスプリットする際の分割数)、そしてループ数と割合による配置などエッジループ同様のコントロールなどがあります。
0:05:00
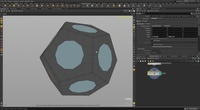
Editによる円形
Edit SOP に選択した形状を等分した真円 (または選択ジオメトリから最も真円に近い形状) に変換する機能が追加されました。ポイント、エッジ、面のいずれかで選択し、T キーを押してRMB->"Make Circle" または SHIFT+C ホットキーで実行します。
0:05:00
Editによる直線化
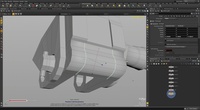
ここでは Houdini の Edit SOP を使ったジオメトリの直線化と等間隔化の方法を紹介します。部分的なエッジループを複数選択し、Tキーを押した後に RMB->"Straighten selection" または SHIFT+S ホットキーで実行します。または、エッジを複数選択後、Tキーを押した後に RMB->"Evenly space selection" または SHIFT+E ホットキーで実行します。
0:05:00
PolyBevel ツール
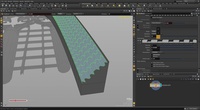
このビデオは PolyBevelツールとそのコントロールオプションを紹介します。PolyBevel は、ジオメトリ全体に対しても、または事前に定義した選択グループ (グループに含めるコンポーネントを選択、ビューポート内で TAB->Group)に対しても適用可能です。これが完了したら、オフセット (一定距離または一定幅)、フィレットシェイプ (Solid/Crease/Chamfer/Round/Profile)、分割数、頂点分割などのオプションにより結果をコントロールします。元になっている選択がエッジか、または面かで、設定が同じであっても、結果は異なります。さまざま設定を試してみましょう!
0:05:00
PolySplit ツール
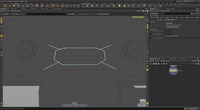
PolySplit ツールを使うことで、ポリゴンサーフェス上にエッジを描いて自由に分割することが出来ます。このツールには、描いたカーブを常に閉じたカーブにするための Close Path オプションや、出力結果を常に4角形にするために補助エッジを自動的に追加する Quad Autocompletion オプションなどがあります。
マウスホイールによるスクロールで分割のガイド表示したり、分割数を変更したり、分割の比率、例えばエッジの中間点など、変更したりすることも可能です。
0:05:00
TopoBuild ツール 馬モデル
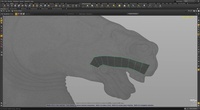
In this video, we're going to look at how to re-topologize using the TopoBuild tool inside Houdini. We import a highres scanned mesh geometry and then using the TopoBuild tool, turn it into a templated mesh that we can “draw” live on. We change the display options to Hidden Line Ghost to see the new topobuild mesh more clearly. TopoBuild allows us to place guide points, which we then use to create geometry from. Additionally, we can pull out faces by clicking on an edge
0:05:00
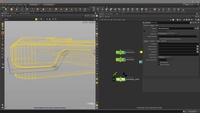
ブーリアン・シャッター
このレッスンでは Houdini の Boolean ツールの Shatter 機能の使用方法を紹介します。
0:05:00
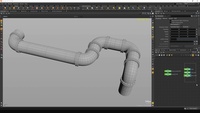
ポイントベベル
PolyBevel を使ってポイントに対してベベルを実行することで、カーブ上ではフィレット (fillet) 、ジオメトリ上では 面取り (chamfer) の結果を得ることが出来ます。この機能は、プロダクションビルド 15.5.565 以降に実装されているので、これ以降のビルドを使っていることをご確認ください。
0:07:00
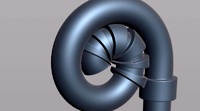
Bend
This quickstart tutorial shows how you can use the Bend SOP, to bend, twist, taper, adjust length scale, and create shapes which would otherwise require significant effort when manually modeled as a starting initial position. This video will show how you can bend a plain tube geometry into a more interesting shape, with little effort.
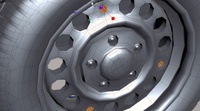
Local Transform
This quickstart tutorial shows how you can access and use Local Transform, as well as how to set hotkeys to your most commonly used tools. Using Local Transforms will allow you to make correct geometry edits, which respect connected geometry selections and gives you the ability to properly scale, translate and rotate in their respective spaces.
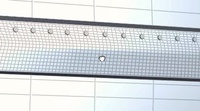
Circle from Edges
This quickstart tutorial shows how you can use the Circle from Edges SOP to automate and generate convenient circular geometry - in this case, a panel of rivets. Circle from Edges is different than the Make Circle option in the Edit SOP, as it allows you to make multiple geometry selections from a Group field and convert them all to circles, with specified radii.
Category: Modeling