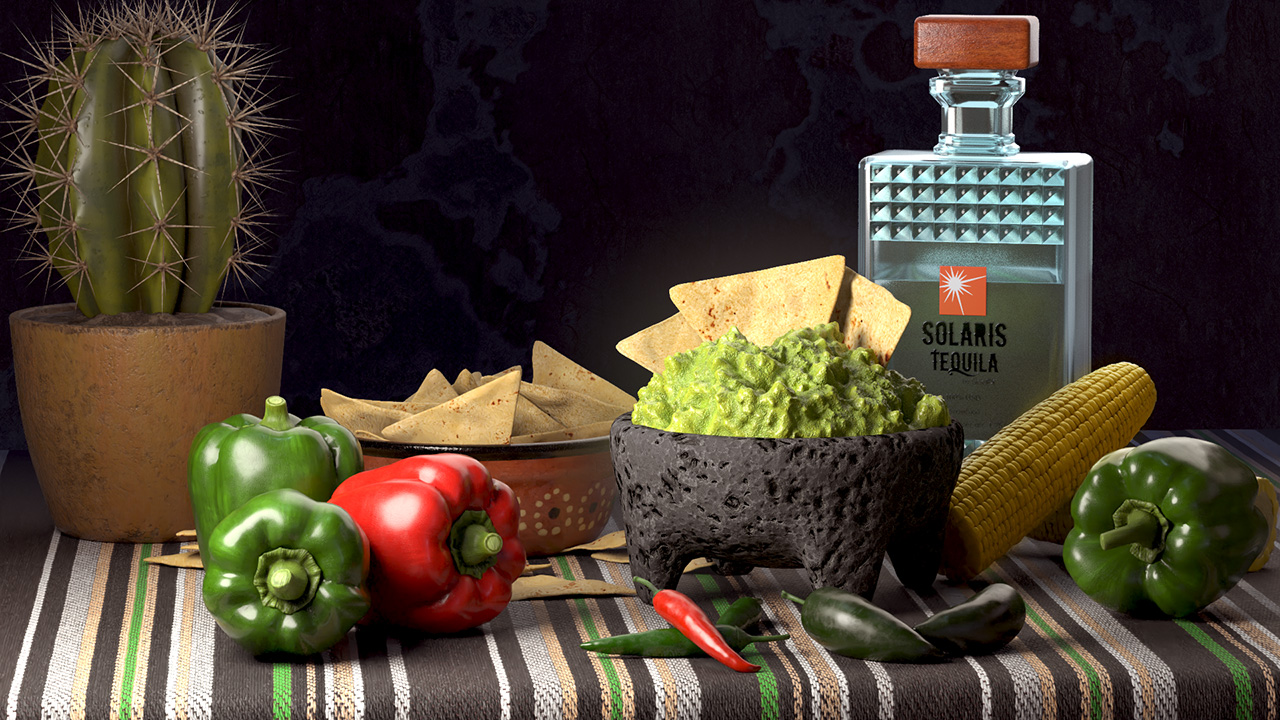
While choosing the right render engine from a wealth of options can be a challenge, Solaris [LOPS] lets you embrace and even combine more than one. With its USD support, Solaris has access to any renderer designed to work as a Hydra delegate - renderers such as Pixar's RenderMan, Autodesk's Arnold, and Maxon's Redshift. Learn how to set up and work with Karma, Houdini's built-in renderer, along with these three 3rd party renderers. Learn how to use them in the viewport, set up materials, lights, cameras and AOVs then render the final results to disk. And finally learn how you can use the compositor to build a final rendered image using pieces taken from all of the renderers.
IMPORTANT: Inside Houdini, be sure to use File > Set Project to set the project file as your home directory.
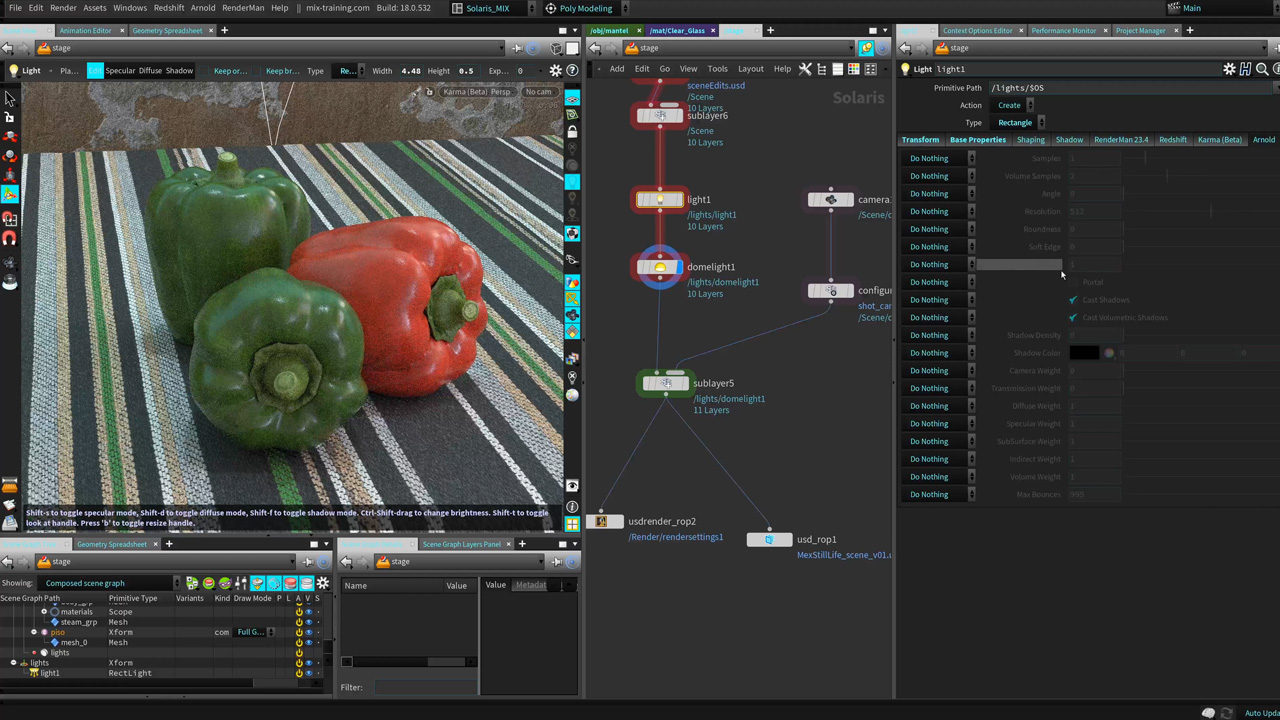
This is because there are $JOB references that will only work when the project is set properly.
1. OVERVIEW AND RENDER ENGINES
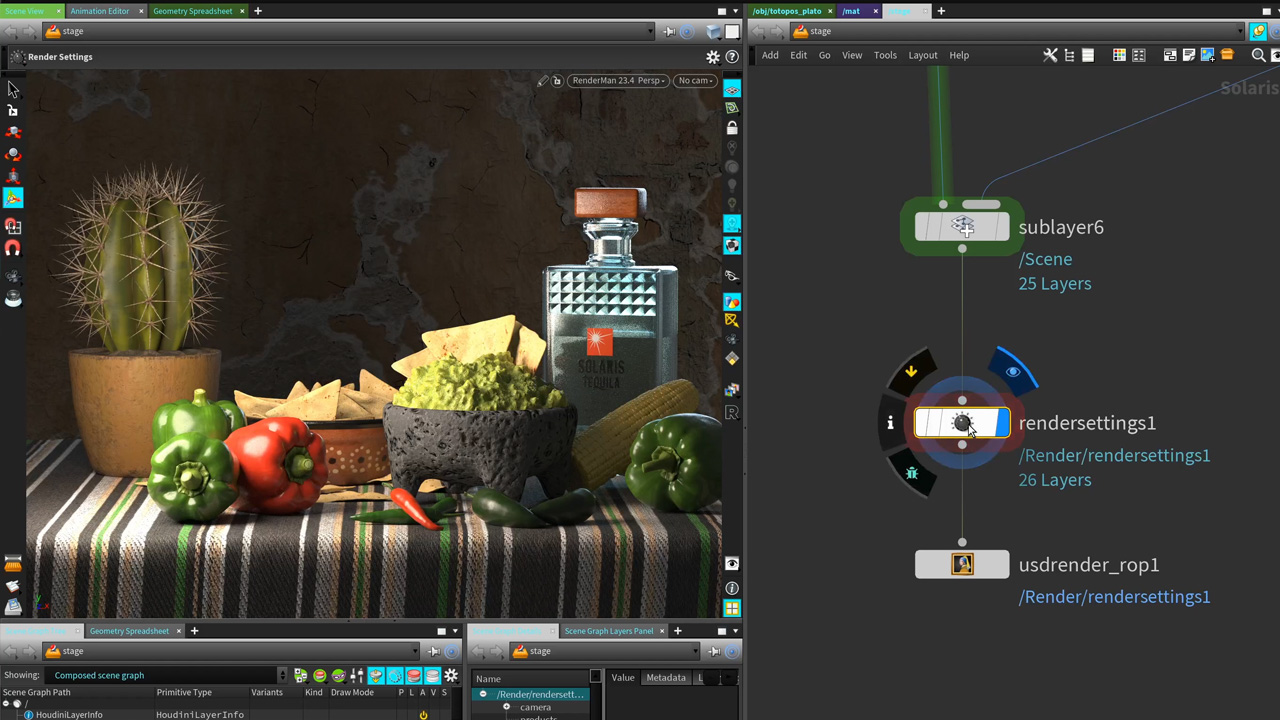
Explore the final scene and learn what is going to be taught in the upcoming lessons. At the same time, learn how to set up environment variables to allow all the render delegates to function properly once they have been installed.
Length: 15:03
2. USING THE HYDRA DELEGATES
Learn how to use the different delegates in the viewport while navigating a shot in Solaris. Take a quick look at the different components of a render setup to understand some of the concepts and ideas you will utilize in the upcoming lessons.
Length: 23:55
3. UNIFIED MATERIAL SETUP
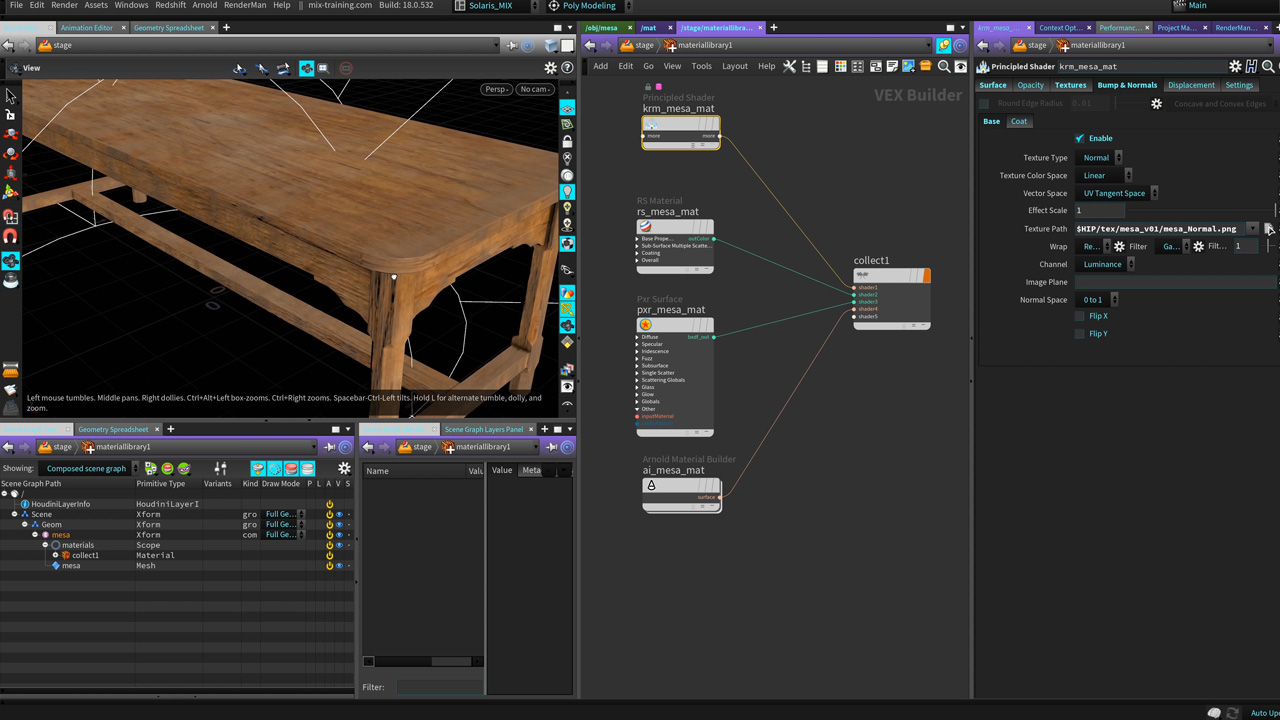
Each prop in the final shot needs to be set up inside Solaris as USD primitives then materials need to be assigned. Learn how to set up multiple materials feeding through a collect node to support all of the renderers. You will also use name-space tricks to create a setup that can be easily applied to all the assets on disk by simply changing the name of one node. The extra time taken to set this up will be worth it as your scenes get more complex.
Length: 1:08:23
4. LIGHTING THE SCENE
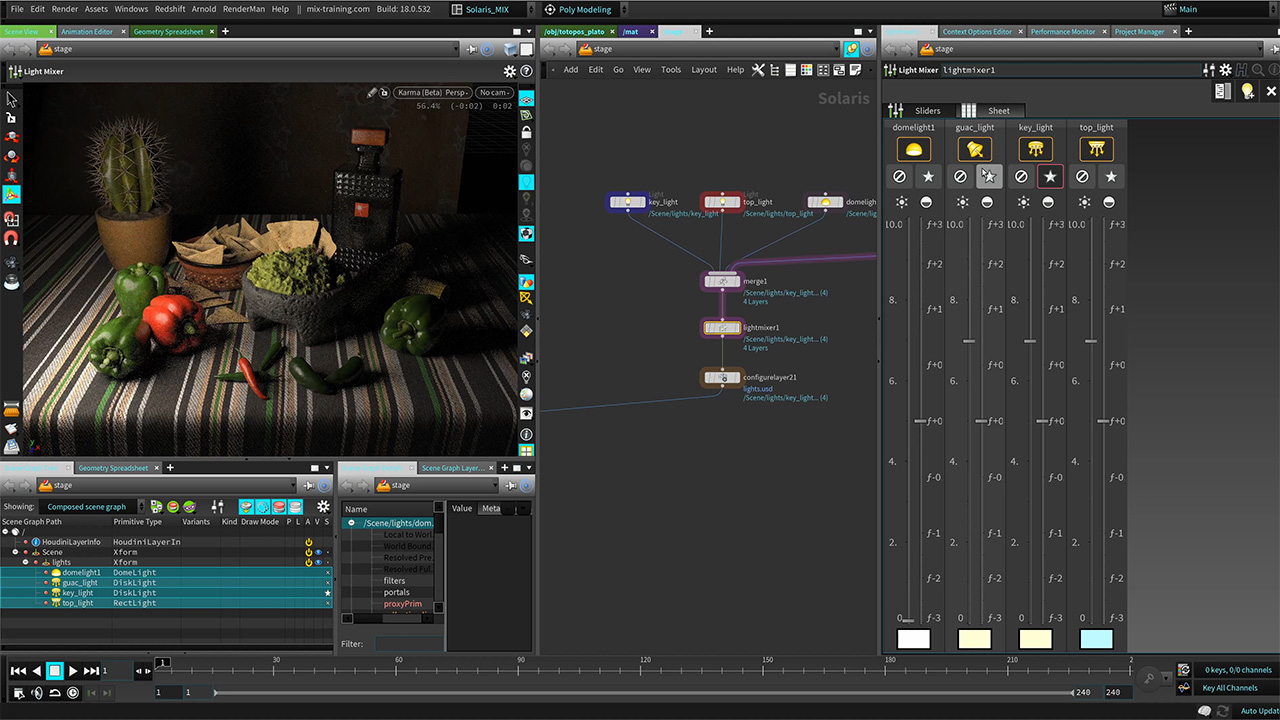
Once the assets are in place, you will want to light the shot. Learn how to set up the lights as part of the USD scene graph then how to use interactive tools in the viewport to position the lights. Learn about the Light Mixer which lets you tweak the light intensity and exposure while soloing and disabling lights to test out their contributions to the final look.
Length: 39:52
5. GENERAL RENDERING SETTINGS
Each renderer has specific render settings that you can use to get the best shot possible. Learn how to find those settings in the viewport and then how to incorporate specific settings into the scene graph.
Length: 22:58
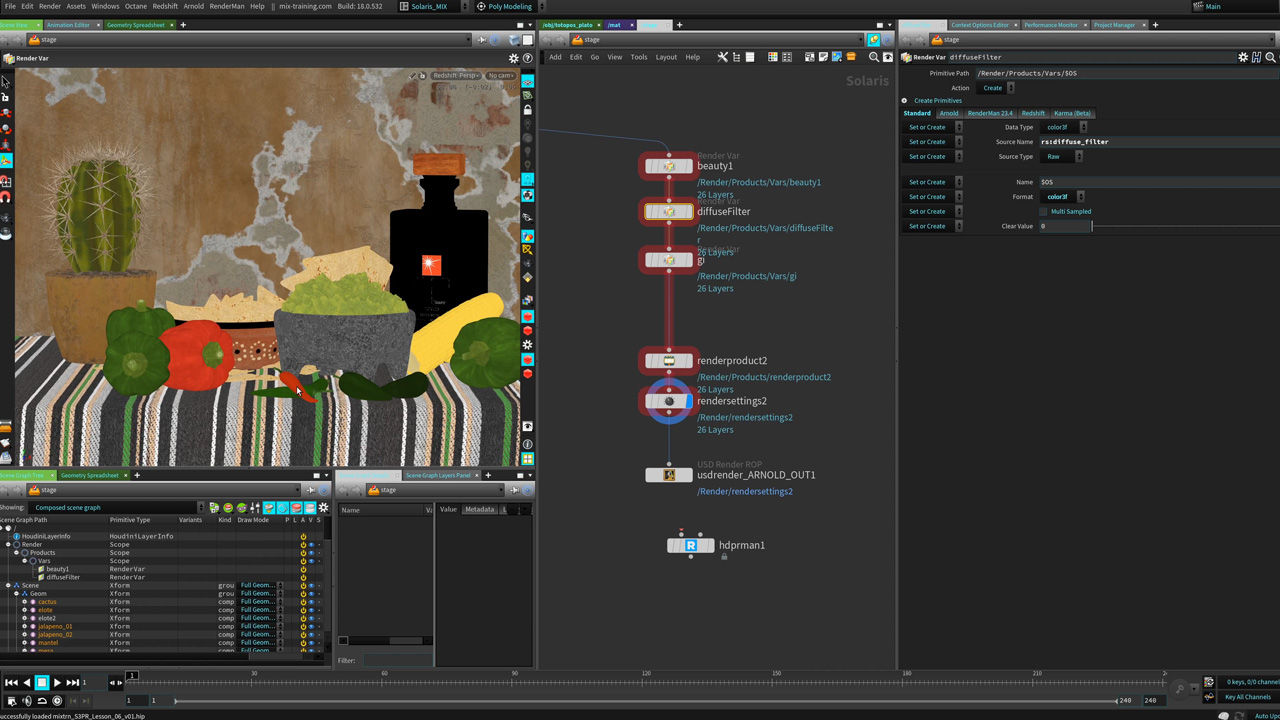
6. RENDER VARS | AOVS
To support a compositing workflow, it is important to output your shot with render layers. These layers or AOVs can be managed using a Render VAR node which needs to be set up differently for each type of render engine. You will learn how to build these by hand or how to use high level nodes for Karma and RenderMan which have this feature built-in.
Length: 26:00
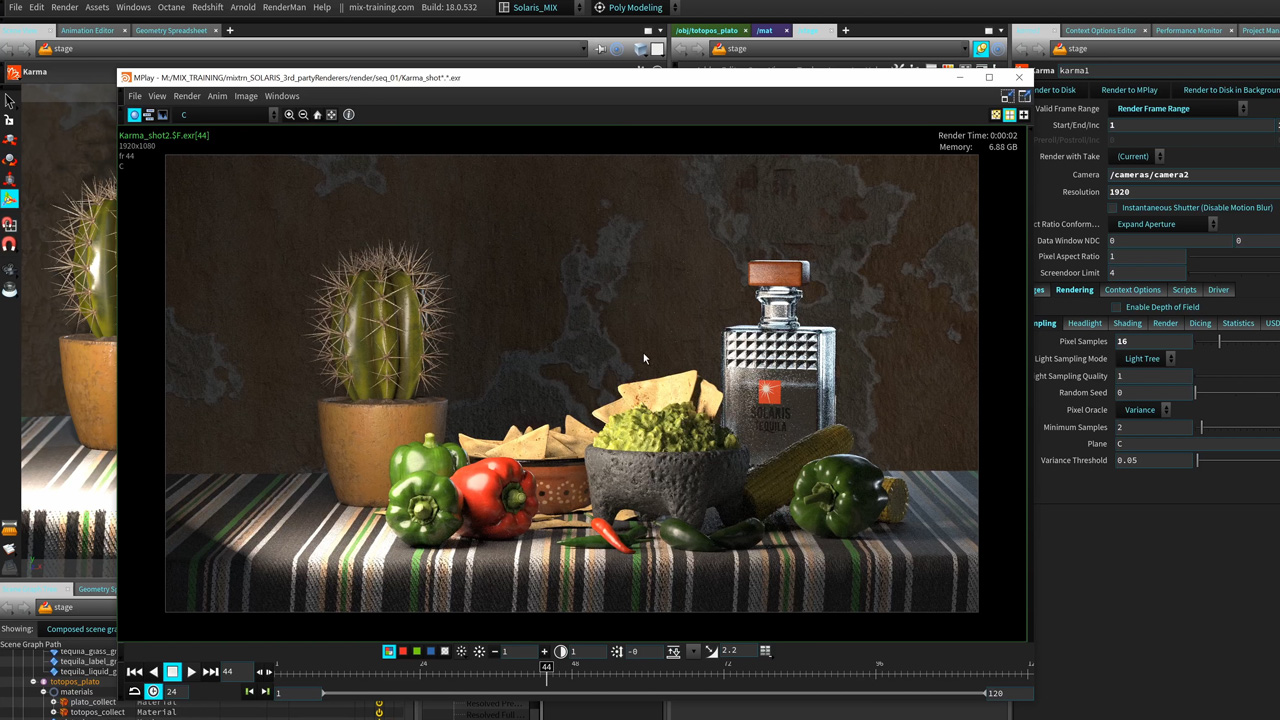
7. RENDER SEQUENCES TO DISK
Once you are finished, you will want to set up a camera and render. Learn how to add some animation to the camera then output a sequence to disk.
Length: 14:57
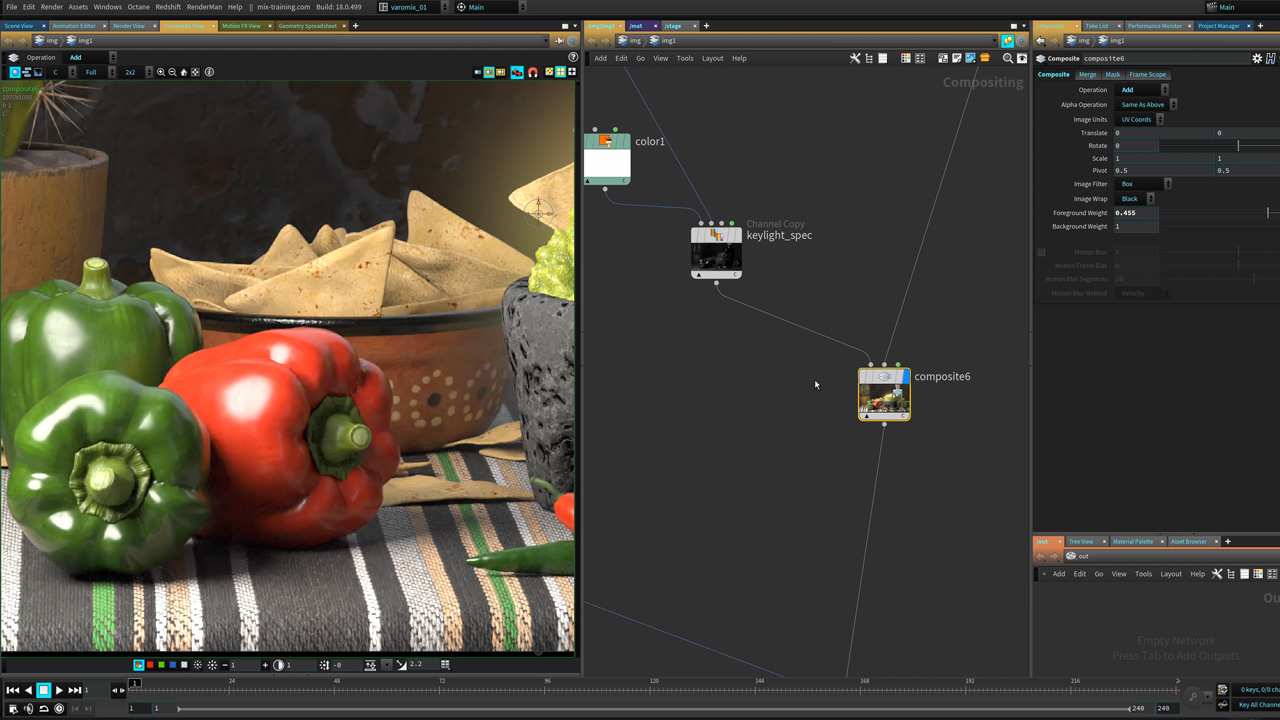
8. FINAL COMPOSITING | COPS
Now that there are renderings of the shot from all of the render engines with AOVs, you can use Houdini's built-in compositing context called COPS to create a final image that combines the best parts of all the different renderers - grab the bottle from RenderMan and the highlights from Arnold then layer that all onto a Karma rendering. The possibilities are endless when working with Solaris and 3rd party renderers.
Length: 17:24
コメント
harryabreu 4 年, 6 ヶ月 前 |
Thank you very much :-)
This knowledge it is very useful
varomix 4 年, 6 ヶ月 前 |
I'm glad you find it useful, thank you
mearg 4 年, 6 ヶ月 前 |
Thank you varomix!
varomix 4 年, 6 ヶ月 前 |
My Pleasure, enjoy
pixeltrain 4 年, 6 ヶ月 前 |
Great series Varomix :-)!!!
varomix 4 年, 6 ヶ月 前 |
Thank you Helge
Danil Shaposhnikov 4 年, 6 ヶ月 前 |
finally finished watching all the episodes. Thanks, Varomix. Now I know what guacamole is, probably it's delicious. :)
varomix 4 年, 6 ヶ月 前 |
It totally is :D, just be careful cutting those avocados OK
Danil Shaposhnikov 4 年, 6 ヶ月 前 |
avocados? What is it? Show next time)))
blackurco 4 年, 6 ヶ月 前 |
Awesome series, thanks for the hard work!
varomix 4 年, 6 ヶ月 前 |
I'm glad you enjoyed it
spinori 4 年, 6 ヶ月 前 |
Thank you very much, great stuff! Especially the bit regarding rendervars. Do you have a lesson coming up regarding rendering with motion blur/depth of field in solaris? :)
varomix 4 年, 6 ヶ月 前 |
Glad you like it, quite a long research on LPEs, AOVs to do that, there are no immediate videos coming, but updates will come ;)
rlvelocity 4 年, 6 ヶ月 前 |
Another benefit of this tutorial was forcing me to better learn how to deal with the living hell that is the houdini.env file. If I loaded Renderman, Redshift wasn't loading then the Sidefx Labs tools weren't loading and then.... argh!! Finally got it all sorted.
rlvelocity 4 年, 6 ヶ月 前 |
Also, a great piece of info when you show what your houdini.env file looks like: I never knew you could use ${HOUDINI_VERSION} in place of a specific version number e.g. 18.0.532. This will save having to update it manually every time I download a new version of Houdini and Redshift. Thanks!
varomix 4 年, 6 ヶ月 前 |
Houdini.env is really simple, you just need to know how it works
rafaelflorescrea 4 年, 5 ヶ月 前 |
Nice intro to Solaris, muchas gracias!
AhmedHindy 4 年 前 |
Love the series, is it more usable/ stable in 18.5? I heard it is.
varomix 4 年 前 |
it is, everything is improving, Houdini, renderers, USD etc.
aleksira 2 年, 8 ヶ月 前 |
Useful info. Thanks.
Please log in to leave a comment.