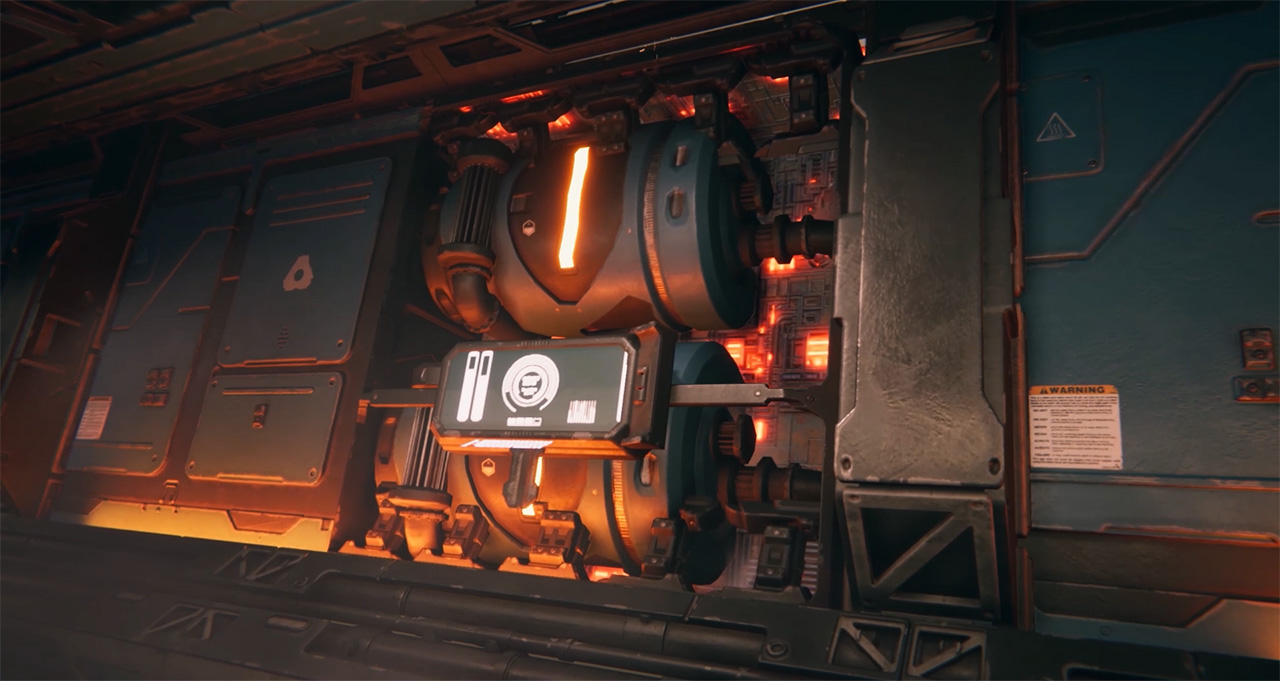
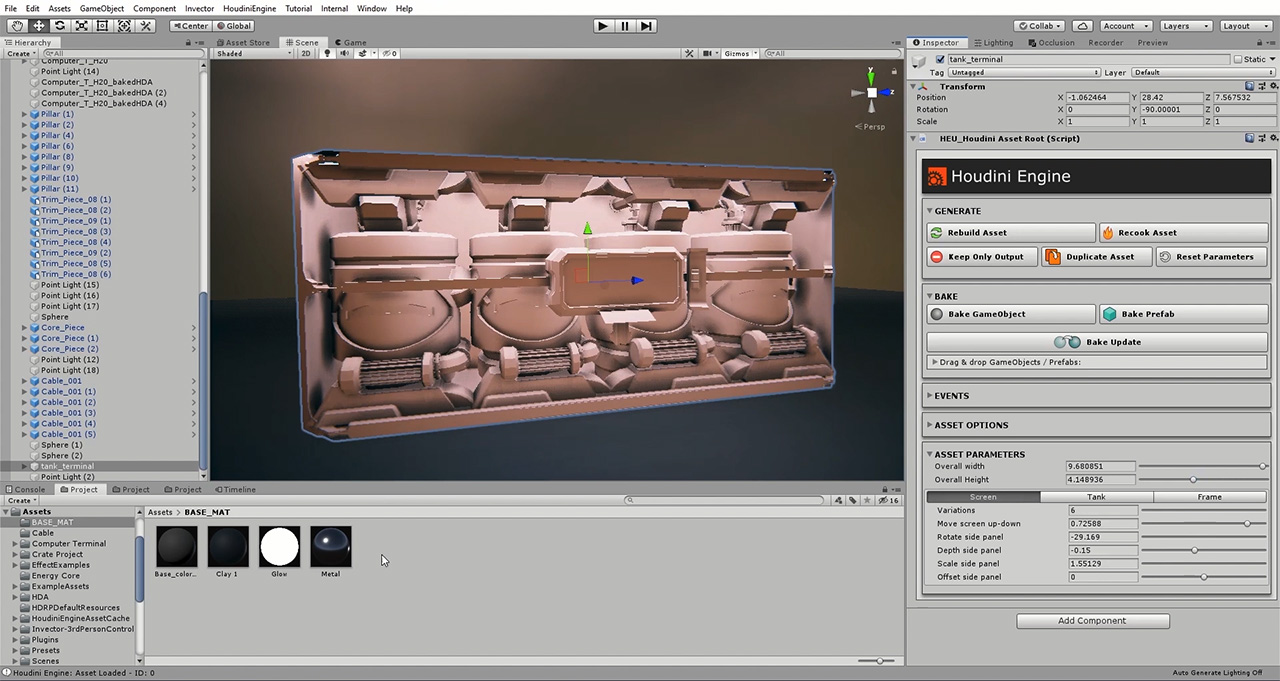
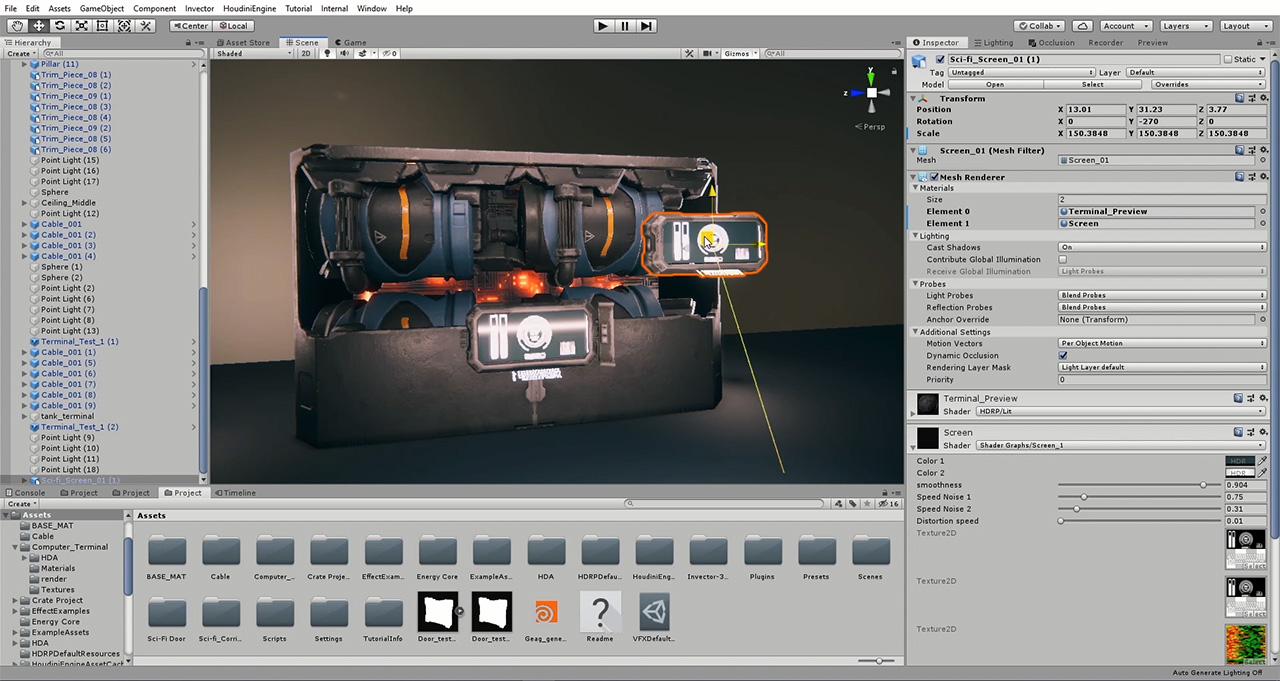
In this lesson, you will create a procedural asset for a sci fi game level that includes a computer terminal and fuel tank elements. To start you will set up a specific control shape that all of the elements will fit into. This allows you to make adjustments to the overall form factor and the details will change to match. Along the way you will explore different procedural modeling techniques that culminate in a high poly to low poly bake that creates maps you can use to build texture maps using Substance Painter. You will also wrap up all the parts into a Houdini Digital Asset for use in the Unity game editor.
NOTE: This lesson uses the Quick Groups and Sci-fi Surface Detail assets which are included with the project files directory in the Sci Fi Door Tutorial. Refer to that lesson to download and install these assets to your home directory.
INTRODUCTION
To start, you will explore the finished asset. This will give you a good idea of where this lesson is headed and lets you explore the flexibility of this game asset wrapped up as a Houdini Digital Asset.
Length: 3:00
PART 1 | MODELING THE SCREEN
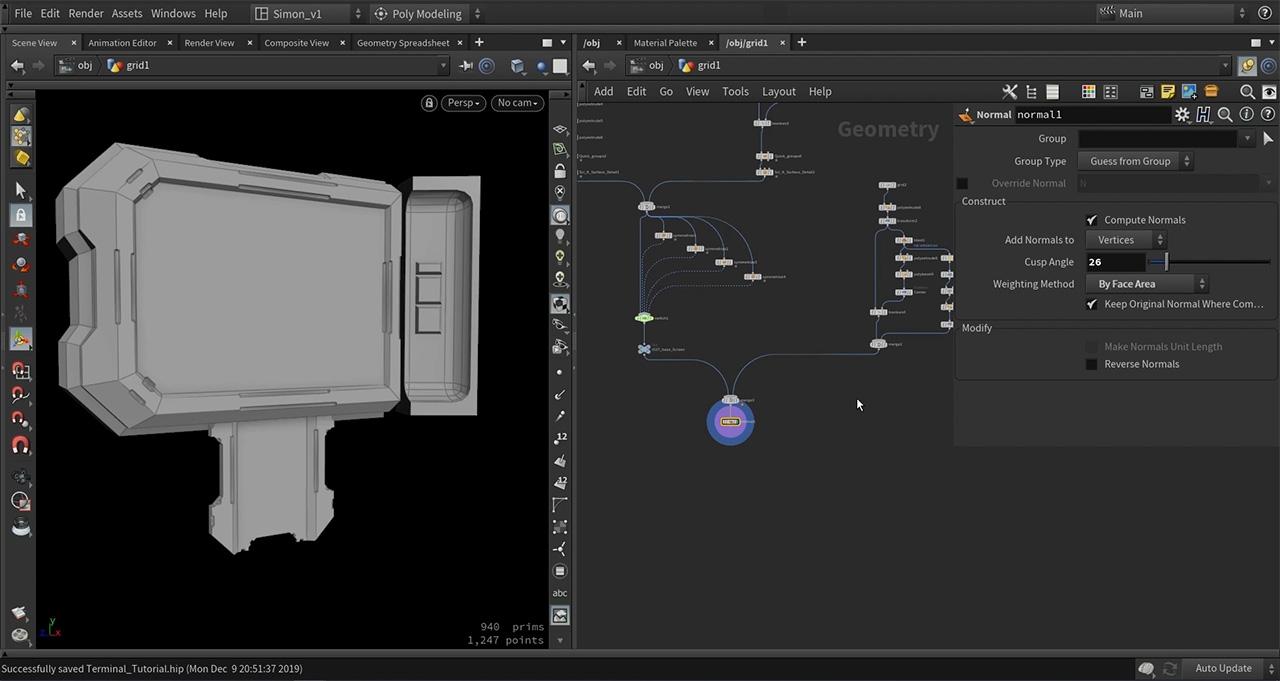
Using Houdini's procedural modeling tools, you will construction several screen configurations which will become options on the finished digital asset. You will learn how to layer in different kinds of details that will give the terminal its sci-fi look.
Length: 26:36
PART 2 | MODELING THE FUEL TANK
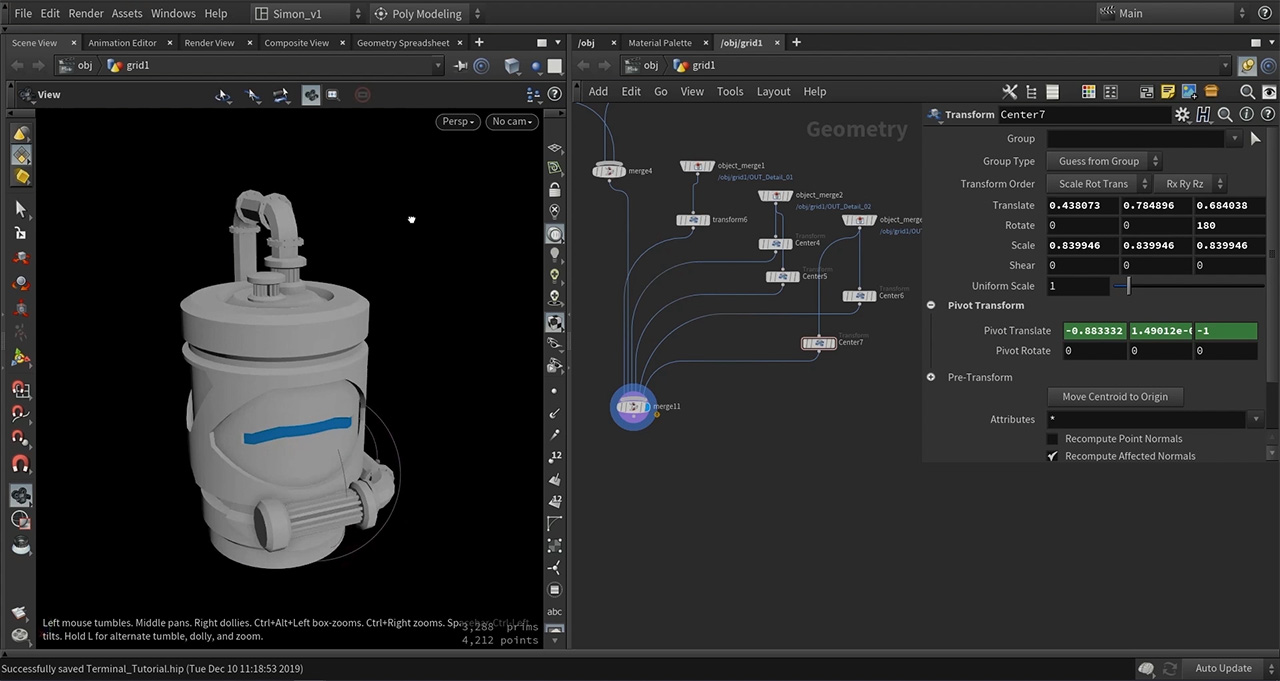
Modeling the fuel tanks will also involve different modeling techniques including booleans, sweep and more. These all combine into a fuel tank design that can be easily repeated to create the focus of the terminal prop.
Length: 19:51
PART 3 | COMBINING THE ELEMENTS
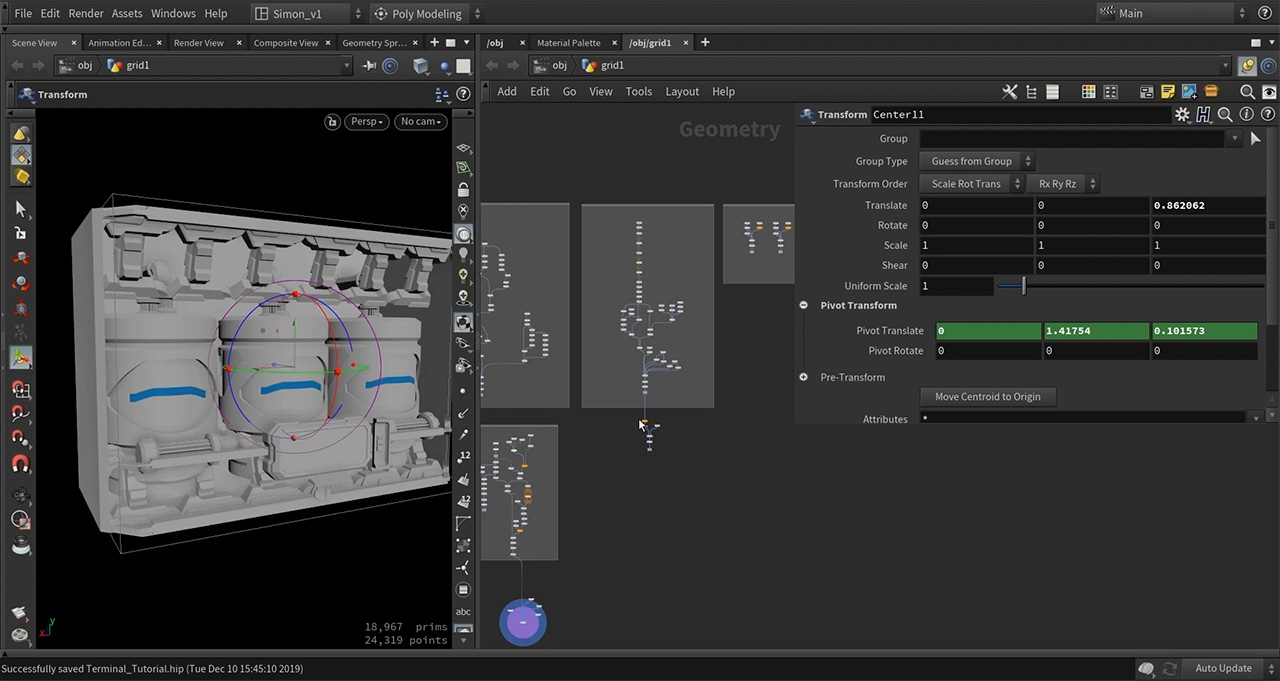
You will now build an enclosure for the tanks and position the terminal along its middle bar. The focus will be to create interconnections so that when the base shape is altered, all the parts adjust accordingly. This is where you start to see how powerful a procedural approach can be.
Length: 30:43
PART 4 | BUILDING THE DIGITAL ASSET
To make the procedural nature of this prop available in the Unity game engine, you will wrap everything into a Houdini Digital Asset with key parameters promoted to allow for adjustments in Unity. You can then test the asset in the editor then tweak its UI to give your level designer lots of control.
Length: 20:01
PART 5 | HIGH POLY TO LOW POLY
To make the geometry more game-friendly, you will set up high poly and low poly versions of the elements of this prop then you will set up UVs and bake out textures that you can use to develop the look of the prop using Substance Painter. This will give you a finished asset that will work effectively in your game.
Length: 32:21
コメント
TwinSnakes007 4 年, 11 ヶ月 前 |
Thanks alot for this! Looks great.
c351951511 4 年, 11 ヶ月 前 |
Part 3 is a private video, could you plz fix that link
c351951511 4 年, 11 ヶ月 前 |
Thanks for fixing that! The quality of the series of sci-fi procedural modelling tutorials is as good as paid courses. Simon is amazing!
Juan Iturbe 4 年, 11 ヶ月 前 |
These are the best modeling tutorials i've seen, Please make a paid course
Miguel Arribas 4 年, 11 ヶ月 前 |
Simon is an amazing artist and teacher thanks for all!
cryczech 4 年, 11 ヶ月 前 |
So... my Houdini is missing "Quick Groups" and the Sci-Fi detailing nodes...
Simon_V 4 年, 11 ヶ月 前 |
You can get these nodes by downloading the files from the Procedural Door. https://www.sidefx.com/tutorials/sci-fi-door-generator/
You also need to install these HDA files.
BlissettDMB 4 年, 8 ヶ月 前 |
Always awesome!!! Great job by Siver :). Thanks SideFX!!!
AleksandrOSS 3 年 前 |
Where to get the nodes "Sci_fi_Surface_Detail" and the rest of that group
Please log in to leave a comment.