| On this page |
Object Asset Overview 
One of the ways that Houdini Digital Assets can be used in the Houdini Engine for 3ds Max plugin is by instantiating an HDA as an object in the scene.
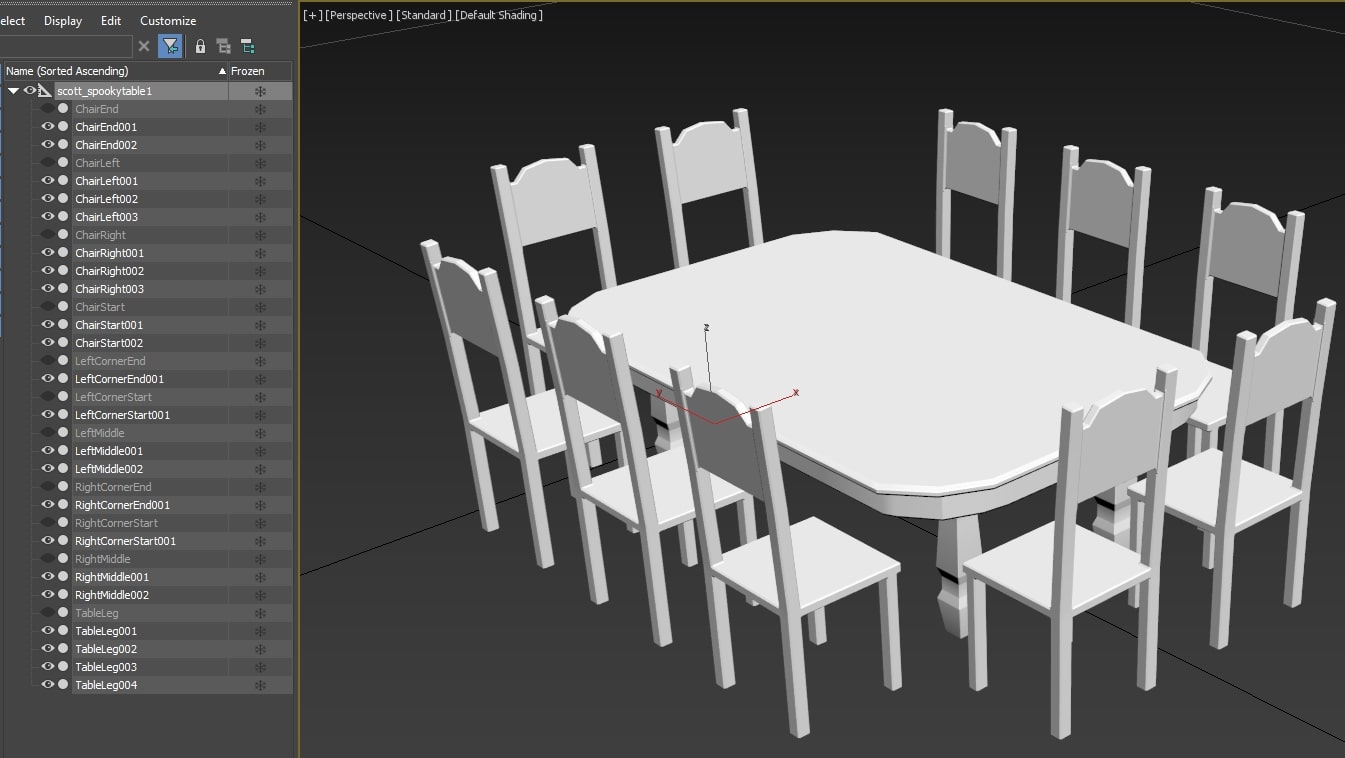
When an object asset is created, the plugin will make a top level node which is the parent of all display geometry nodes and other nodes that get created from the HDA. This top level node contains a dummy object. Nested under the top level dummy object will be nodes for display geometry, editable geometry, and/or instances and clones of other nodes (when using packed primitives or instancing).

HDA Requirements 
An HDA that is used to instantiate an object asset can be either an OBJ level or a SOP level HDA.
Creating an Object Asset 
There are several methods to create an object asset.
-
Highlight the asset in the Loaded Assets list and use the Create Object button.

-
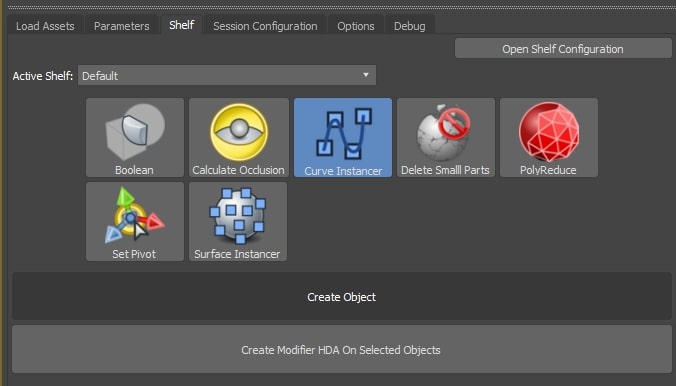
Highlight a tool in the shelf menu and use the Create Object button.

-
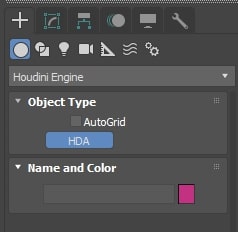
Highlight the asset in the Loaded Assets list, then use the 3ds Max creation tab and select the Houdini Engine option. Select the HDA tool and then click in the scene to instantiate the object asset in that location.

Deleting an Object HDA 
To delete an object HDA in its entirety, simply delete the top-level node which is the parent to all other nodes, and the plugin will recognize this action and delete all of the children nodes that are associated with the HDA.
Object Asset Controls 
Whenever you have an object asset selected and are currently on the Parameter tab of the user interface, there will be various controls available to you:

Setting |
Description |
|---|---|
Recook |
This will force the top level node of the asset to cook |
Reload Asset Definition |
If an asset definition (found in a .hda or .otl file) has been changed, this will allow you to reload the asset definition and recreate the object with the new definition Warning All of the parameters will be reset to their default values. |
Bake |
If you no longer need the procedural controls made available through an HDA’s parameter interface, you can bake out the asset into a static copy. This will bake out all of the display geometry, instances, packed primitives, and materials. This will not bake out any editable components of the asset |
Clone |
This allows you to make an exact copy of the object asset. It will copy all of the parameter values to the cloned asset |
Selecting Inputs 
Inputs can be provided to object assets via two ways: subnetwork inputs and parameter (operator path) inputs.
There is also two ways to go about selecting other objects to use as inputs to the digital asset.
The first method is to press the Lock To Current Selection button, which will lock the parameter interface to the selected object. You are then free to select other objects in the scene and add them as inputs without the parameter interface being removed or changed.
The second method is to keep the object asset selected and add another object to your 3ds Max selection set. When you press the Select button on either the subnetwork input or the parameter input, the plugin will know to add the first object in the selection set that is not the digital asset.