(12.8MB)
Muscles Masterclass
Essentials
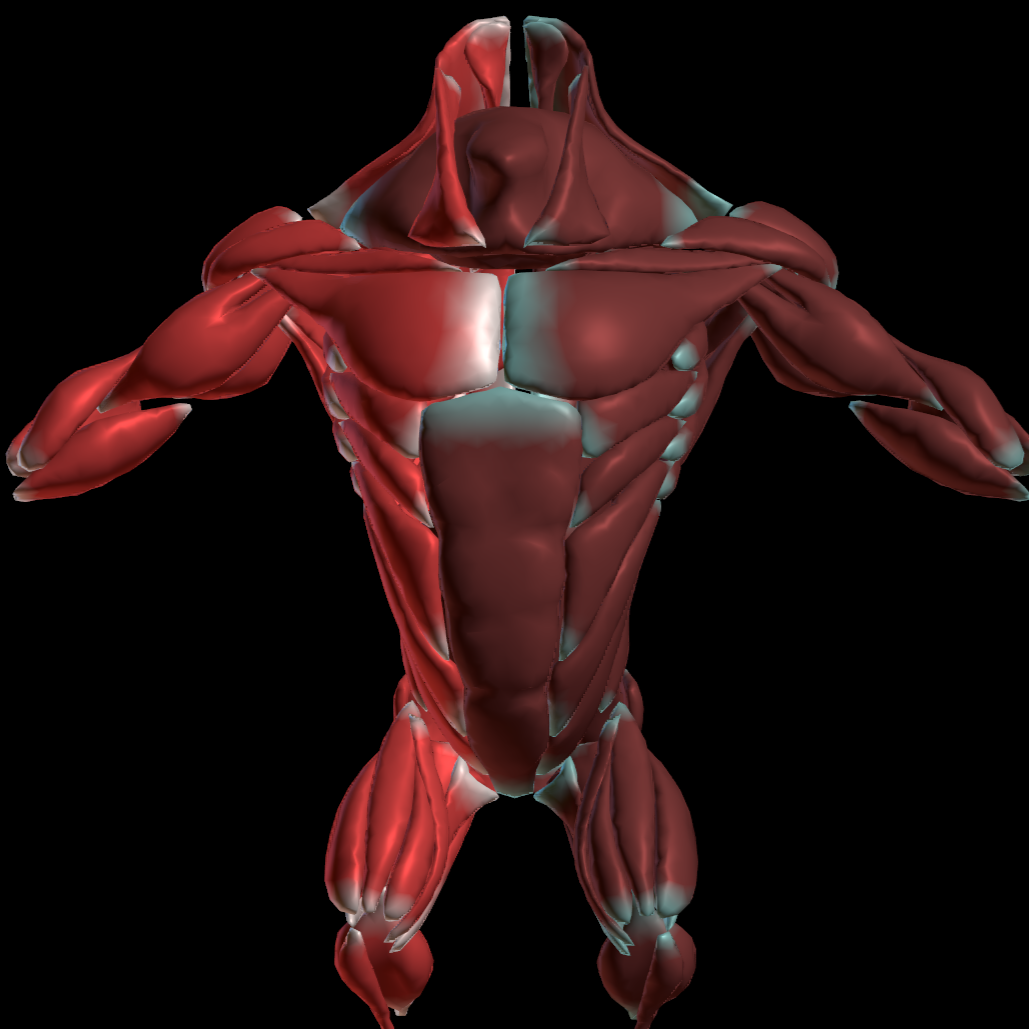
This comprehensive Houdini 20.5 Muscle masterclass series is for both new and seasoned Houdini users. The masterclass covers geometry preparation for your muscles and bones, thorough walk-throughs of all the Houdini muscle nodes, and advanced specialty topics. Along the way, you will learn common pitfalls and problems to look out for and how to deal with them. Furthermore, you will learn tips to make your setup easier and less confusing. The example files will be available for download to follow along.
Introduction

1. Introduction to Houdini Muscles
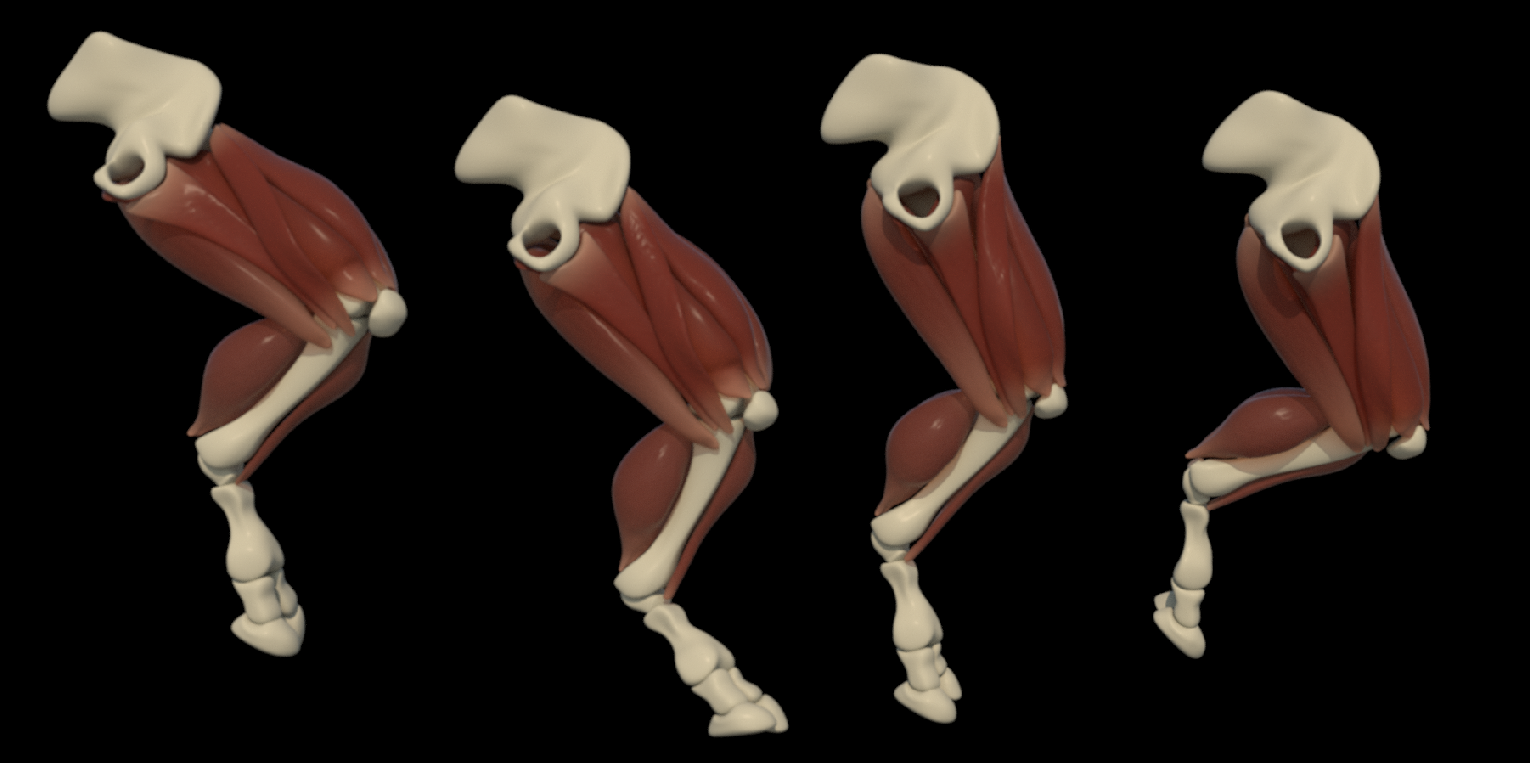
Meet your instructors, Liesbeth Levick and John Mariella, who give a brief introduction to the Masterclass, before showing you an overview of the Houdini Muscle system. This includes a motivation for why the system is built the way it is, a simple example of the benefits of the Muscle System compared to using default Vellum nodes, and finally a summary of the different muscle constraints.
Basic Pass

2. Basic Muscle Pass
In this video we show how to create a simple muscle setup from start to finish on the Capybara test geometry. You will learn the minimum nodes required to get a muscle simulation to work, gain an understanding of why they are required, and pick up tips for efficiently writing out your sim result.
Geometry Setup
3. Geometry Preparation for Muscle Sims
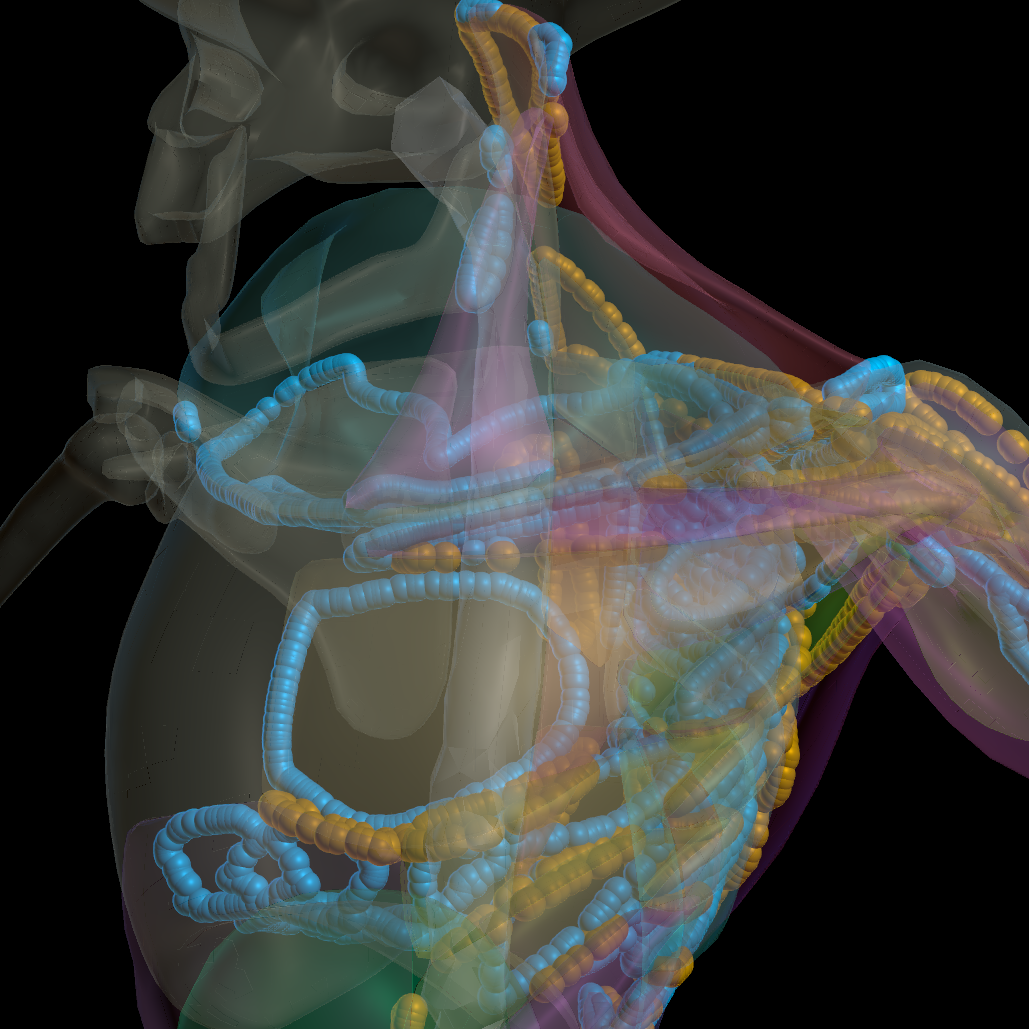
Learn how to prepare your muscle and bone geometry correctly for use in the Houdini Muscle workflow. For beginners we show how to read in, unpack, and scale geometry. We then cover muscle-specific steps such as setting a t-pose attribute, using a Muscle Preroll node, creating muscle IDs from either an existing name attribute or using the Muscle ID node, and naming the bones. We discuss tips for model requirements for the bone geometry and finally show a custom setup for checking rest muscles for intersections.
4. Muscle Solidify
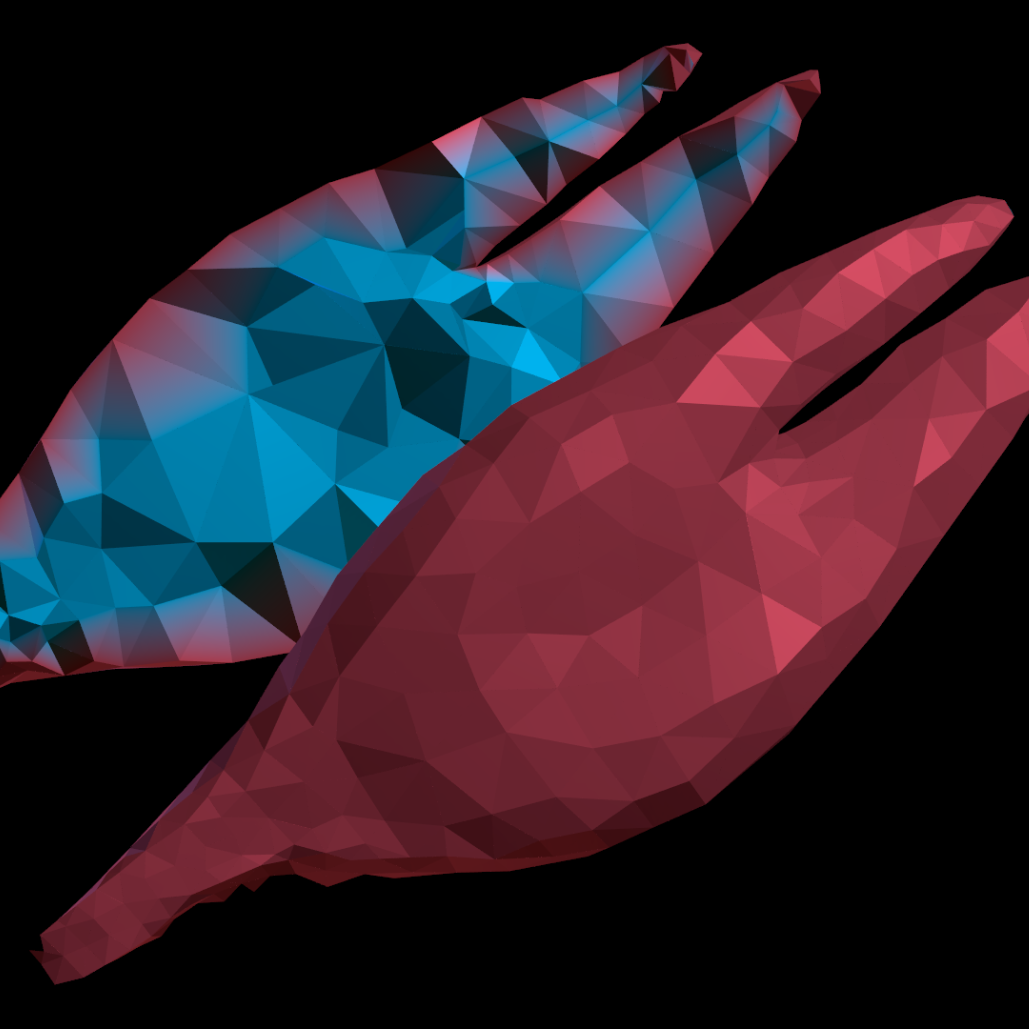
We explain what it means to tetrahedralize your mesh, why you need to solidify your muscles, and how to do so using a Muscle Solidify node. We walk you through all the parameters on the Muscle Solidify node, and some tips to prevent your session from freezing up if you set your tet size too low. We show how you can optionally use a Remesh node first for more control, and finally how to cache out a static geometry using a File Cache node for faster scene evaluation.
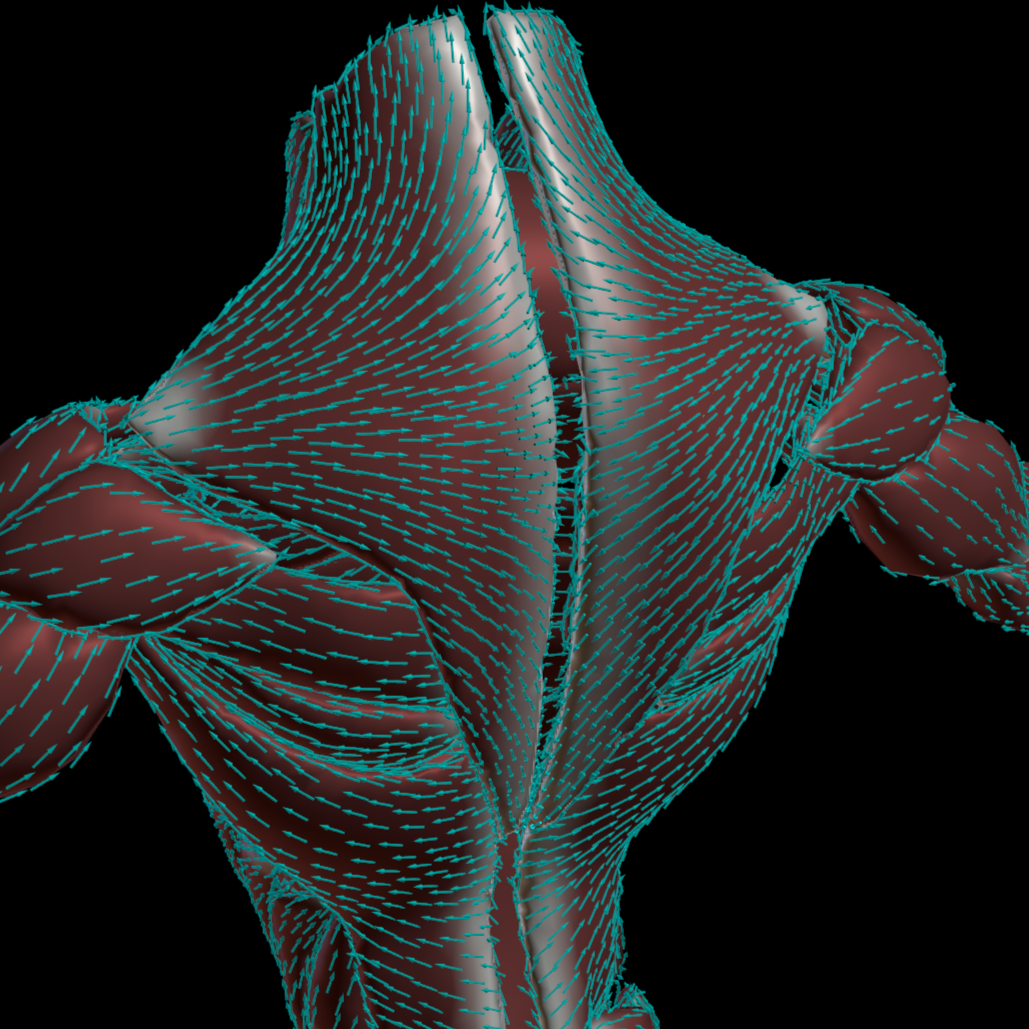
5. Fiber Groom
We demonstrate how to use the Fiber Groom node to specify the direction along which each muscle will contract. Learn how to use the viewport state to see the default fiber directions, how to tweak them with the brush if required, and how to accumulate strokes per muscle to get the desired result. We also cover the different parameter settings and why you might want to avoid using certain settings.
Simulation Properties
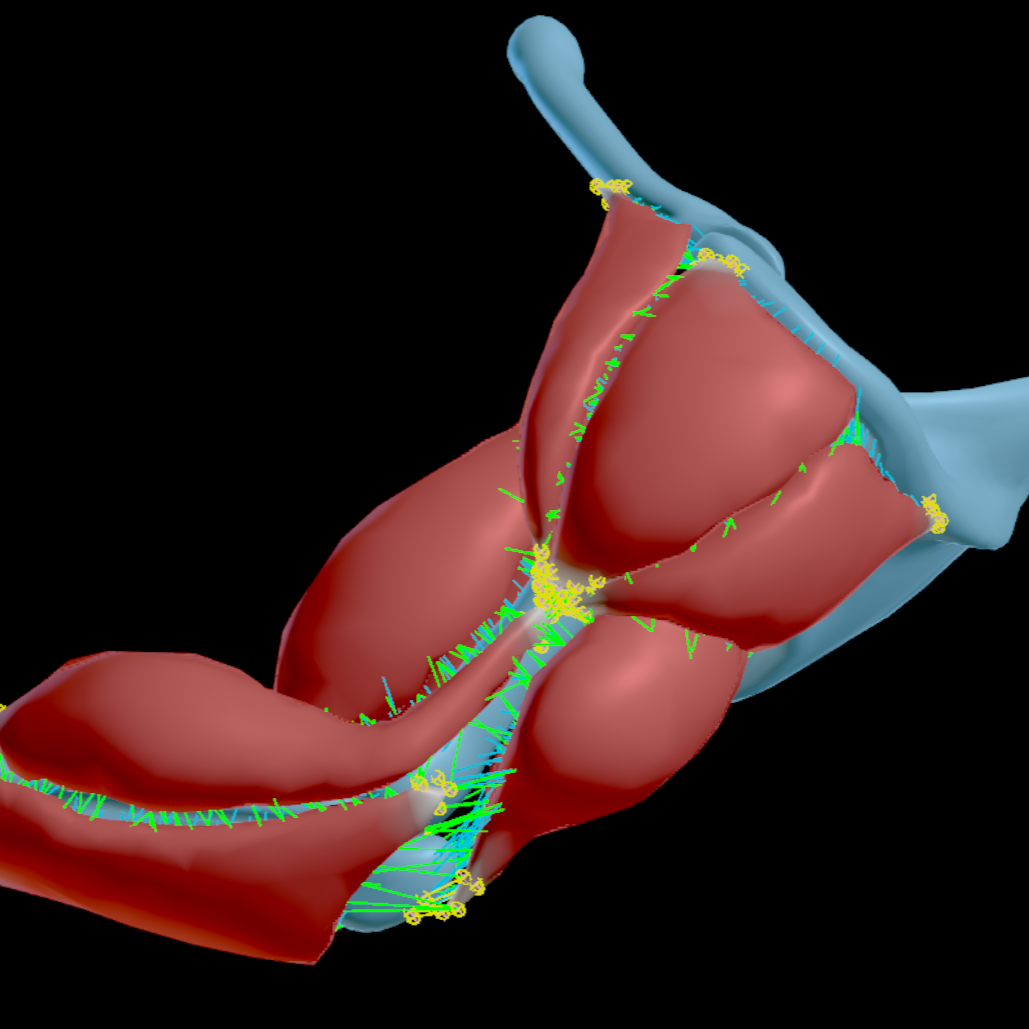
6. Muscle Sim Properties Overview
Gain a better understanding of the difference between the physical properties of muscles and tendons set by the Muscle Properties node compared to the relational properties between muscles to each other and to bones which are set by the Muscle Constraint Properties Vellum node. We discuss how the physical properties of a muscle vary between the belly of the muscle and the tendons, the difference between tendons and muscle ends, why muscle-to-bone and muscle-to-muscle constraints are required, as well as the difference between muscle ends and muscle-to-bone constraints.
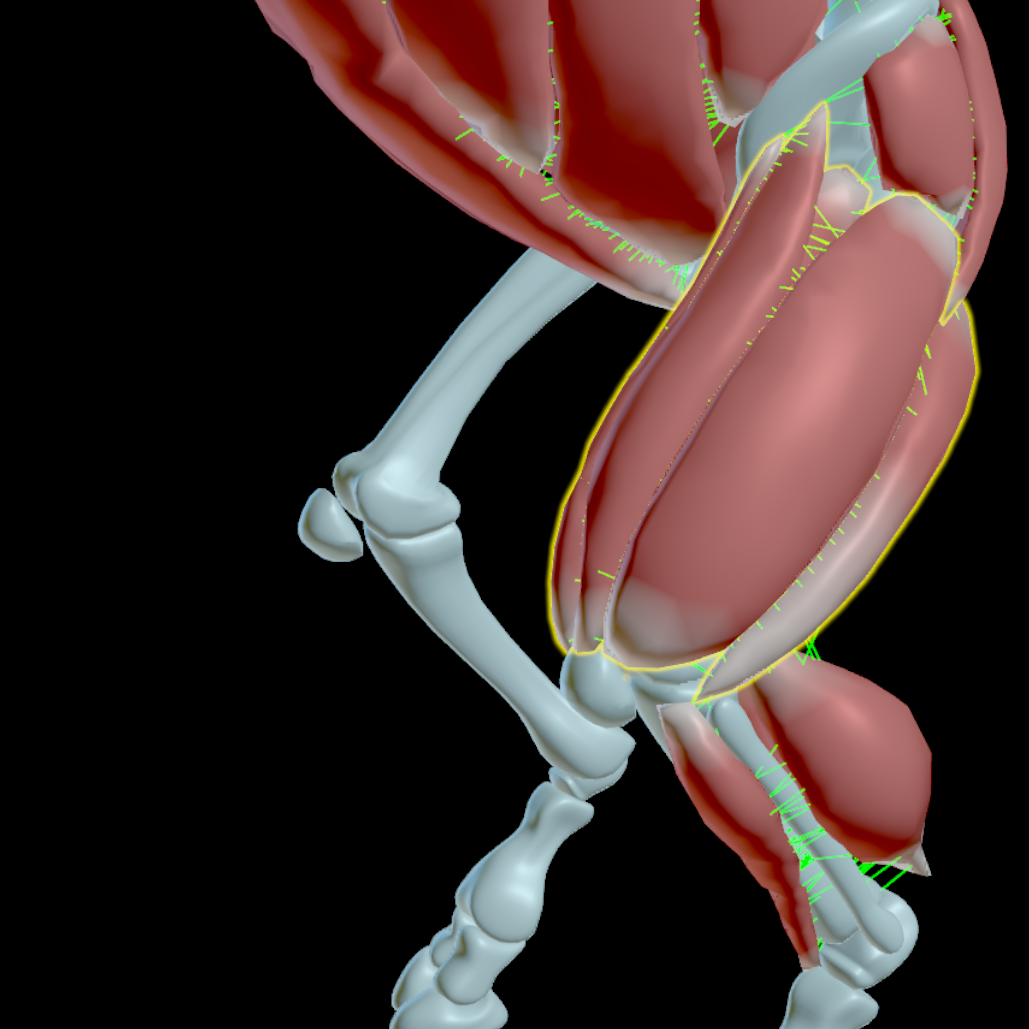
7. Muscle Sim Properties Interface
This video demonstrates the correct usage of the two muscle sim properties nodes, Muscle Properties and Muscle Constraint Properties Vellum, and shows how to avoid common mistakes made by new and experienced users alike. We explain how the multiparm tabs behave as a stack, the difference between absolute and relative parameters, and how to assign settings to all muscles and as well as specific muscles. We show you how to use the viewport state to make working with the nodes a lot easier, especially as your number of tabs increases. Finally we cover the pitfall of using groups and wildcards in the Muscle Constraint Properties node, and why we therefore advise against using them in either node.
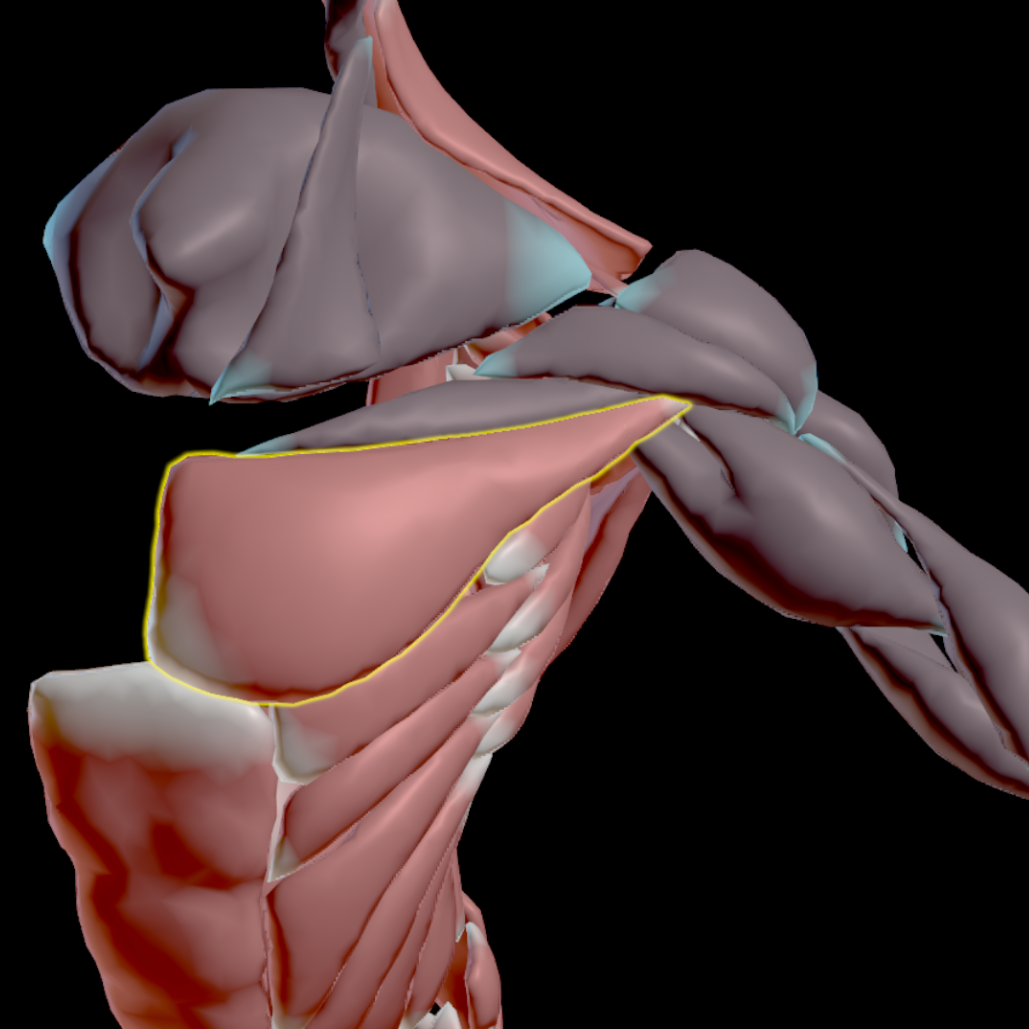
8. Muscle Properties Node
Here we take you through an explanation of all the parameters in the Muscle Properties node, the node which sets the physical simulation properties of the muscles and tendons. These include the mass, stiffness and damping properties of the muscles, as well as how strongly the muscles contract when they are activated. In addition, the Muscle Properties node allows you to procedurally set the tendon regions of the muscles, and define separate mass and stiffness values for the tendons. You will also learn why you shouldn’t have a Muscle Paint node before your Muscle Properties node.
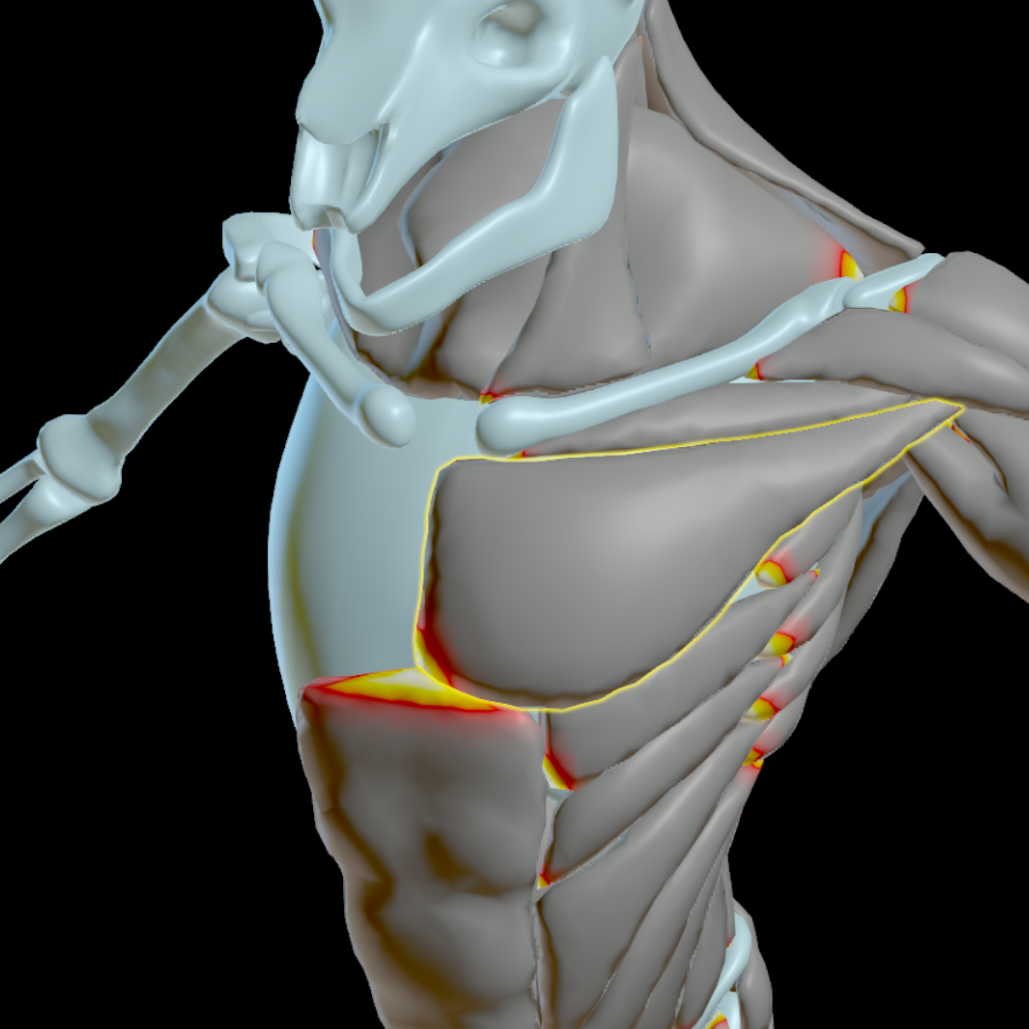
9. Muscle Constraint Properties - Muscle Ends
This is the first of four videos covering the Muscle Constraint Properties Vellum node, the node which sets the relational simulation properties of the muscles, namely how the muscles interact with each other as well as with the bones. We start off with an overview of the different visualizers in the Muscle Constraint Properties Vellum node. Next we give an explanation of all the parameters in the Muscle Ends tab of the node, as well as how to use the Muscle Solver to preview the Muscle Ends constraints. We also show how some of the settings for the Muscle Ends are controlled from the Muscle Solver.
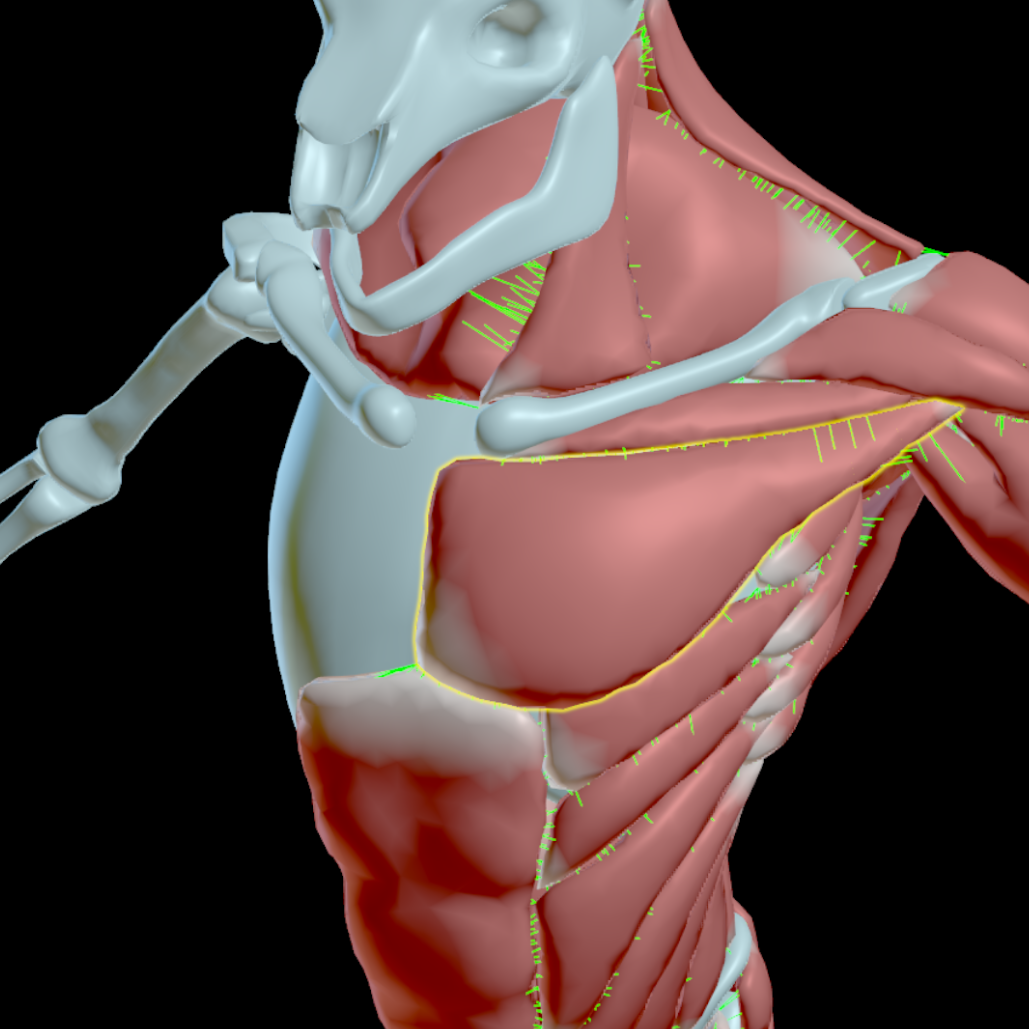
10. Muscle Constraint Properties - Muscle to Muscle
This is the second of four videos covering the Muscle Constraint Properties Vellum node, the node which sets the relational simulation properties of the muscles. Here we give an explanation of all the parameters in the Muscle to Muscle tab of this node, as well as clarifying some details that might not be immediately apparent, such as how muscle-to-muscle constraints connect from the interior points of one muscle to the surface of another. We also dive into the logic of attachment candidates and how the attachment candidate data is stored.
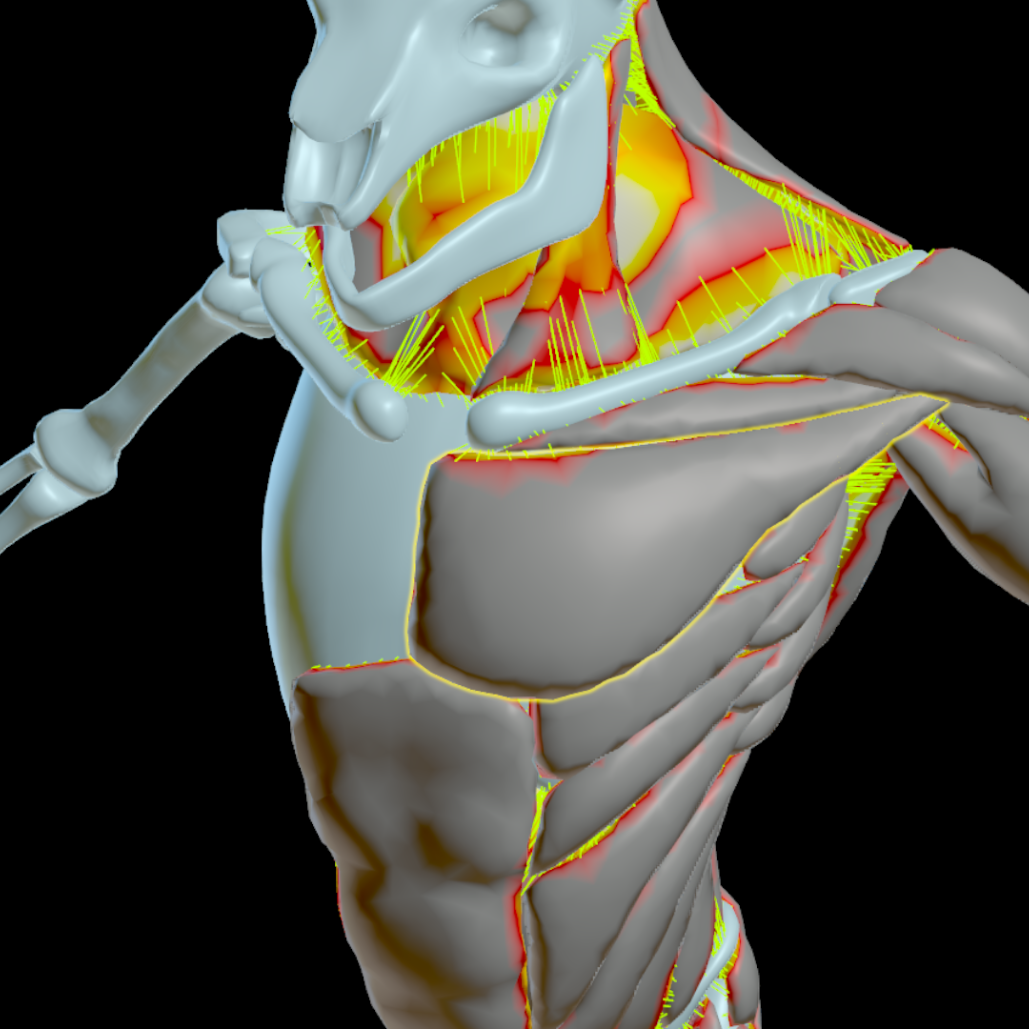
11. Muscle Constraint Properties - Muscle to Bone
This is the third of four videos covering the Muscle Constraint Properties Vellum node, the node which sets the relational simulation properties of the muscles. This video covers the Muscle to Bone tab of the node, and explains all of the parameters in it. We also demonstrate how to tweak the Muscle to Bone Mask with a Muscle Paint node, using the Muscle Solver to preview the Muscle to Bone constraints, as well as turning off Muscle to Bone constraints on the Muscle Solver to help troubleshoot Muscle Properties settings.
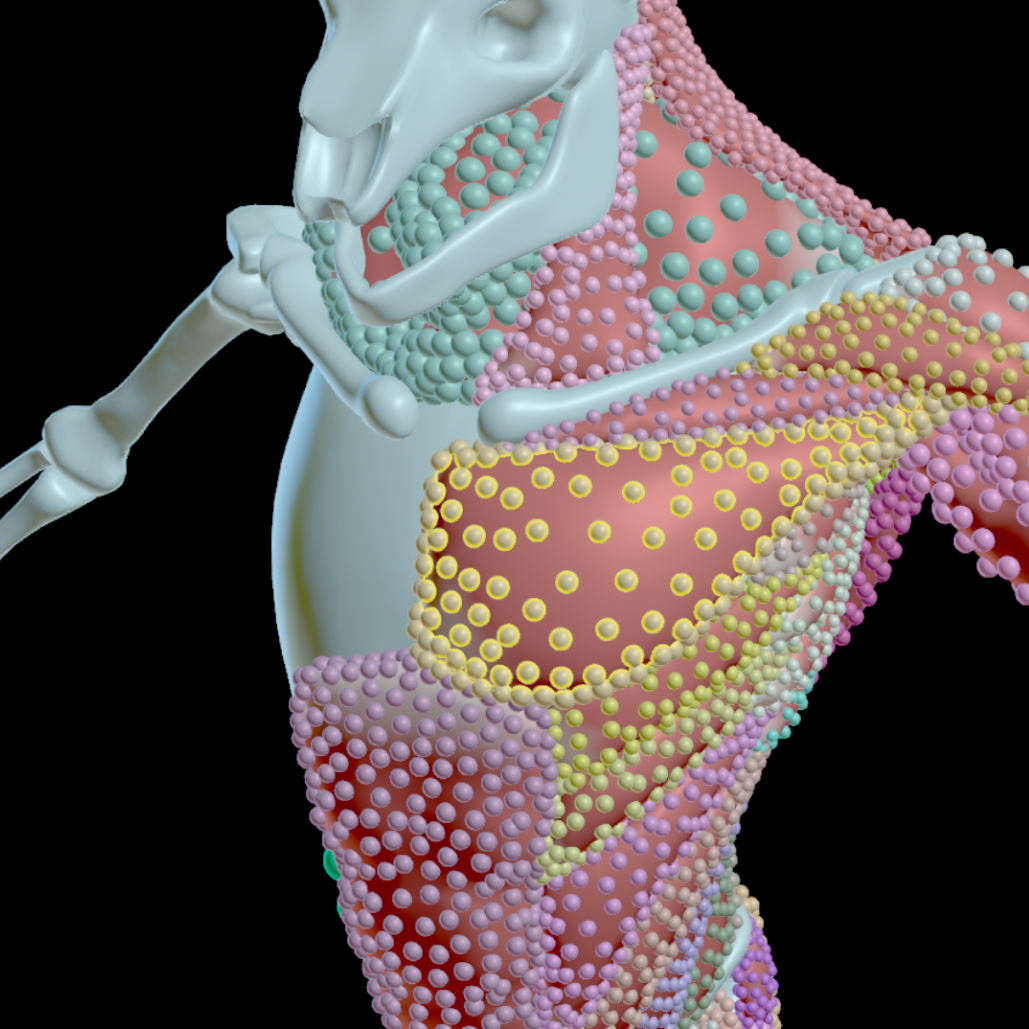
12. Muscle Constraint Properties - Collisions & Velocity Blend
This is the last of four videos covering the Muscle Constraint Properties Vellum node, the node which sets the relational simulation properties of the muscles. Here we show how to set the collision radius and velocity blend on the node, and the relevant settings on the Muscle Solver node for displaying disabled collisions and enabling velocity blending. We discuss when and why to use velocity blend and alternate solutions to velocity blend to get the muscles to follow your animation better.
13. Muscle Paint
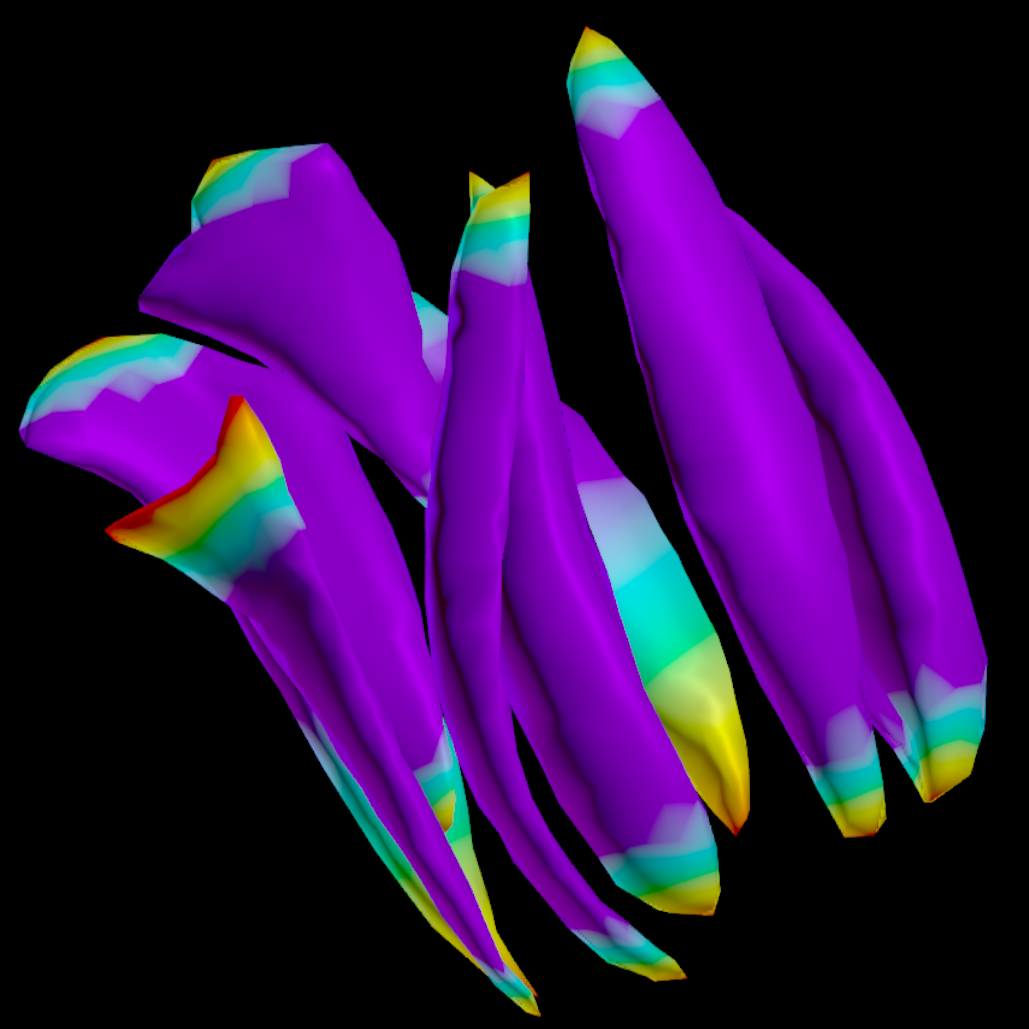
In this video, you will learn the importance of the correct placement of the Muscle Paint node in the network, how incoming attribute values are handled when painting, tips to work with visibility to only paint on isolated muscles, as well as how to safely use an Exploded View node to make painting easier. We point out some pitfalls of using the node and how best to work around them such as holding off on using Muscle Paint until you’ve honed in your overall sim settings, and procedurally creating a Muscle Ends Mask from a painted Tendon Mask. Finally, we show a way to transfer painted attributes if the muscle point count changed and recache strokes doesn’t work.
Mirroring
14. Muscle Mirror
We walk you through using the Muscle Mirror node, from how to specify which muscles to mirror to checking that the constraints have mirrored correctly, and how to fix them if they haven’t. We also demonstrate how to specify multiple muscles to exclude from attachment candidates, as well as suggestions for where to place the Muscle Mirror node in the network.
Muscle Activation

15. Muscle Tension Lines
Learn how to create tension lines to activate muscles. In the video we explain how tension lines will be used to activate the muscles and how to take that into account when positioning the lines optimally. We show how to use the viewport state to create the tension lines, tips for naming of the tension lines, how to cycle through the lines to select one for editing, merging together different Tension Line nodes, using predefined tension lines, and which attributes are created by the Tension Line node. You will also learn how to deal with some common pitfalls such as the node not displaying anything on creation, and how to look out for and fix lines snapping to the incorrect bone.

16. Muscle Flex
This video will show all the uses of the Muscle Flex node, such as correct positioning of muscles to bone starting positions, manually keying muscle activation, or alternatively, using tension line length changes to activate muscles procedurally. For procedural activations, you will learn how to link tension lines to one or more muscles using the viewport state, how to set the tension line activation ratios to either activate as they shorten or as they lengthen, how the Activation Ratio value determines rate of activation ramp in and out, and how to alter the tension line rest lengths using an Attribute Adjust Float node.
Simulation
17. Muscle Solver Vellum - Parameter Overview
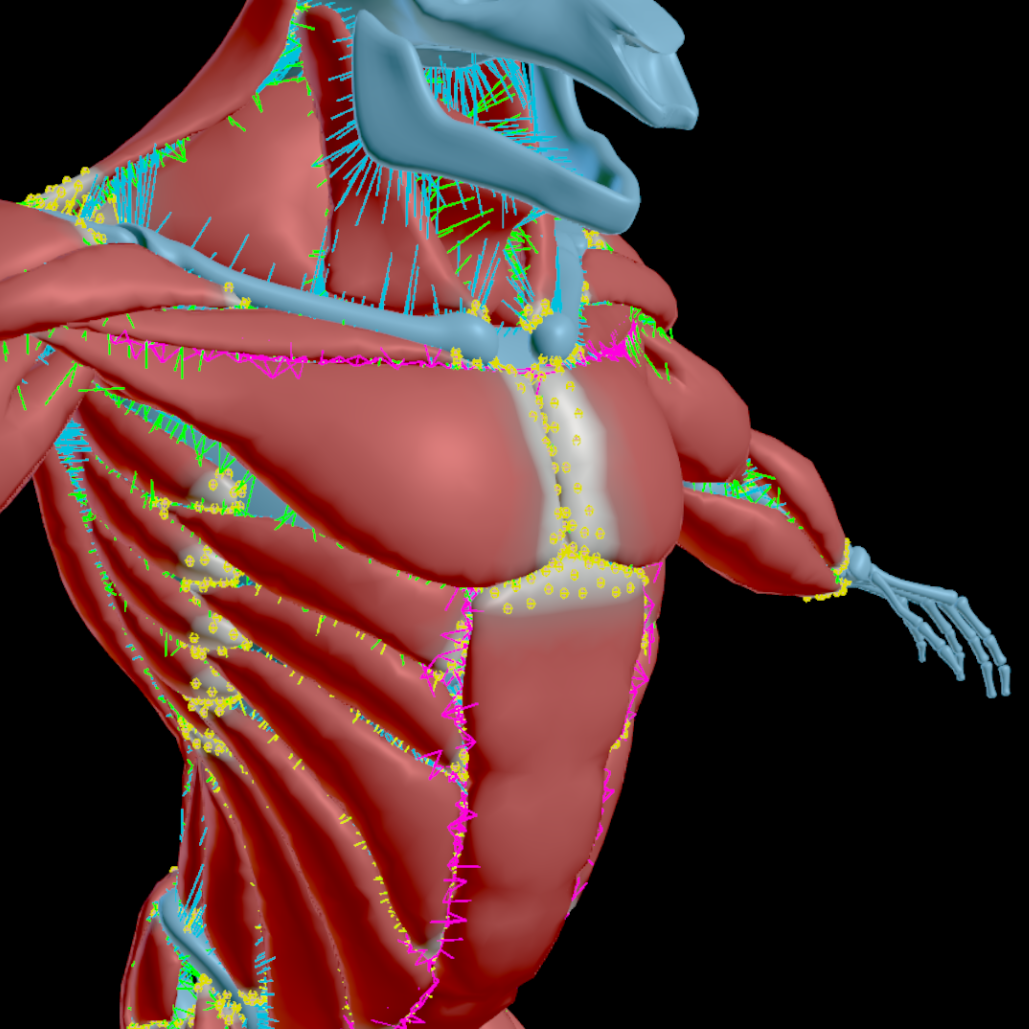
Here we give an in-depth walk through of all the Muscle Solver Vellum parameters. We also explain how to automate the sim start frame from the frame range, clarify how the activation attributes work, and discuss when to use the optional third input to the Muscle Solver Vellum node.
18. Muscle Solver Vellum - Running a Sim
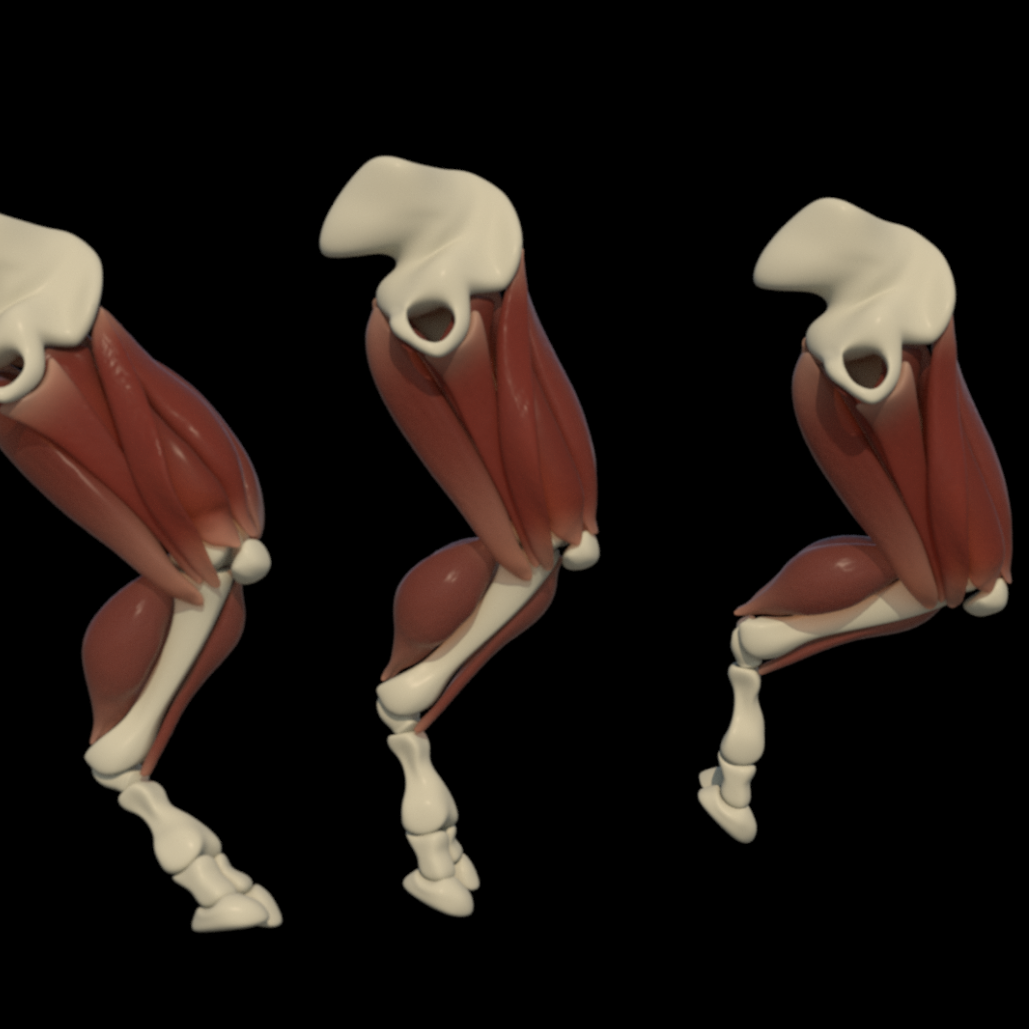
In this video we demonstrate how to go about iterating through multiple sims to hone in the correct settings for your muscles. We include how to start off by isolating a couple of muscles to refine general settings, how to focus on refining the physical properties first before refining relational constraint properties, and how to use Muscle Glue constraints. We also share a tip for keeping track of what sim settings were changed between versions, with a reference to a more in-depth approach to this here.
19. Muscle Post-Processing
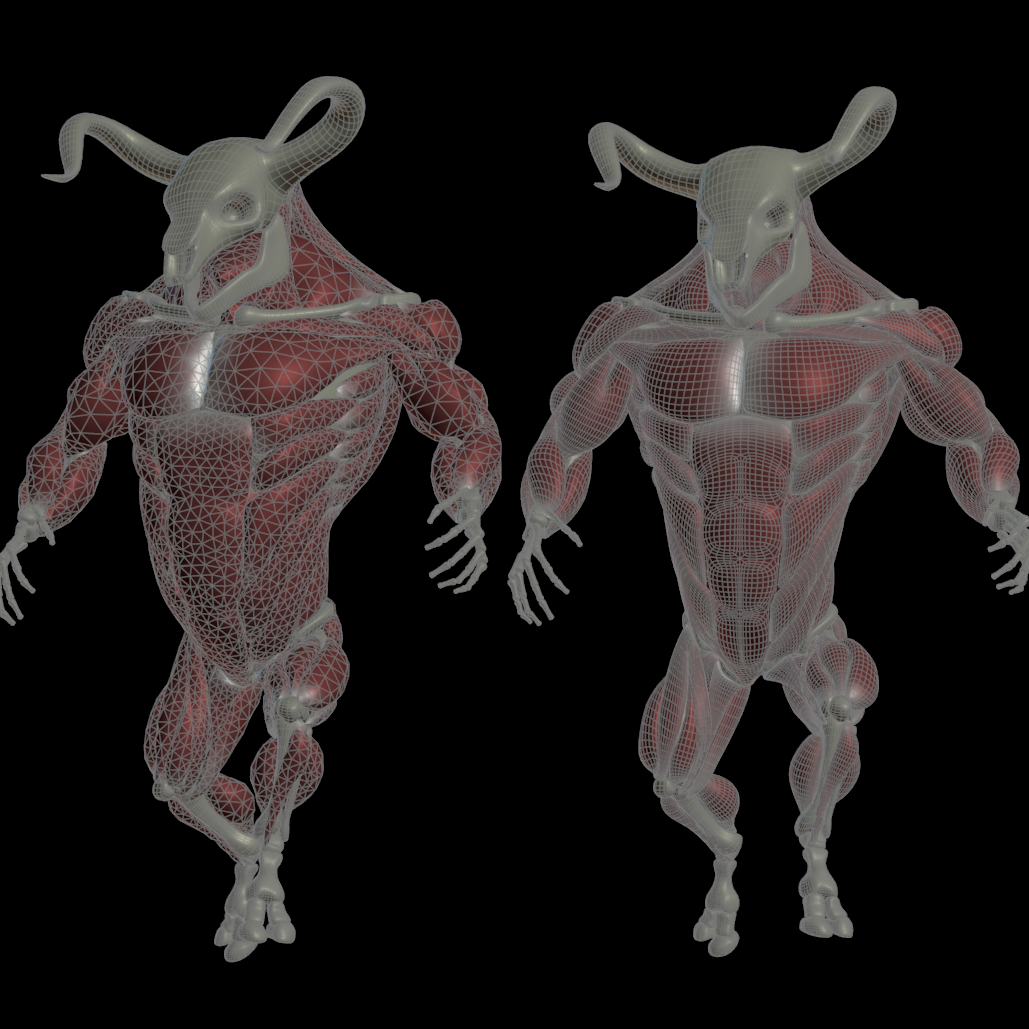
Once your sim is done, we show how to prepare the simmed muscles for either rendering or a tissue sim. This includes converting tet meshes back to polygons, adding a delta mush to smooth out certain muscles, and using a Surface Deform node to deform renderable muscles with the simmed muscles.
