Sure. The idea came from Gnomon's Hard Surface Shading and Texturing DVD by Neil Blevins. As I understood it, it was basically creating uv's for each of the six sides. Neil did this with some custom script for 3D Max, I haven't seen it, so I'm only *guessing* how it works.
For Houdini, I simply create a group, go to the Normals tab and enable them. Then set up a normal depending on the side I want to group (1,0,0 for right, 0,1,0 for top, etc) and set the spread angle to range from 30 -45 degrees, depending on how much I want to trap. I end up with 6 groups, each with a different side, for normals
1,0,0
0,1,0
0,0,1
-1,0,0
0,-1,0
0,0,-1
For each group I create a UV Texture SOP, set to projection, with the appropriate X, Y, or Z axis set. I use a UV Edit SOP to move the preliminary UV's out of the way, and then when all 6 UVs are done, and use a final UVEdit to scale and position them in the 0-1 UV space.
All this stuff generally goes at the end of the SOP network, once you've got all the modeling done.
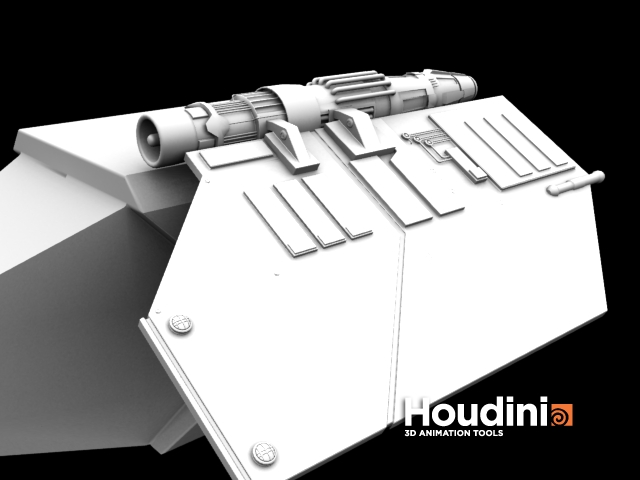
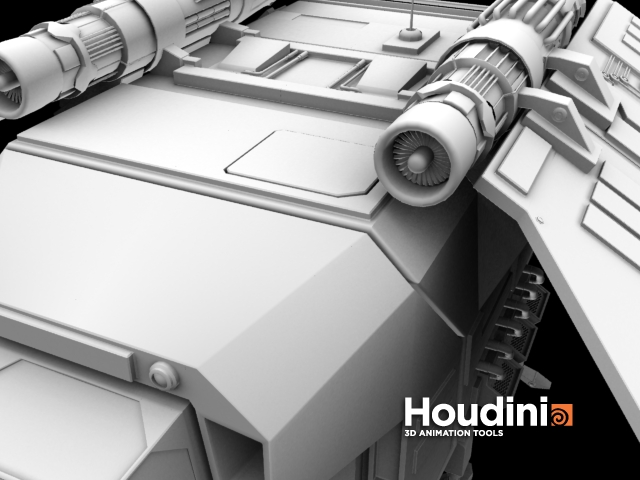
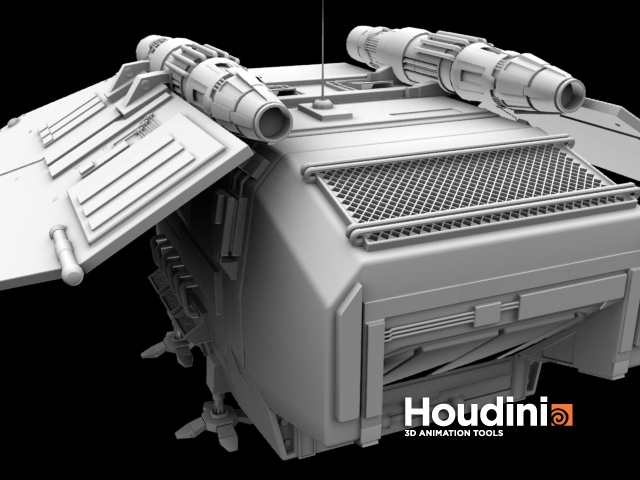
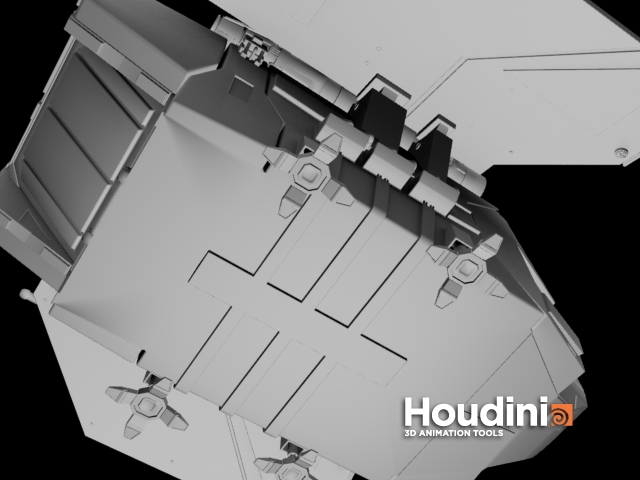
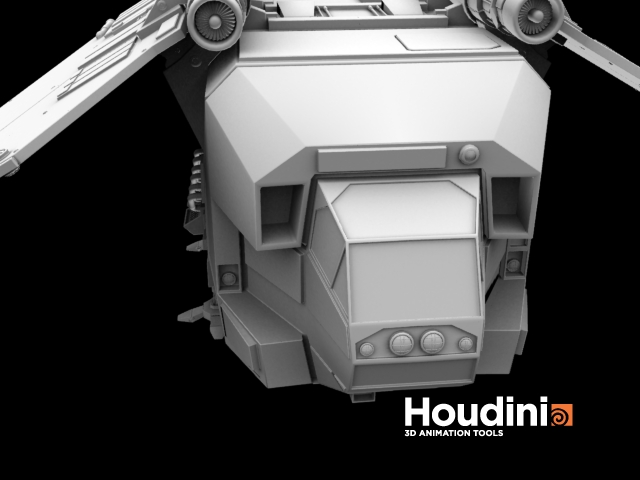
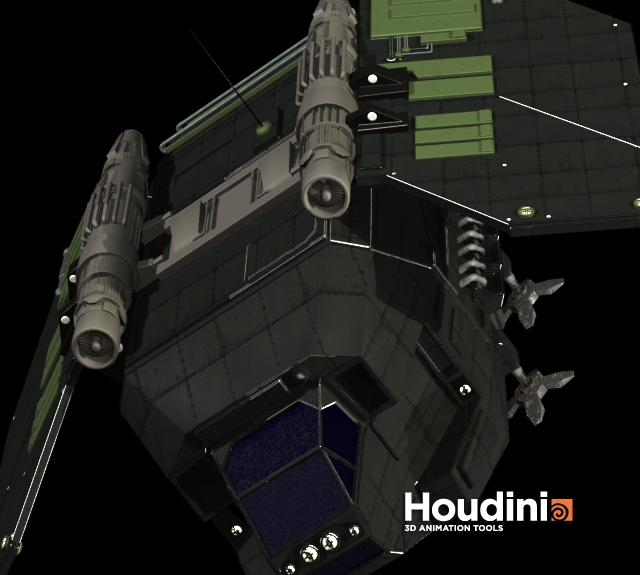
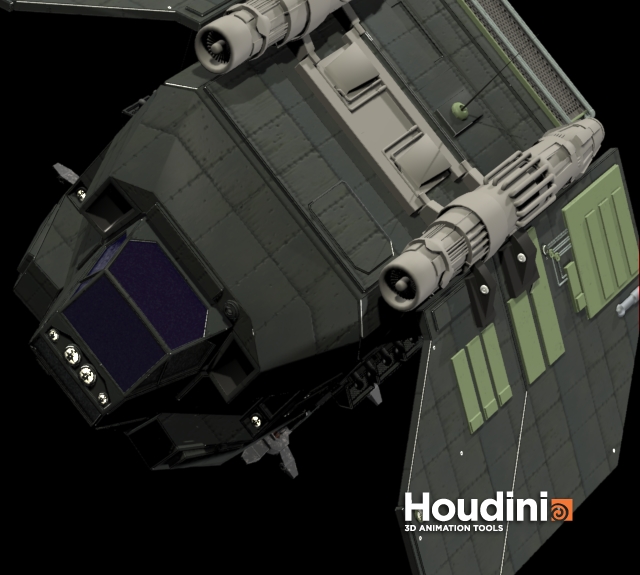
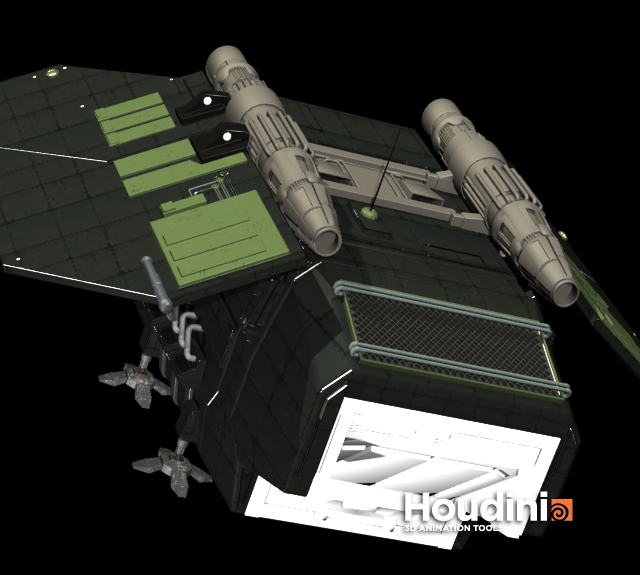
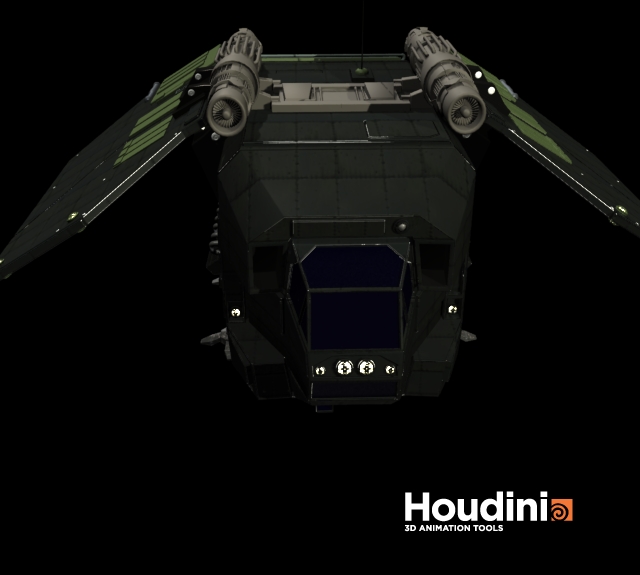
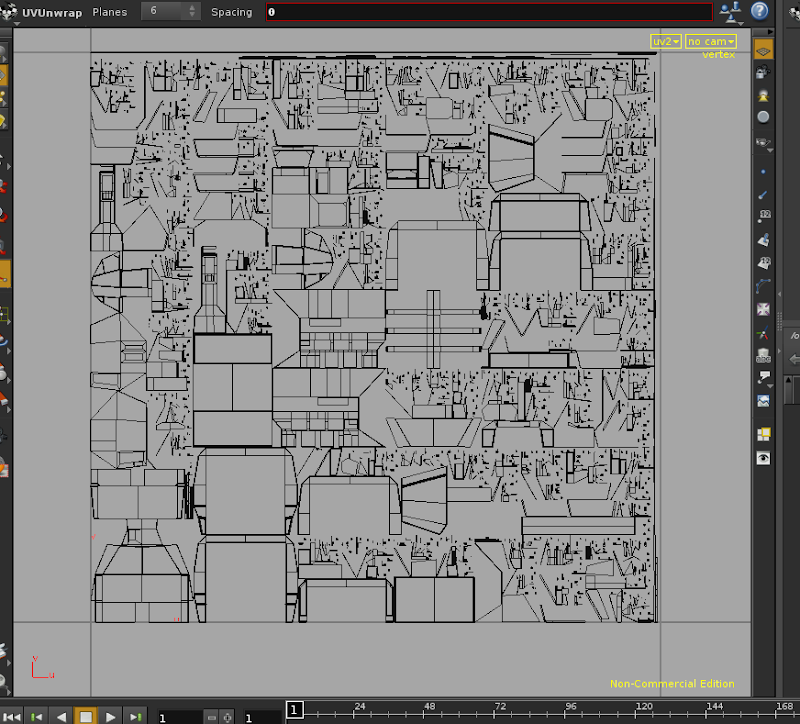
My final UV (for the dropship) look something like this:
I have no idea if this is the “right” way to do this, or if I have naively come up with a disastrous/cludgy method. It does seem to work, though again, I'm not 100% sure if this is what Mr. Blevins techniques was supposed to work like.
If this *is* correct, the potential for putting this into a user friendly SOP that can do all the grunge work is pretty high, and it's something I intend to investigate.
I do wish there were more high end tutorials explaining how to do this in Houdini. I know people must do this, because I've seen scene breakdowns where Houdini is being used for more than just special effects (i.e. the latest Terminator movie), so clearly at least one individual out there knows how to do this