Solaris Essentials:
LOPs, Karma, MaterialX
In this video series by Adam Swaab, you will learn how to bring in an animated scene from the OBJ/SOPs context, into LOPs and render it out with Karma and MaterialX. The point of this series is not to get into a technical breakdown of USD and USD concepts. Instead, it is a distilled set of videos that aim to simplify rendering in Houdini and demystify rendering for artists working solo or in a small pipeline.
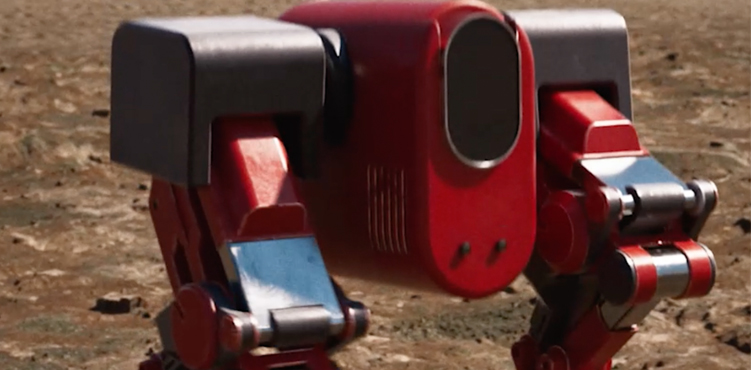
After you download the project files, you will take the character - a mech - and an environment consisting of several mountain terrains, and learn how to set motion blur in LOPs, assign materials, add lights, add lens shader, how to do material variants, setting up rendering with TOPs, material BSDFs and much more in between. One more thing - we are rendering with Karma CPU. Let's get started!
00 | Mech Project Intro
Setting overall expectations from this series. Don't forget to grab the project files linked above in orange, 3.7GB of it.
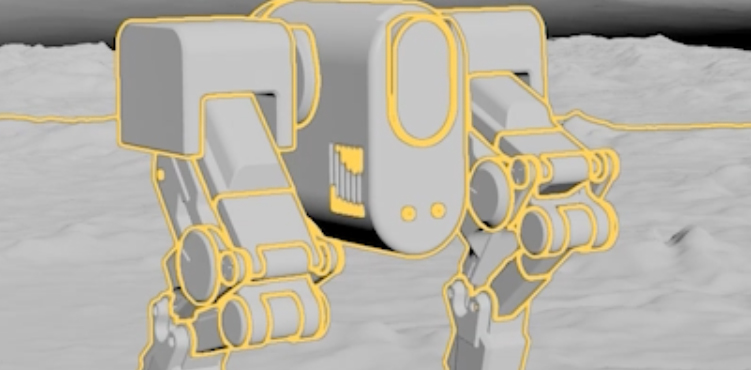
01 | Scene Import into LOPS
Easing into what info to read when in your Solaris desktop and what to be aware of, specific to USD.
02 | Sublayering Animation
Visual explanation that explains the concept of opinions, and use of Sublayer LOP to override settings.
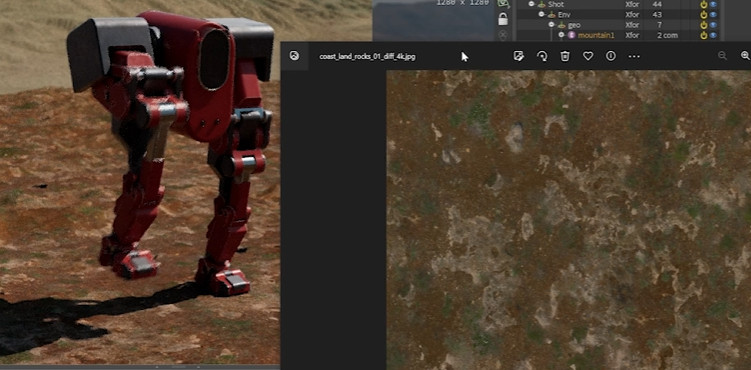
03 | Assigning Materials
Mimicing production workflow, we will assign our texture maps on our rest pose mech, using a Material Library LOP, Karma Material Subnet and then finally with a Material X Standard Surface. Then we will bind the material to our mech geometry. We'll do the same for the terrain environment.
04 | Adding Lights & Render Settings
Environment light is our best friend and we will ensure that we keep our scene graph organized. There are several routes you can go, but we'll keep things simple. We will also put down a Karma Render Settings LOP to see what all this actually looks like.
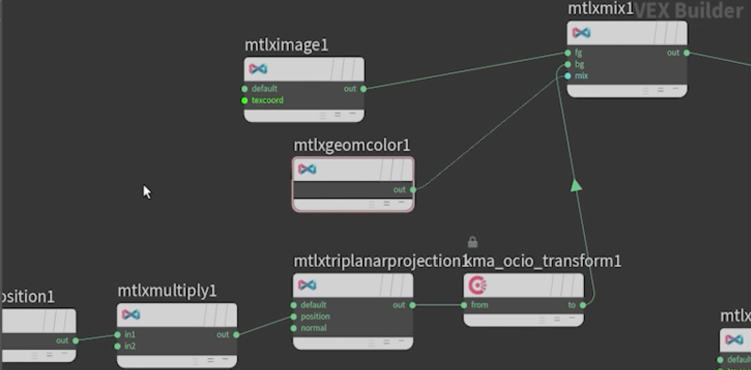
05 | Foreground Terrain Material
Triplanar Projection will shade our foreground terrain. We will also see how to use OCIO Colour Transform to handle our *.jpg textures to go from Linear SRGB to ACES ACES cg. We will make use of this material and apply it to the background terrain geo as well.
06 | Atmosphere Material & Lens Shader
A Volume shader will be used to give us some atmosphere in our terrains. For additional detail, we will use a Lens shader to give some distortion to our image, and a bit of vignetting. There are also options to add some tint too.
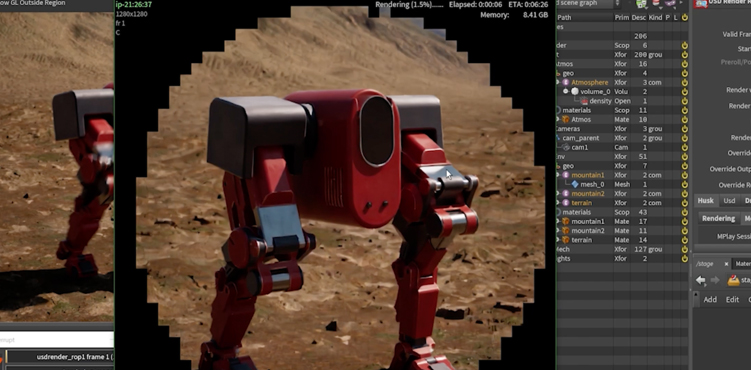
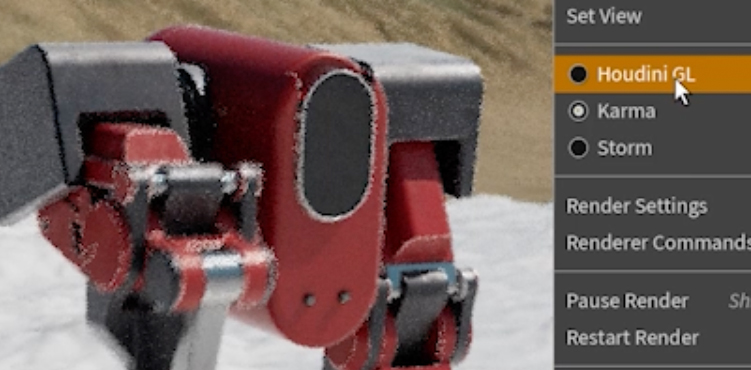
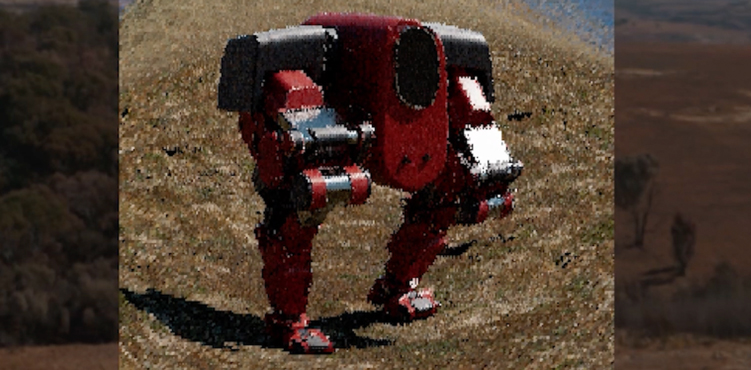
07 | Rendering the Scene
Addressing graininess in motion blurred areas, and bumping up Primary Samples to help this. And we will use a denoiser too. Don't forget to enable Render Light Geometry to get our HDRI to render out. Then, push out all frames using a USD Render ROP.
NOTABLE USD concepts that you should know about
08 | SOP Attributes & LOPS
Attributes that you have on your SOP geometry can be accessed within LOPs. However, you need to be aware of how to output and import those attributes in USD-land. Here are some very simple scenarios to demonstrate this.
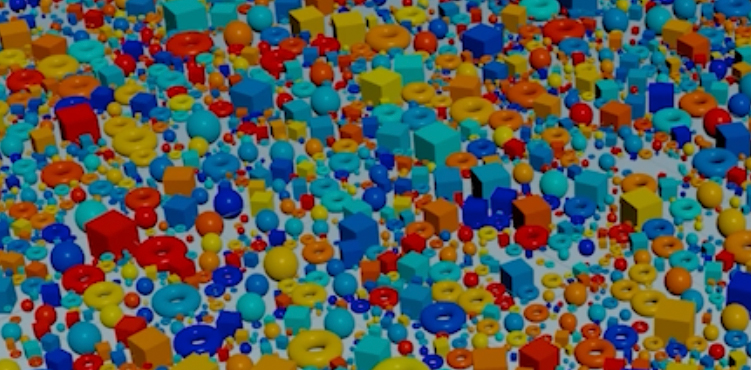
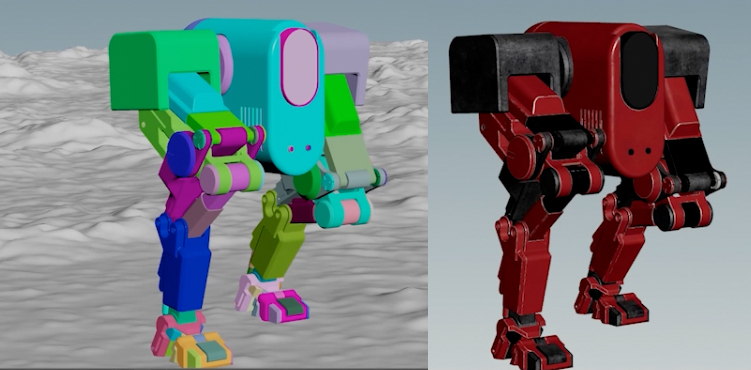
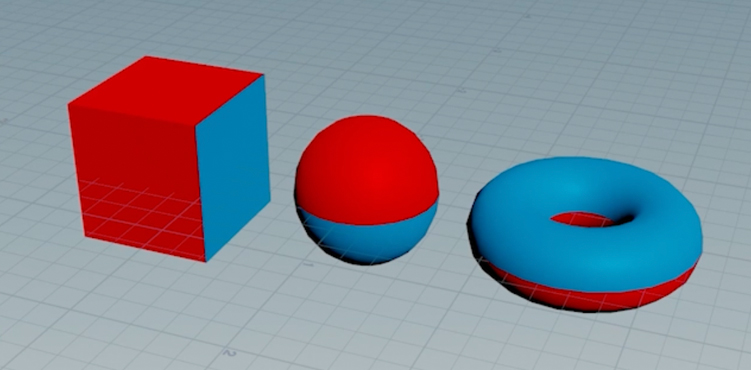
09 | Packed Prims & LOPS
Working efficiently with Packed Primitives and showing the differences between Xforms, Point Instancer, Native Instances and then, just full unpacked geometry. Understand each option and use accordingly.
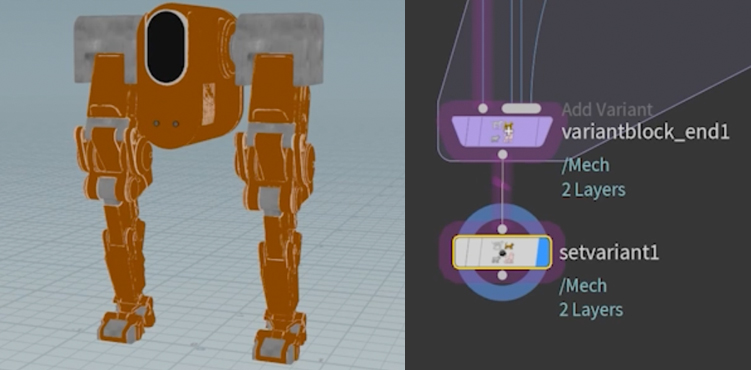
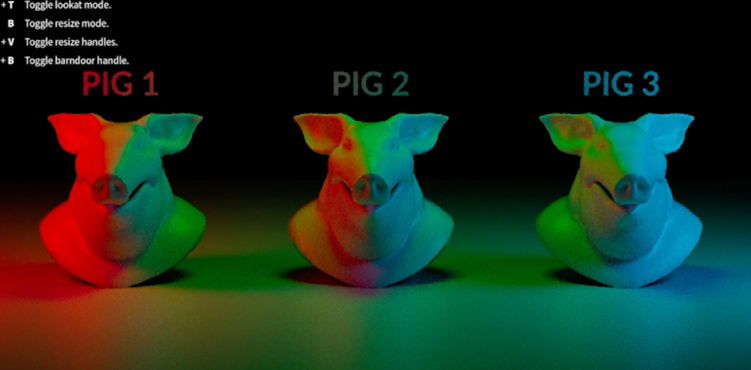
10 | Material Variants
How do we assign different materials to our mech? Let's have a look using a Reference LOP, Add Variant block and Set Variant LOP. Write it out to get three USD files, which you can then cycle through (materials).
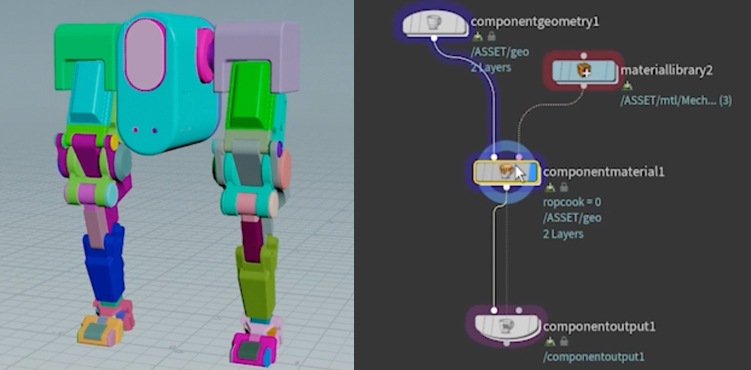
11 | Component Builder
If you don't want to manually build a network to save out USD files, the Component Builder is a ready-made tool you can use to write out USD files to disk. Adam will explain what you need to feed each node with, to achieve the same result as from the previous chapter.
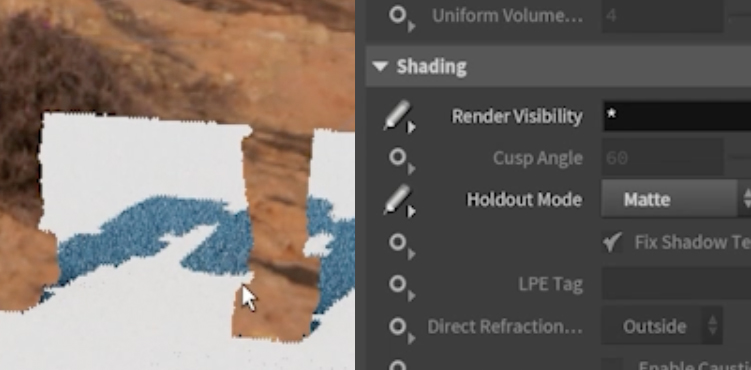
12 | Editing Material & Geometry Properties
How can you make edits after you baked out your USD files? We can use an Edit Material Properties LOP. Other options include Edit Material Network LOP, and an Attribute Wrangle LOP. And lastly, you can override with Render Geometry Settings LOP or Edit Properties LOP.
A Few more tools and workflows available to you in LOPs
13 | Light Linking & Editing
Let's see how we can limit specific lights to specific objects in a scene. We'll do so by using a Light Linker LOP to assign rules between lights and geometries. Light Mixer will also be shown, as it allows us to better control all lights in the scene at a glance. If needed, you can make final adjustments using a Light Edit LOP.
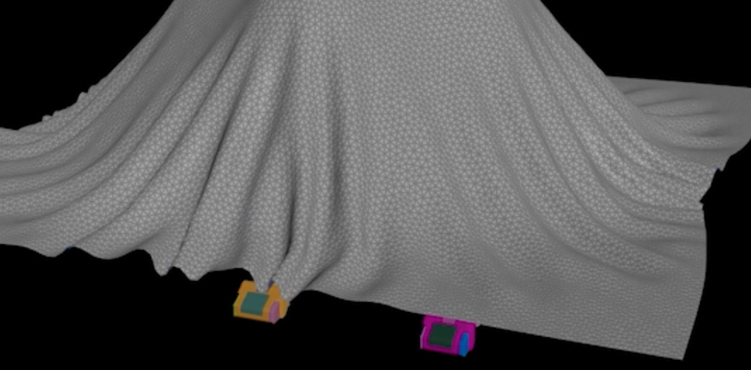
14 | SOP Modify & SOP Create
After lights, we may want to modify or add objects into our scene graph. We can do this by using a SOP Modify LOP and a SOP Create LOP. This essentially allows you to modify geometry while staying in LOPs context (without going into OBJ/SOP context). This means, it is even possible to do a simulation 'on the go'.
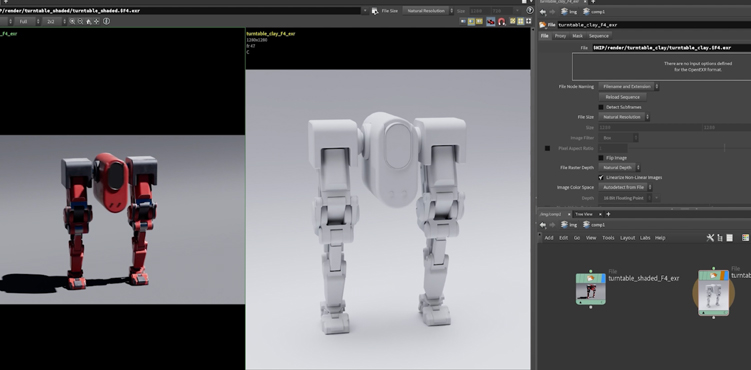
15 | TOPs Rendering
You can certainly take advantage of automation, via TOPs. In a TOPNET, we will render out some turntables via a one-button-push setup and get renders of different framesize, shader assignments and more.
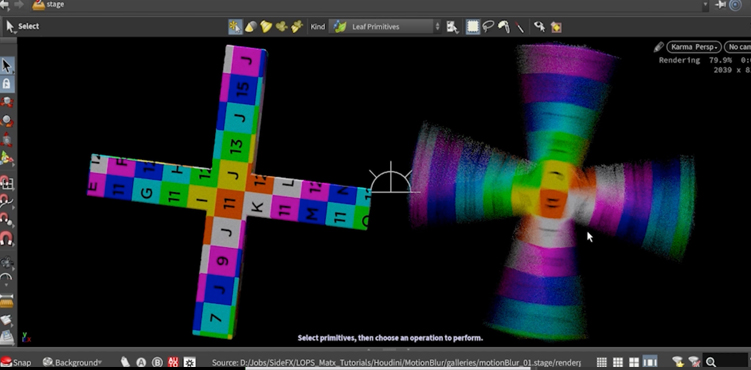
16 | Motion Blur
There are certain instructions Karma needs, in order to generate motion blur. This can be done using a Motion Blur LOP. We'll also see how to debug when we get weird results. And, choose what type of blur (Velocity or Acceleration).
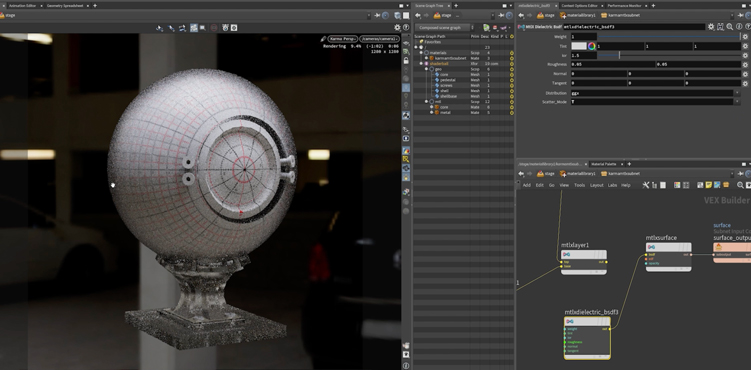
17 | MaterialX BSDFs
Let's look at BSDF nodes that are available for us to use. We will create some for diffuse, reflectivity, glassy, metal and layering to mix between them. This is just covering the basics - you can refer to Mtlx docs for more.