
David Ferreira
Started on an ArchViz studio in 2008 and went freelancer on 2011. I'm a Generalist and an Instructor since 2010. Currently working at Mackevision as a Senior FX TD and Lead Environment artist on some pretty awesome productions.
Description
COMING SOON! An extra Chapter will soon be added to this course as a free update, where we’ll be exploring the process of shading, lighting and rendering this project with Karma in Solaris.
Main Takeaways:
● Optimizing animated geometry caches for Particle simulations
● Simulating Particle FX with POPs
● Simulating Particle FX with FLIP
● Wedging in Houdini 19.0
● Controlling Particles movement and behavior
● Creating custom velocity fields for particle advection
● Combining multiple “simple” FXs to build a more complex and interesting result
● Custom “electric” arches/lightning with Particles
● Using Houdini 19.0 Simulated Sparks
● Rendering with Redshift
● Shading Particles for energy FX
● Lighting with Particles
● Lighting and Rendering with Karma in Solaris ( Coming Soon )
● Splitting the FX into multiple render passes for total control in Compositing
Course Structure:
Chapter 1
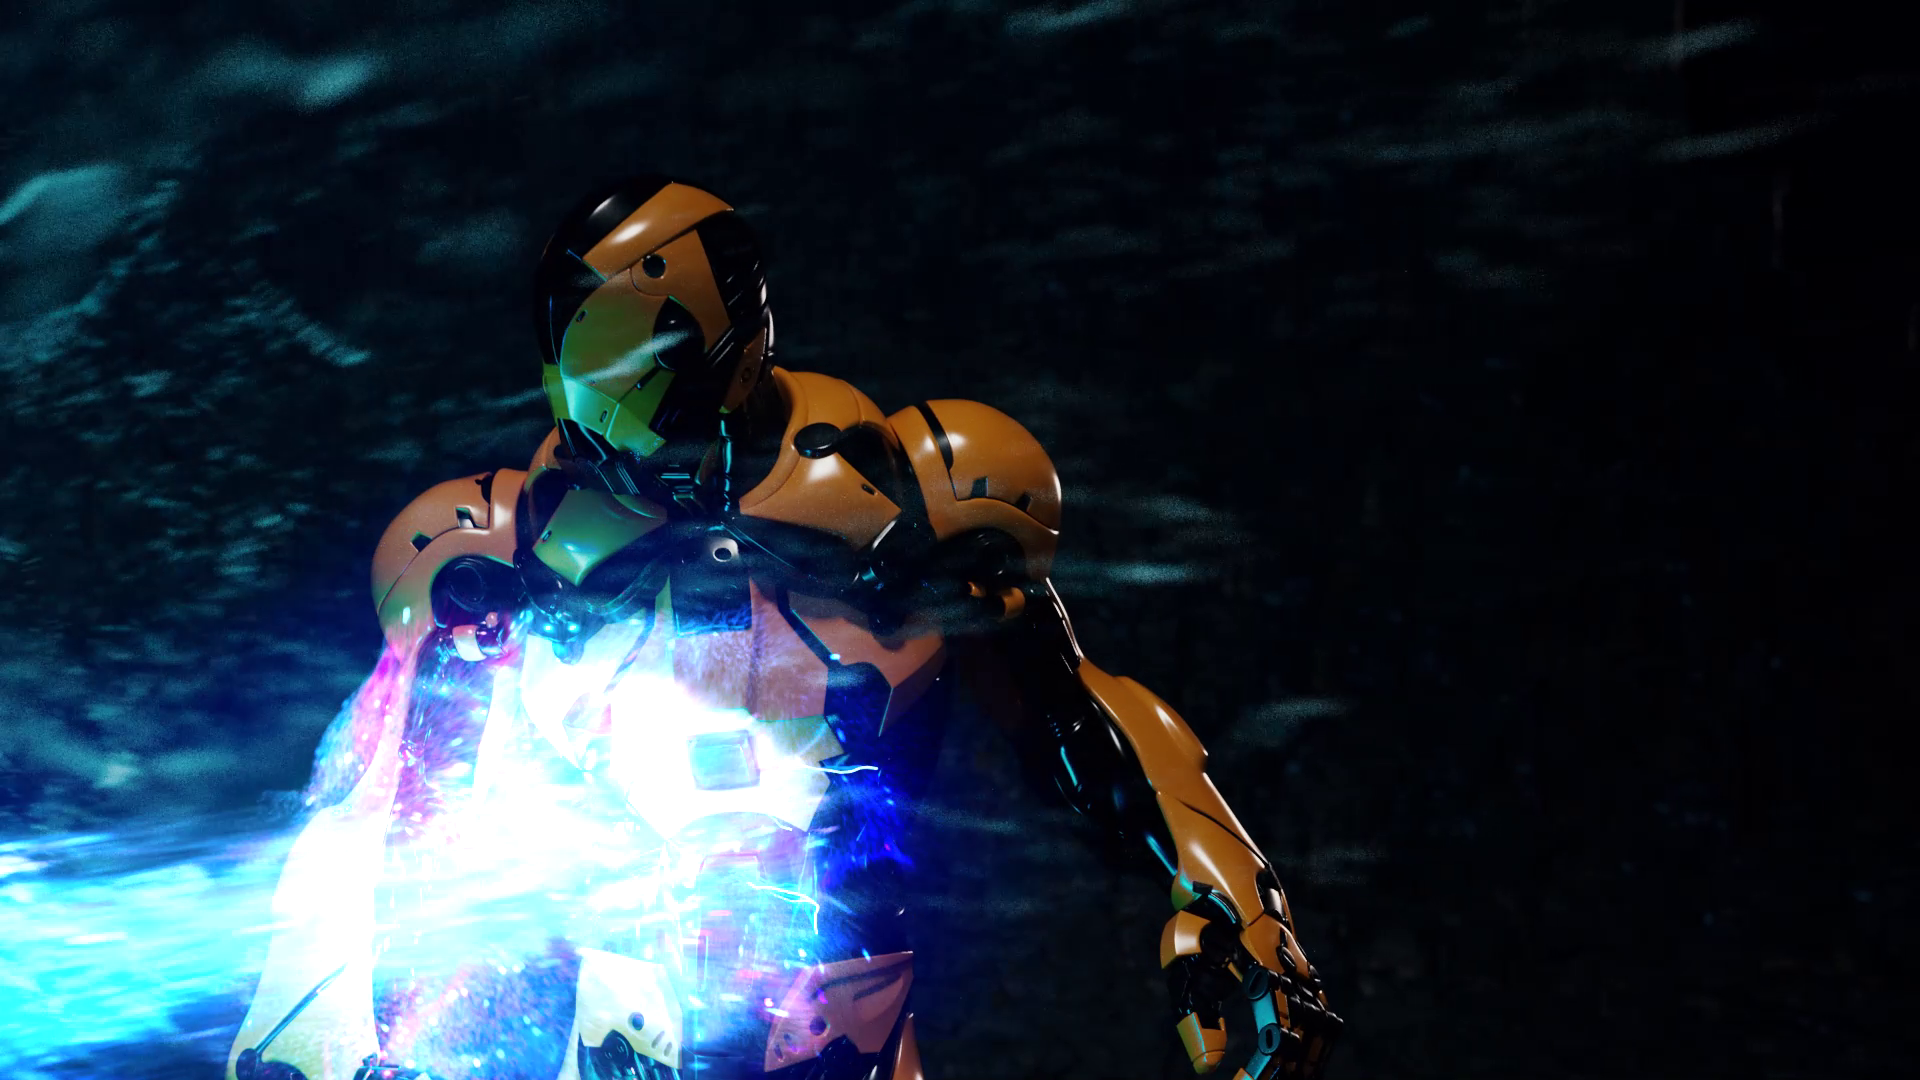
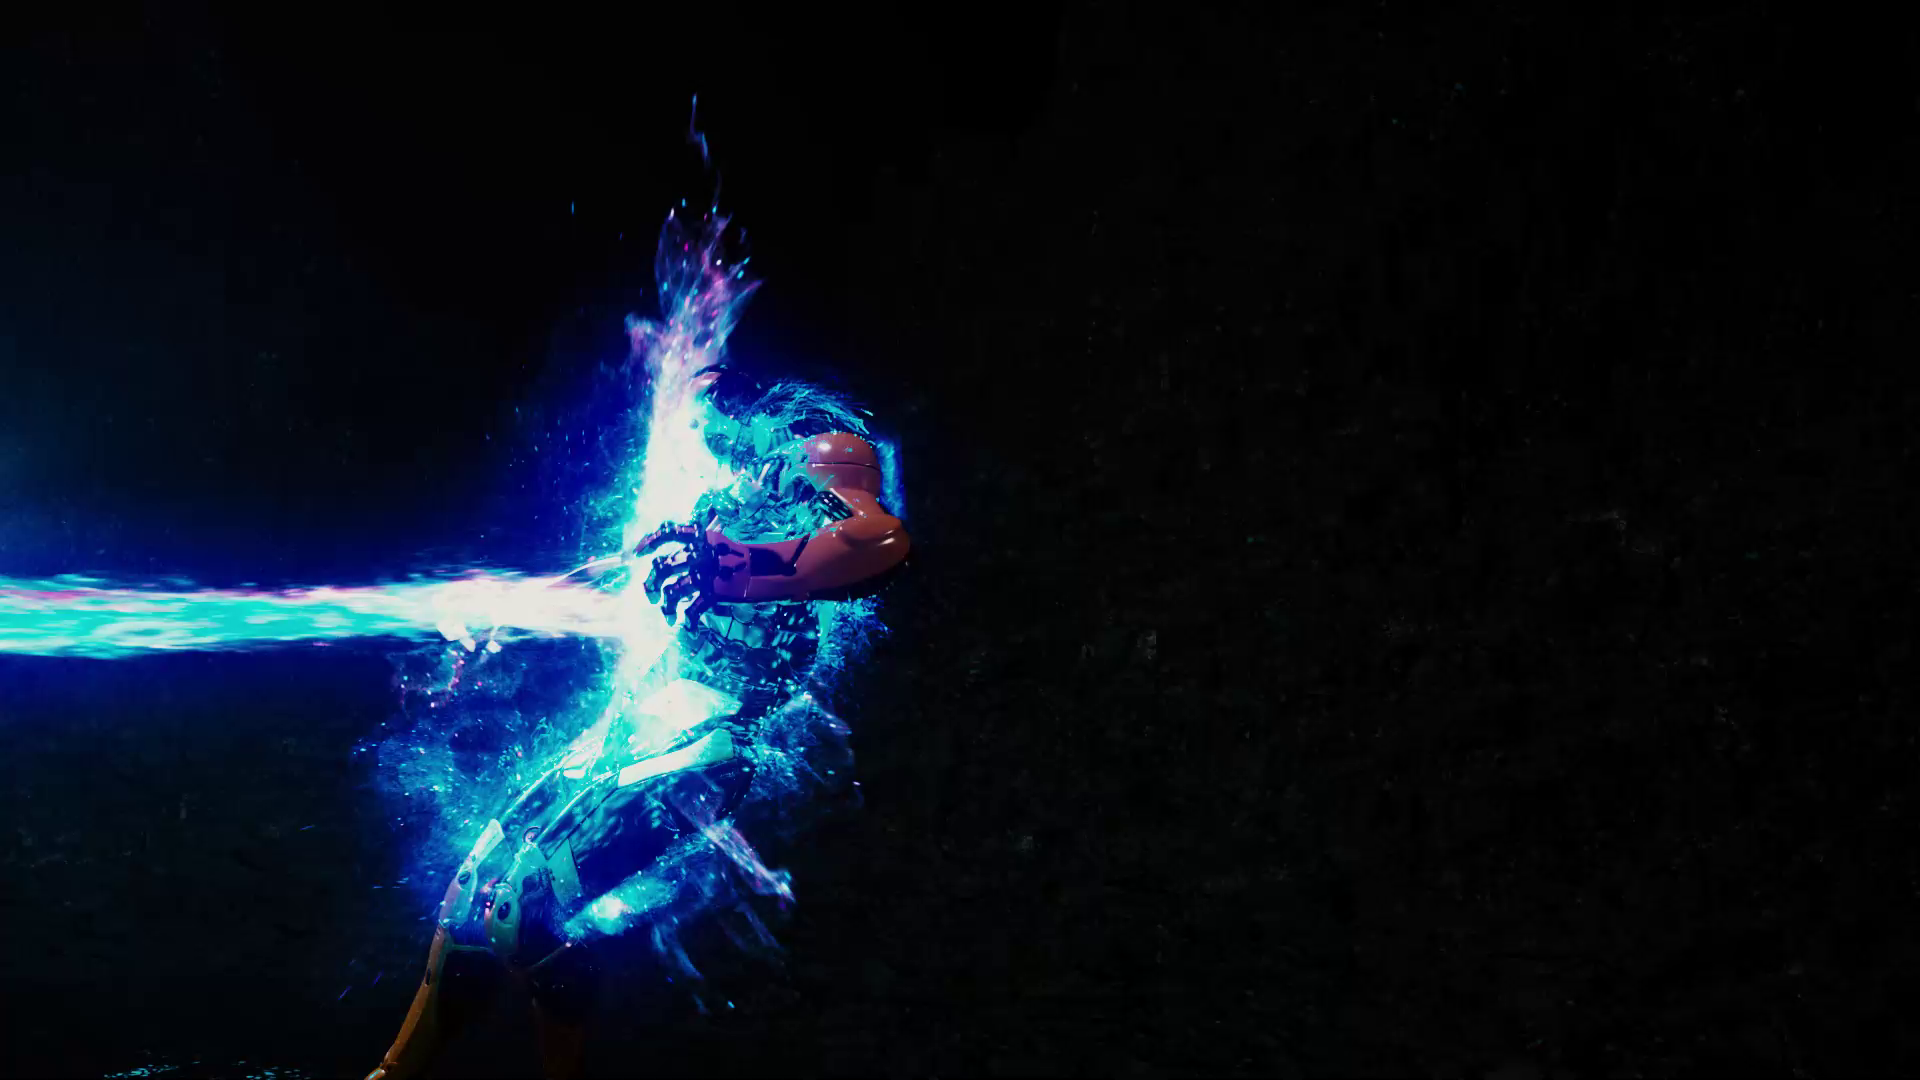
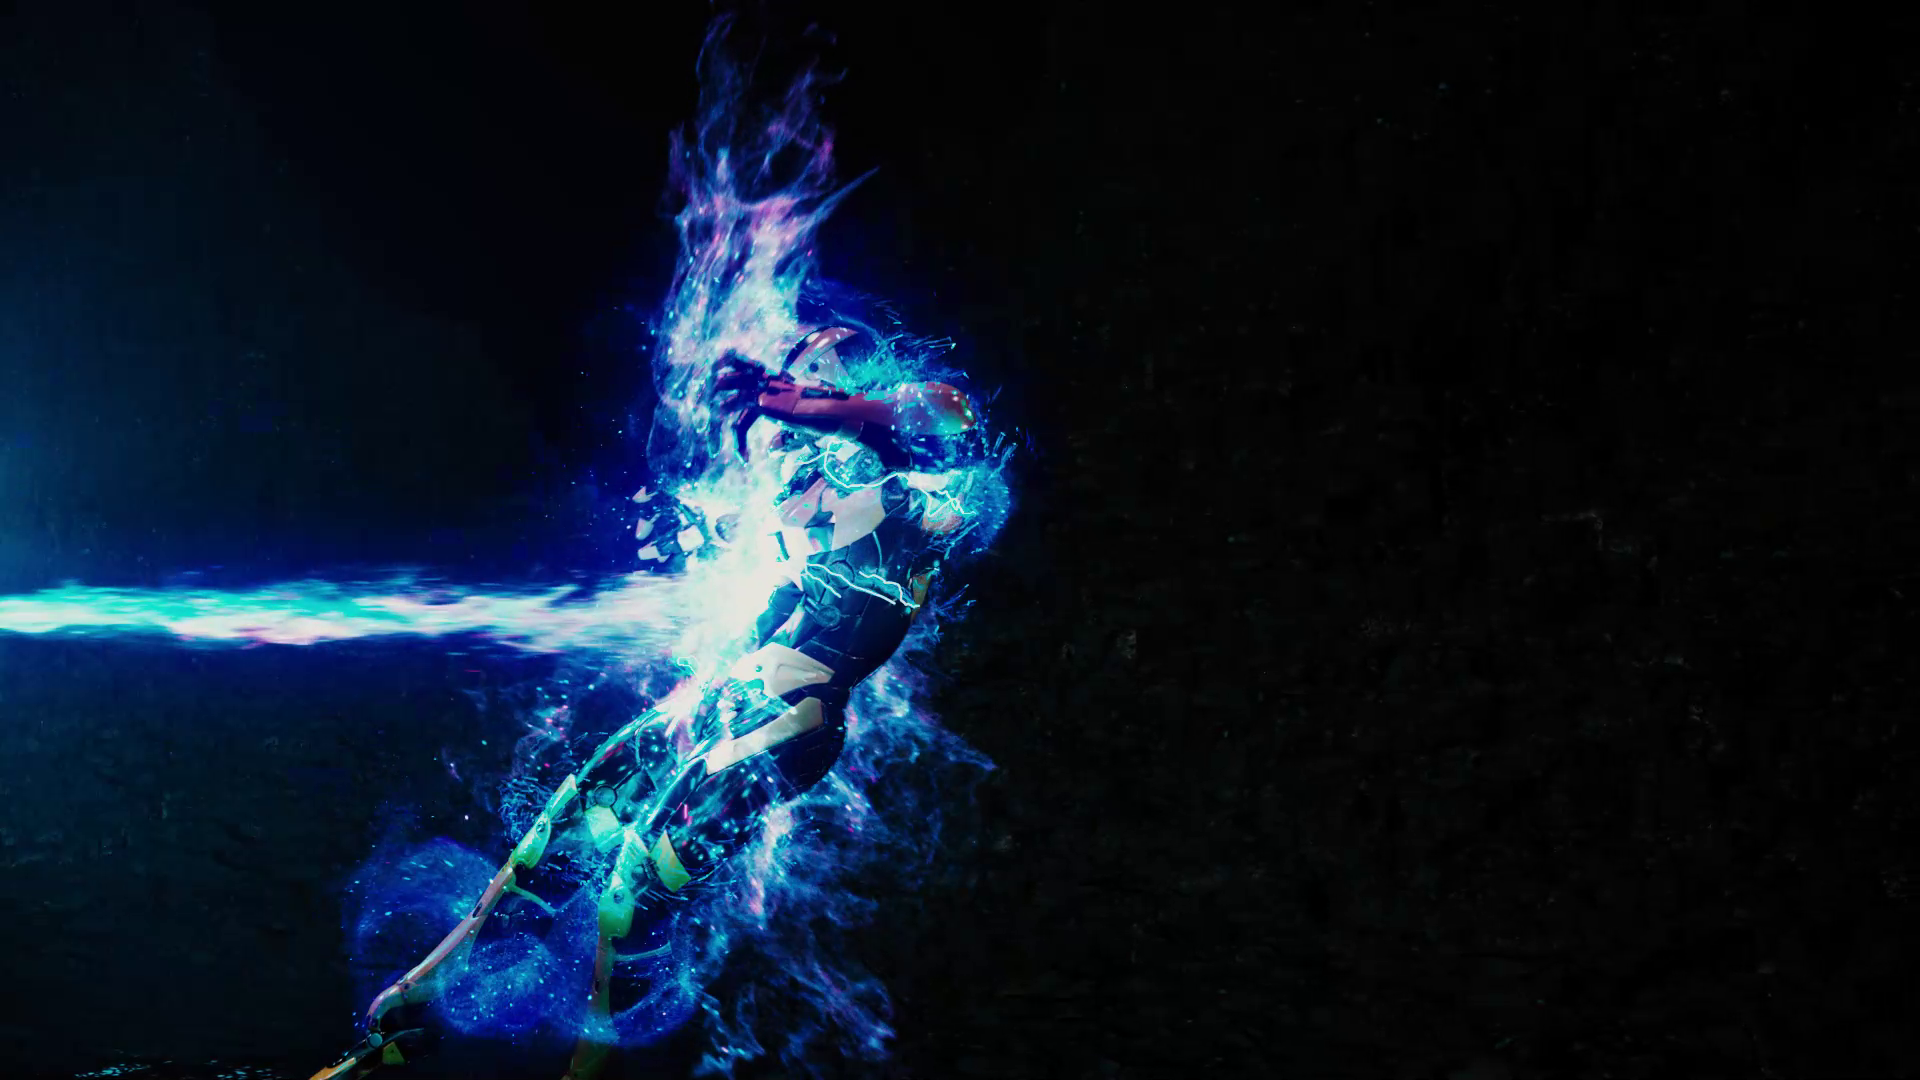
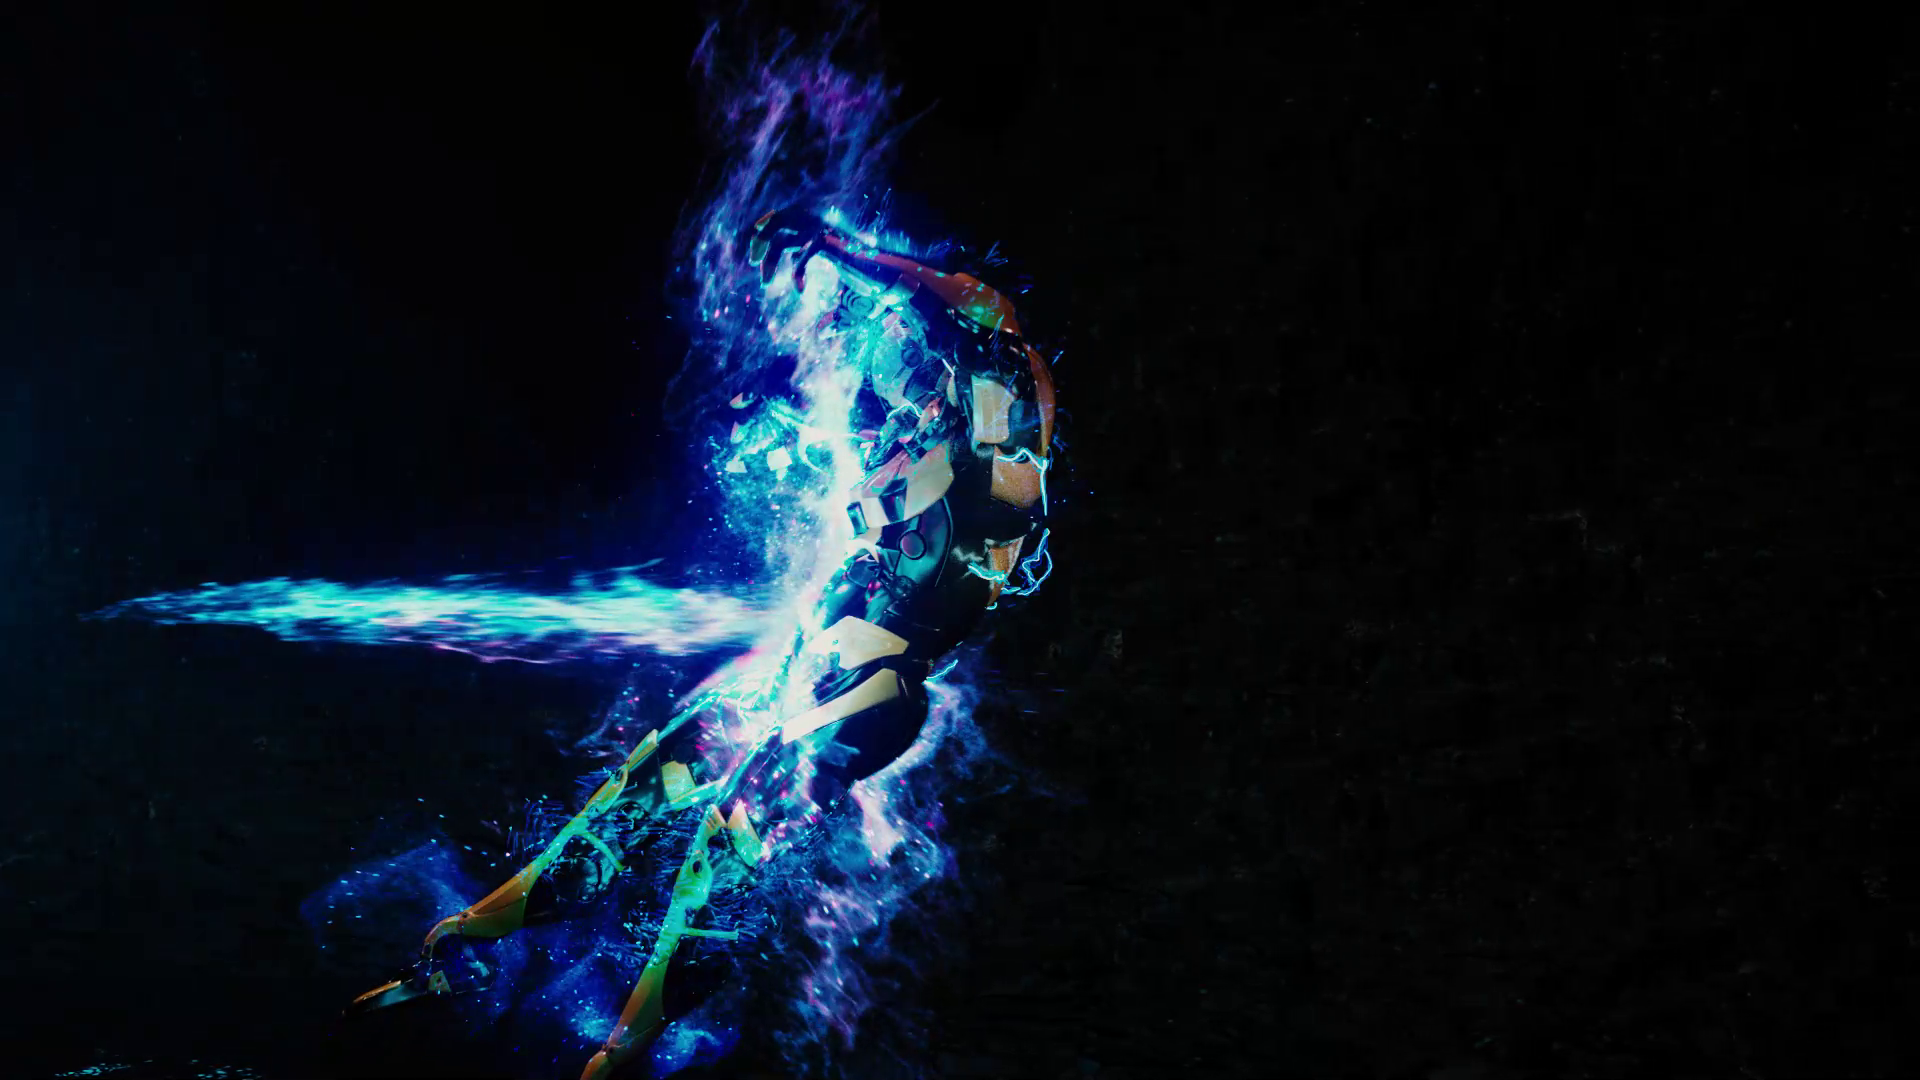
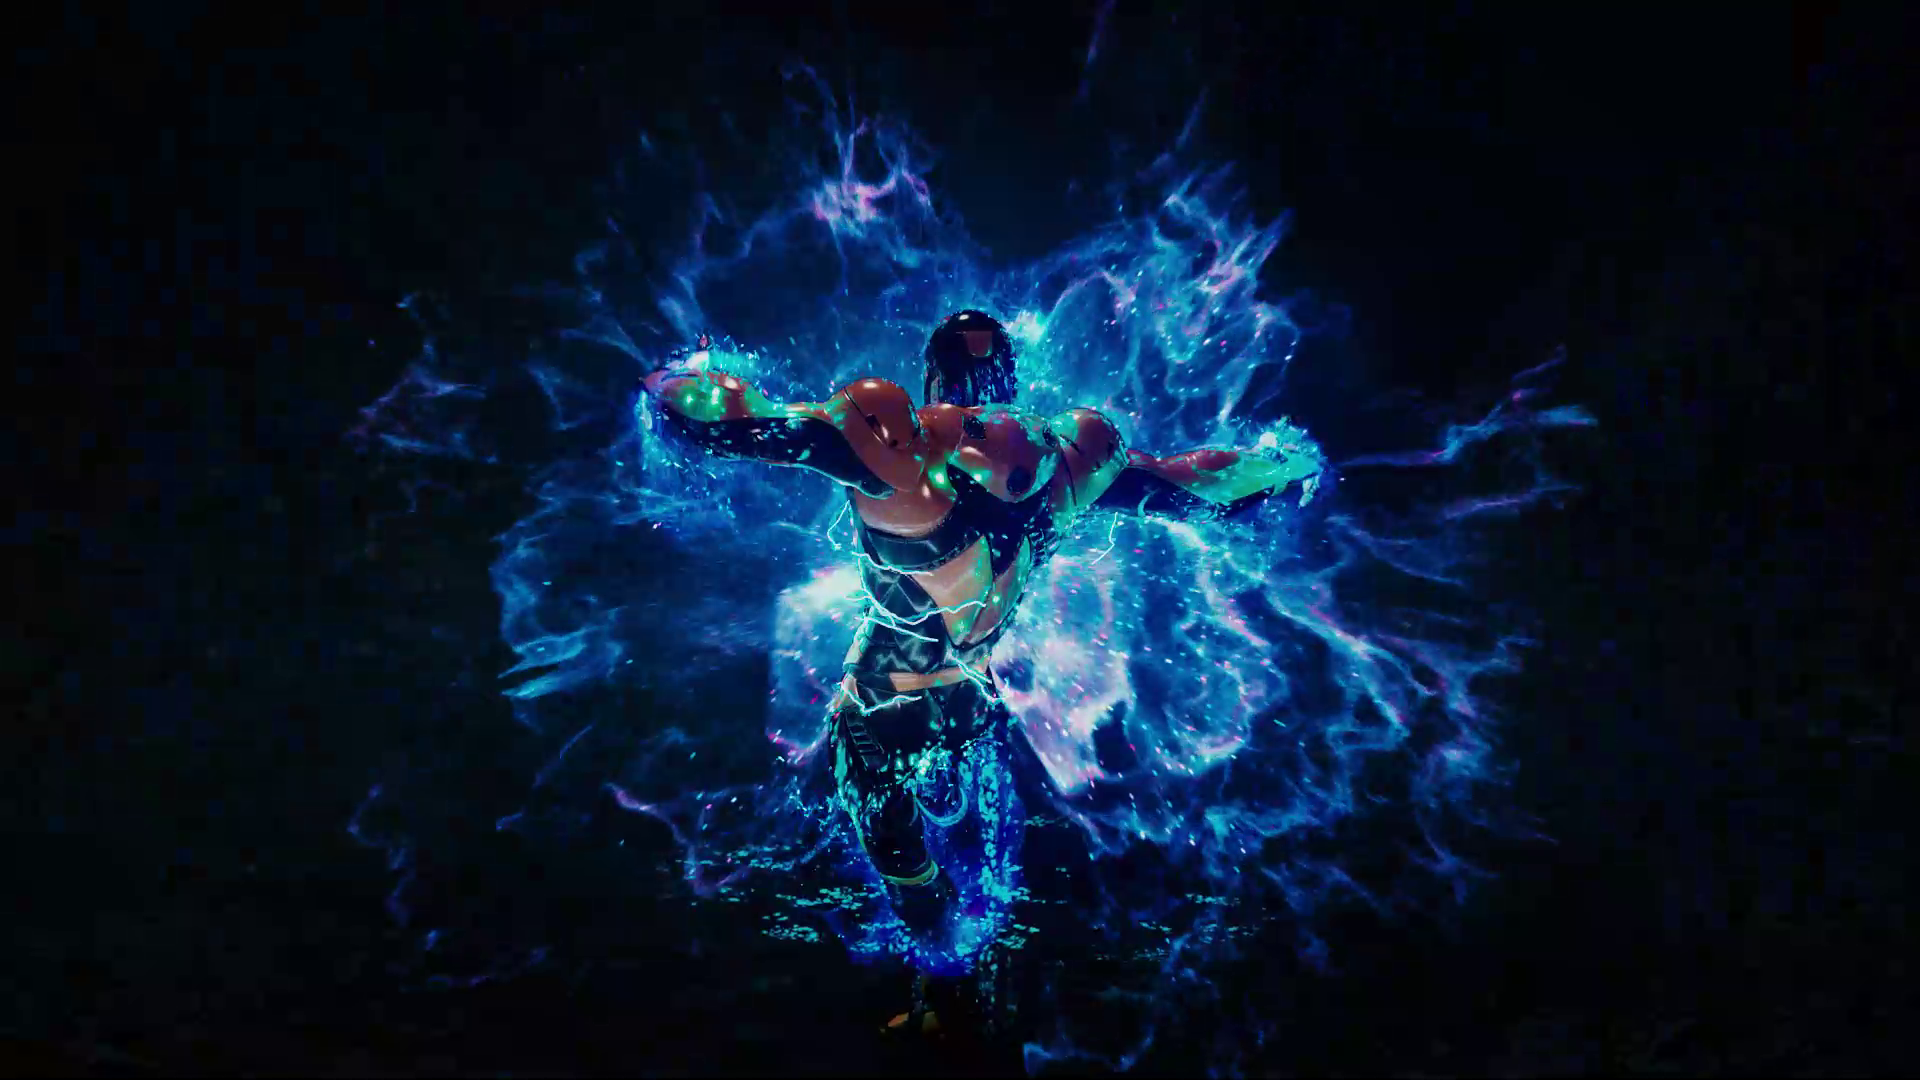
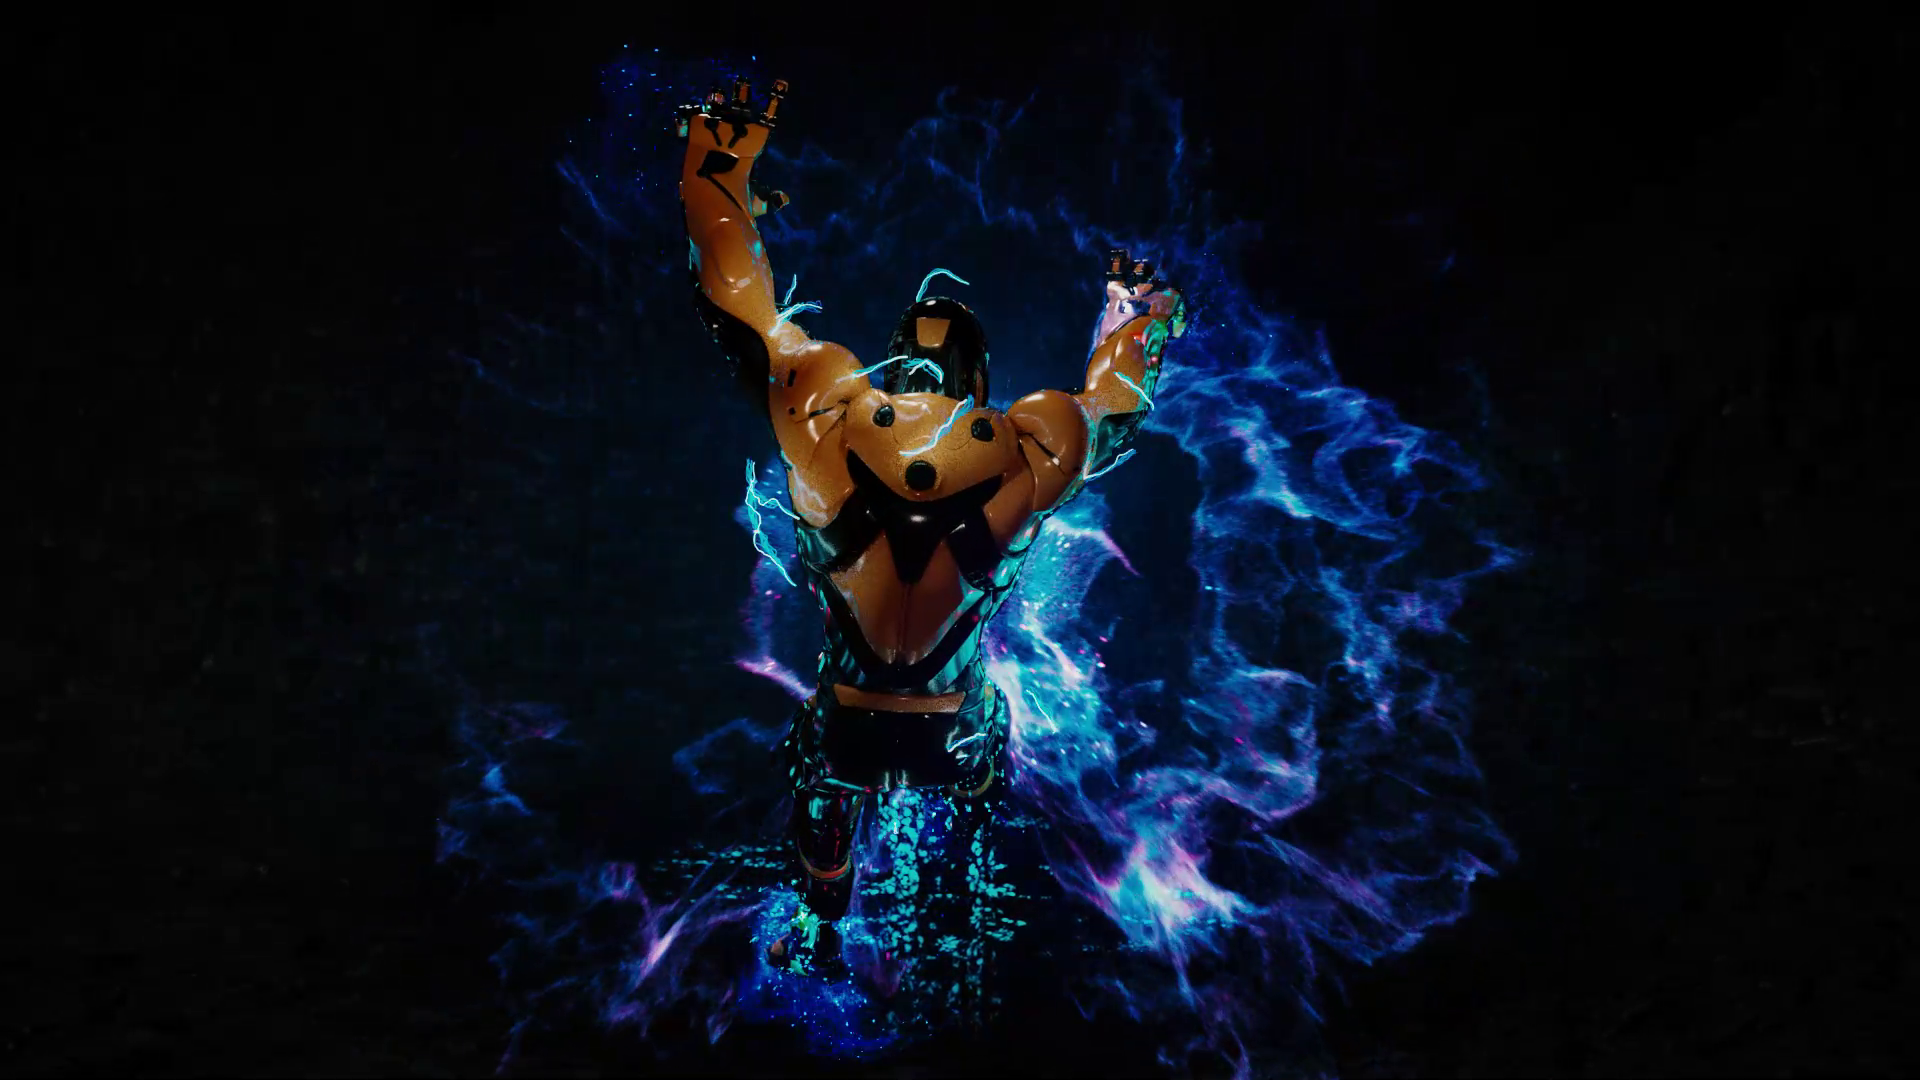
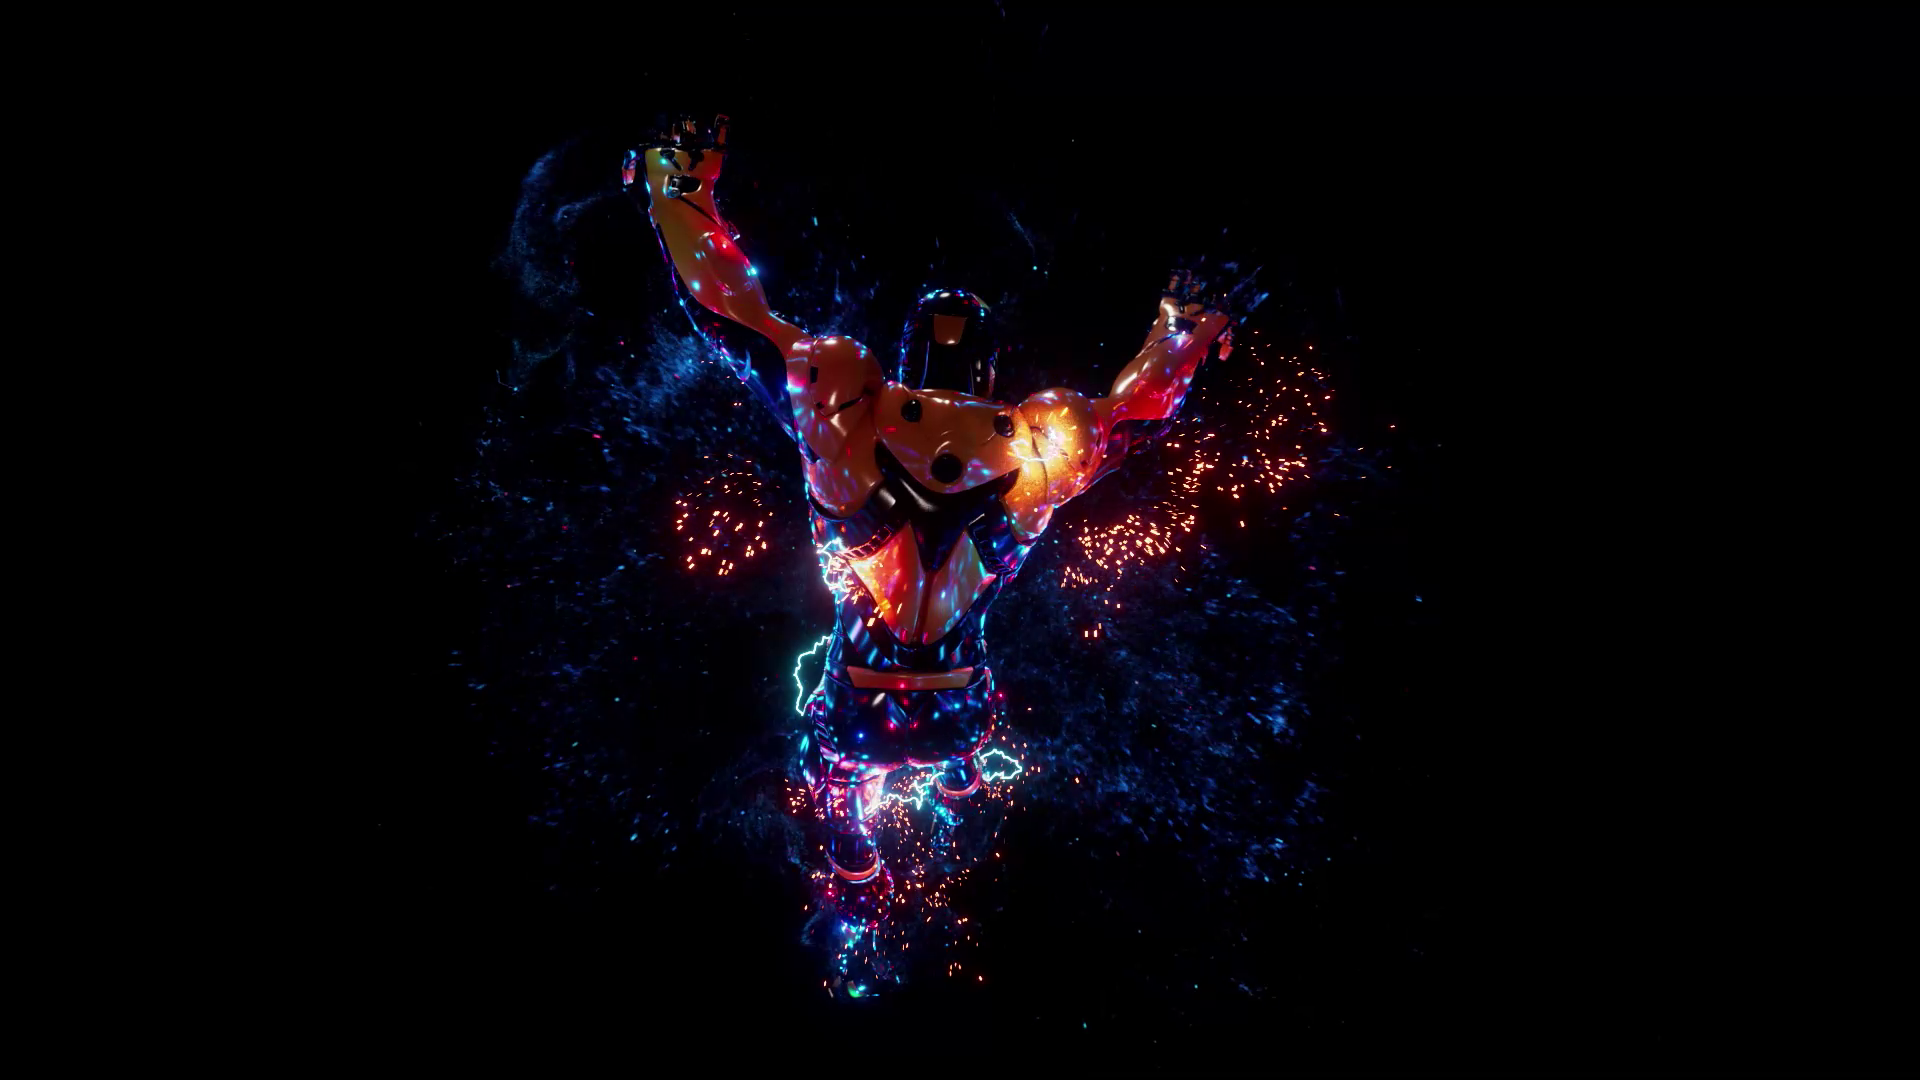
We’ll start by doing a quick overview of the start scene that was used for the promotional video of the course. Next, we’ll make sure we have a Robot mesh prepared for properly interacting with the Particles. Finally, we’ll work on our main energy blast making use of a POP network, with POP Forces, advection volumes and more.
Chapter 2
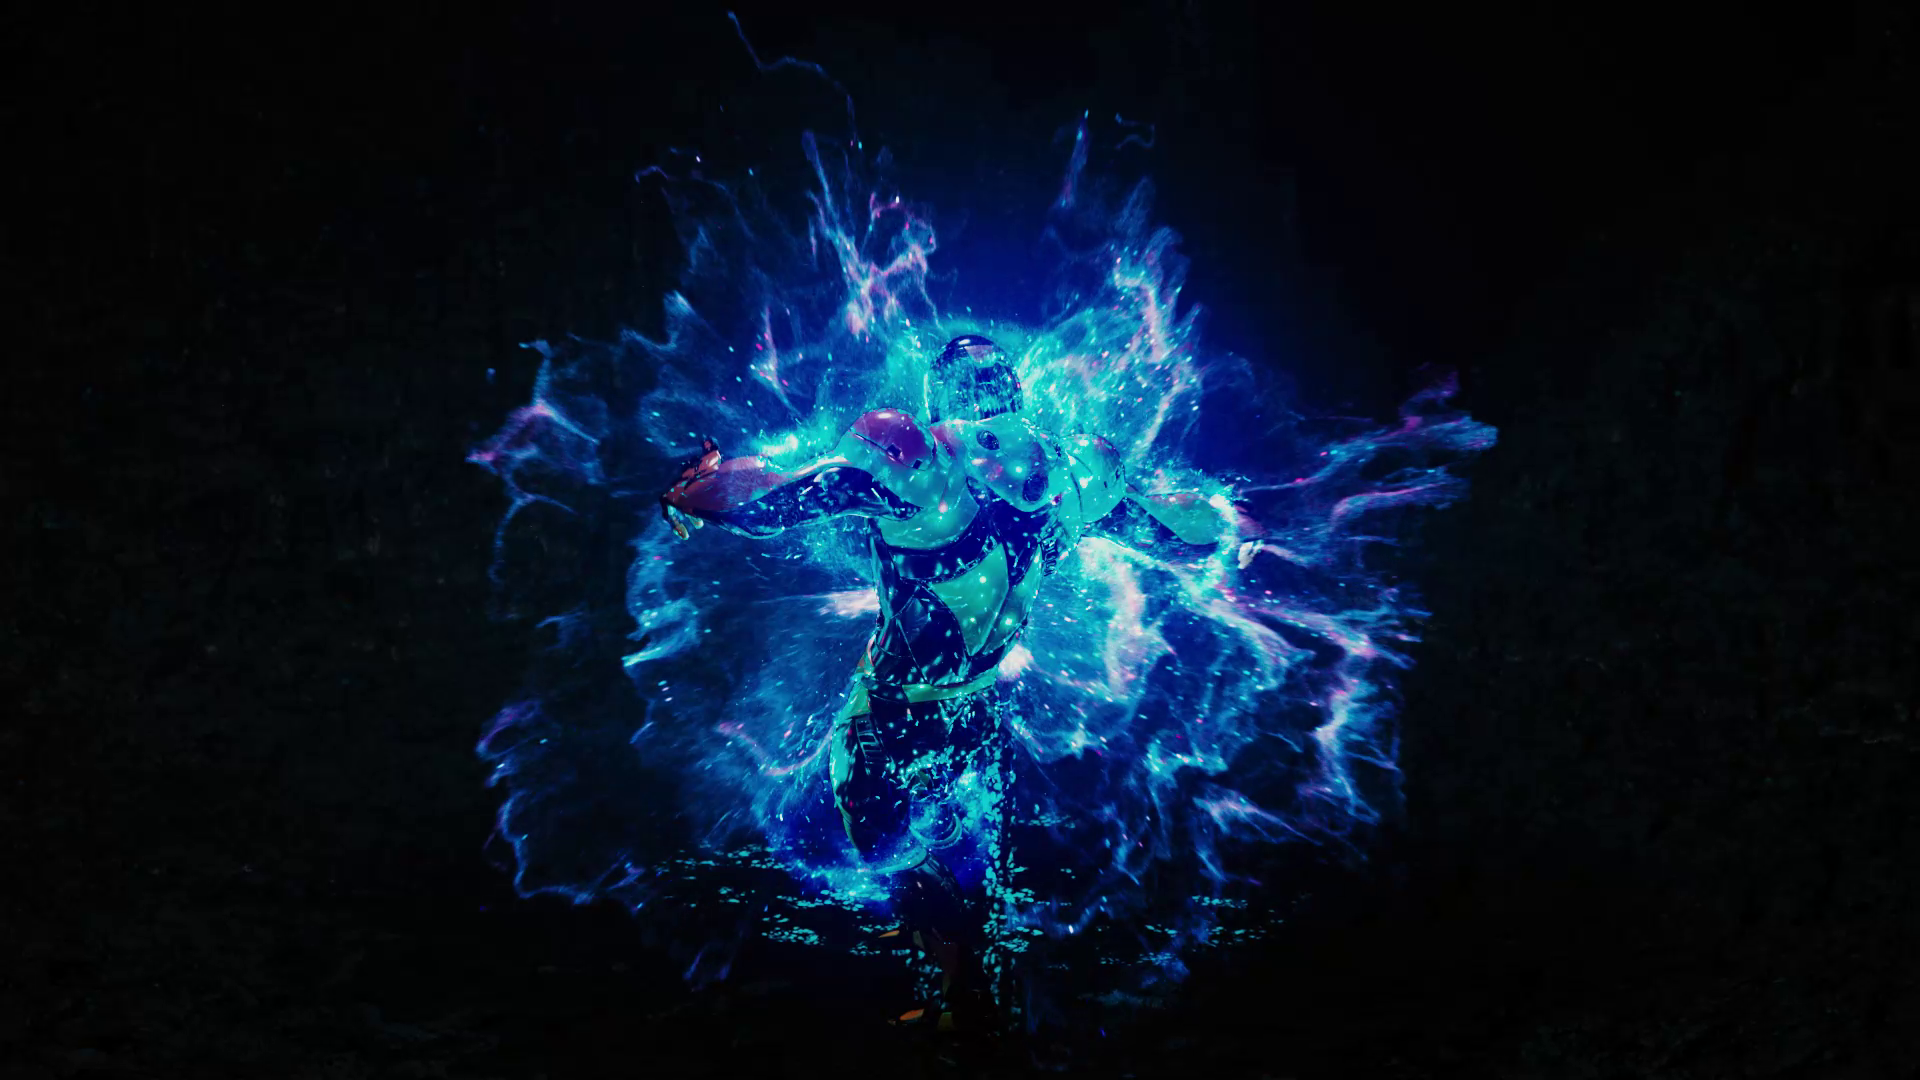
We’ll go through the process of creating radial blast waves using FLIPs combined with some POP elements that will allow us to control and shape the effect as we want.
Chapter 3
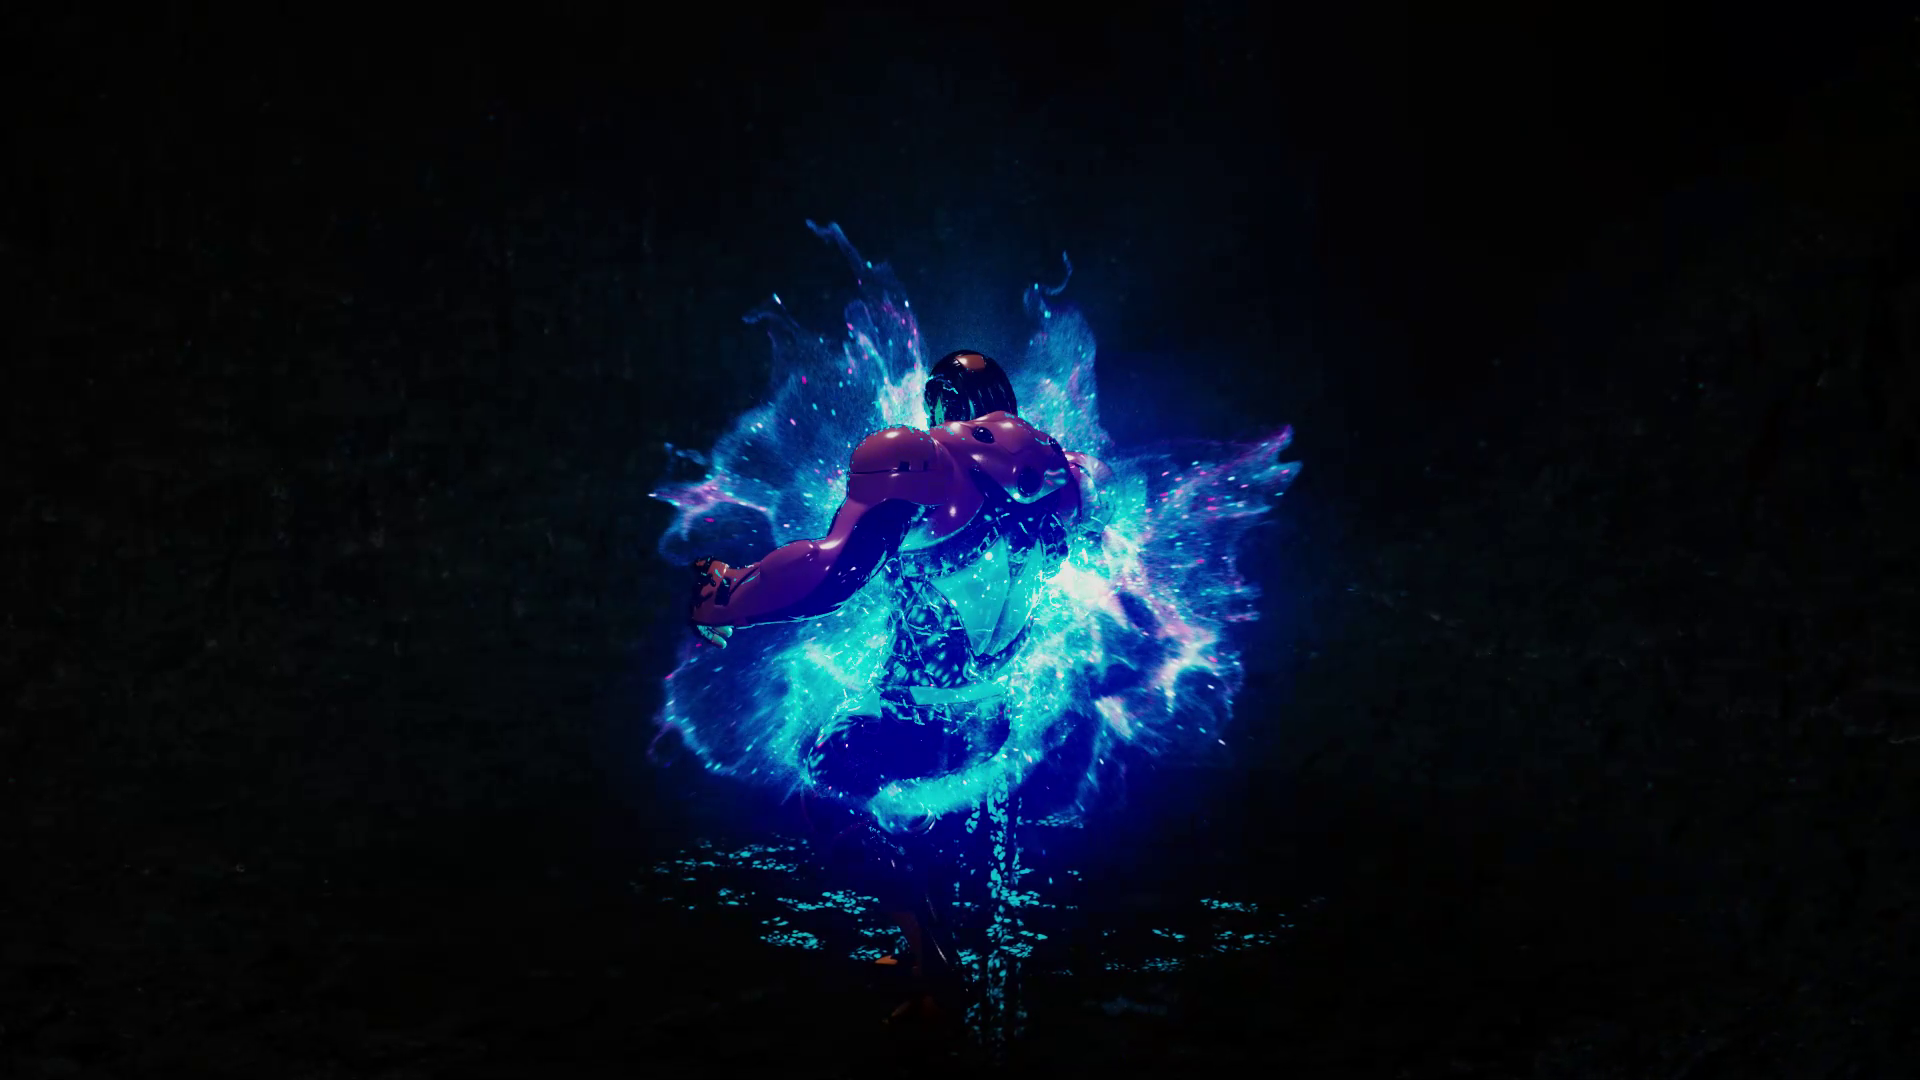
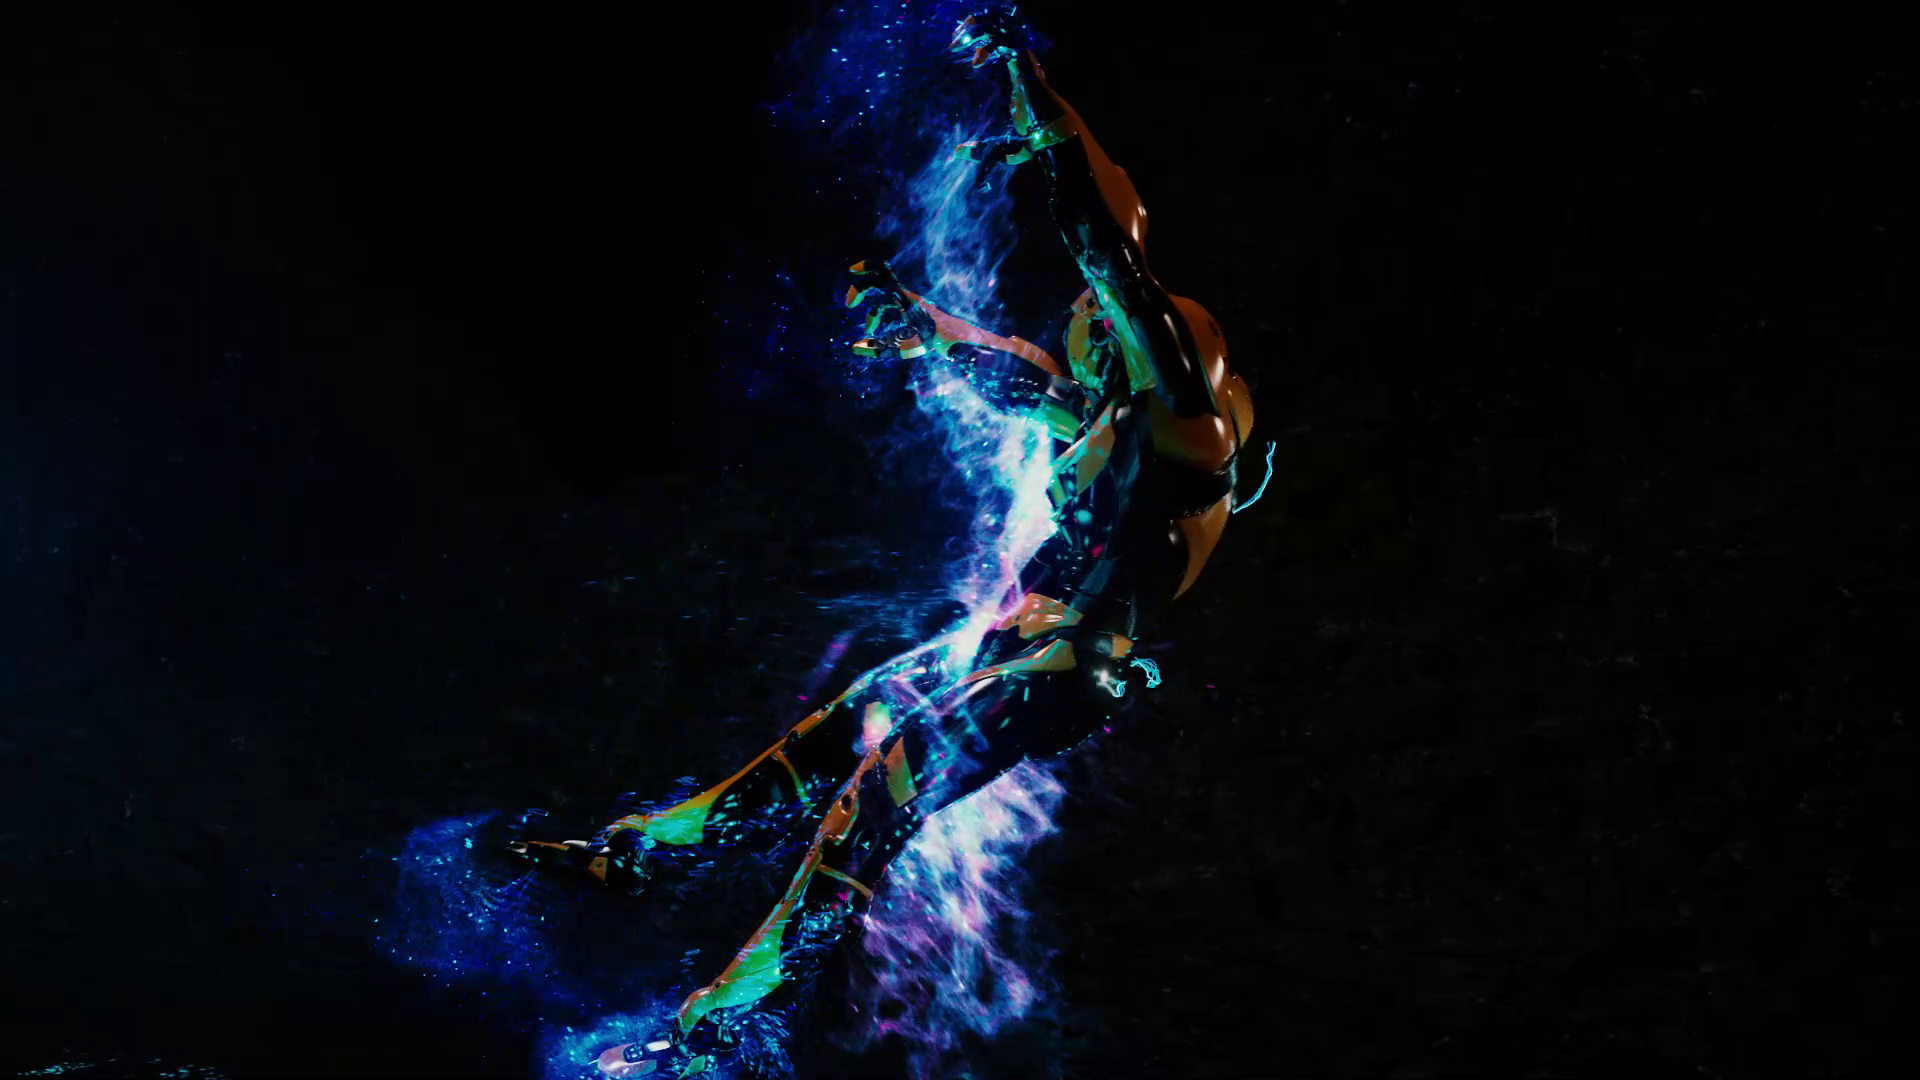
We’ll work on our third FX layer consisting of a part of the energy effect enveloping the character. We’ll be using some advanced particle advection and custom Forces to control how the particles behave.
Chapter 4
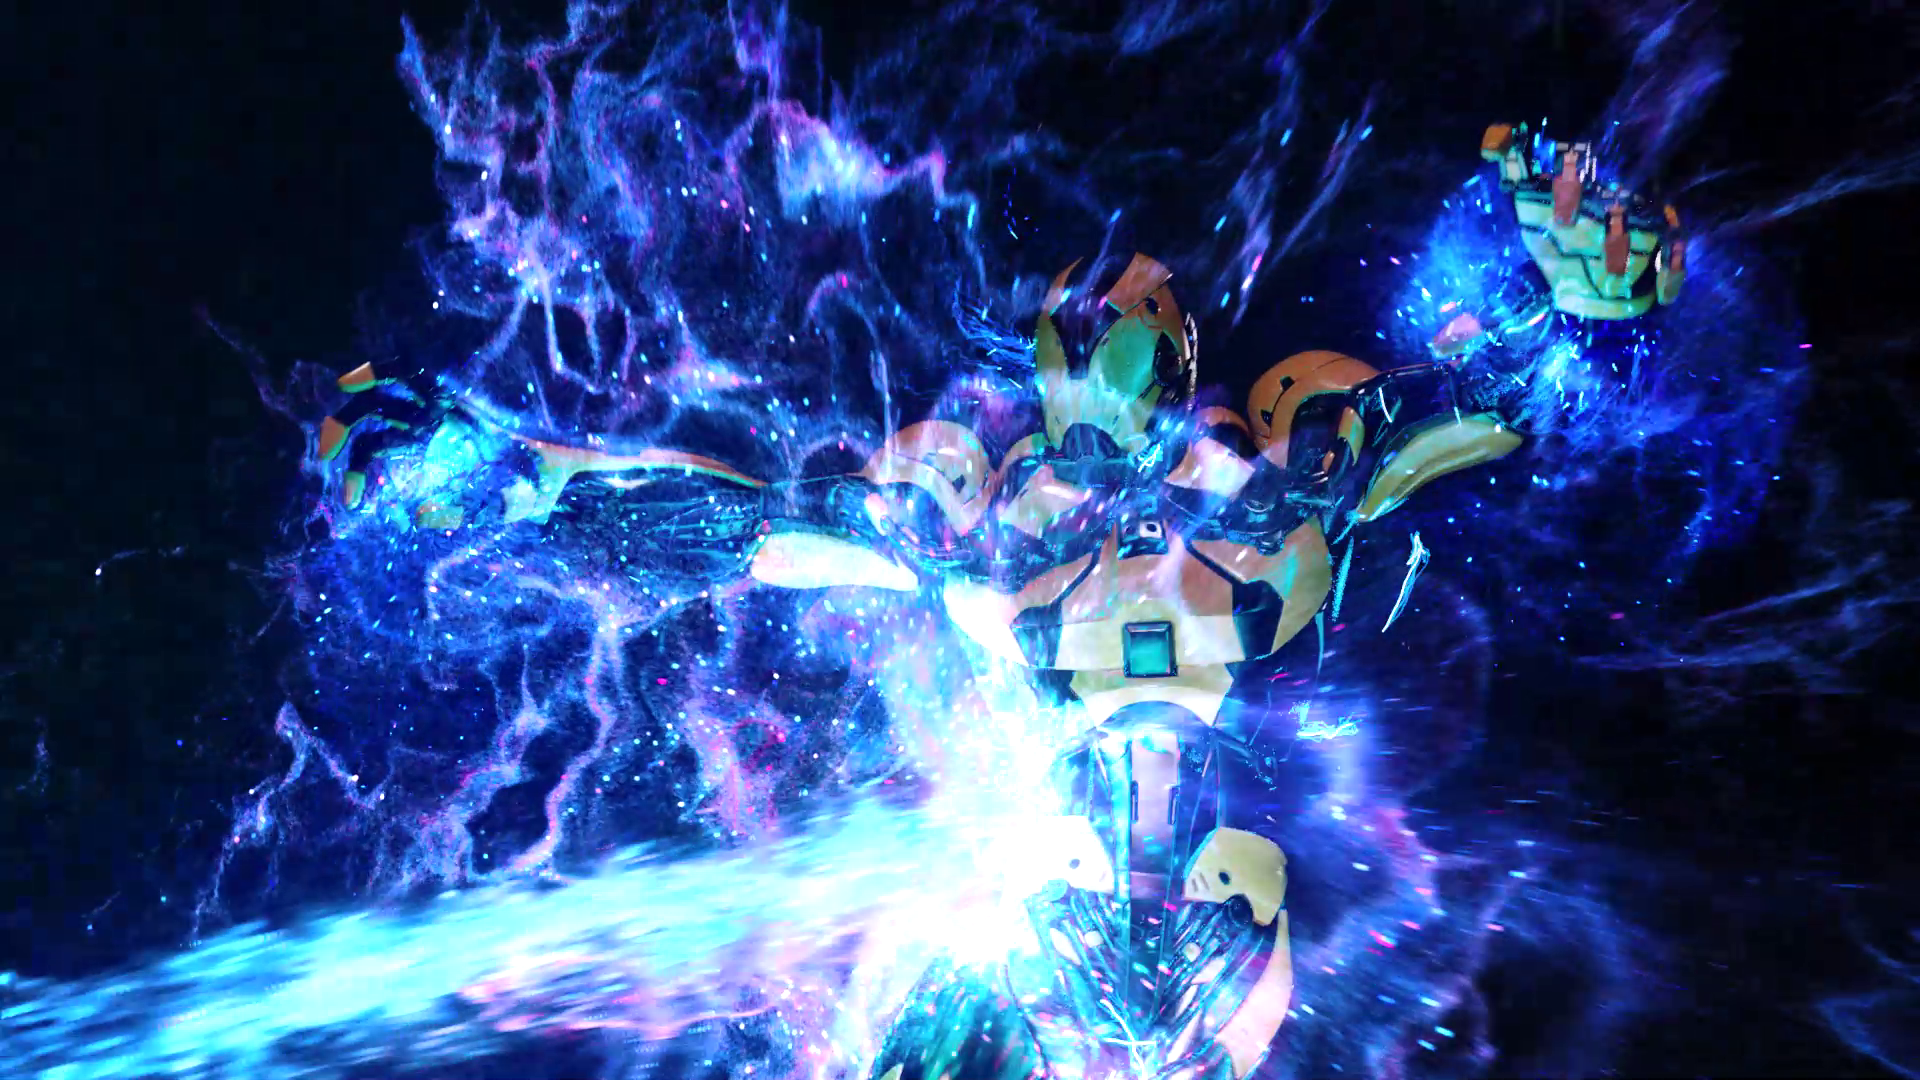
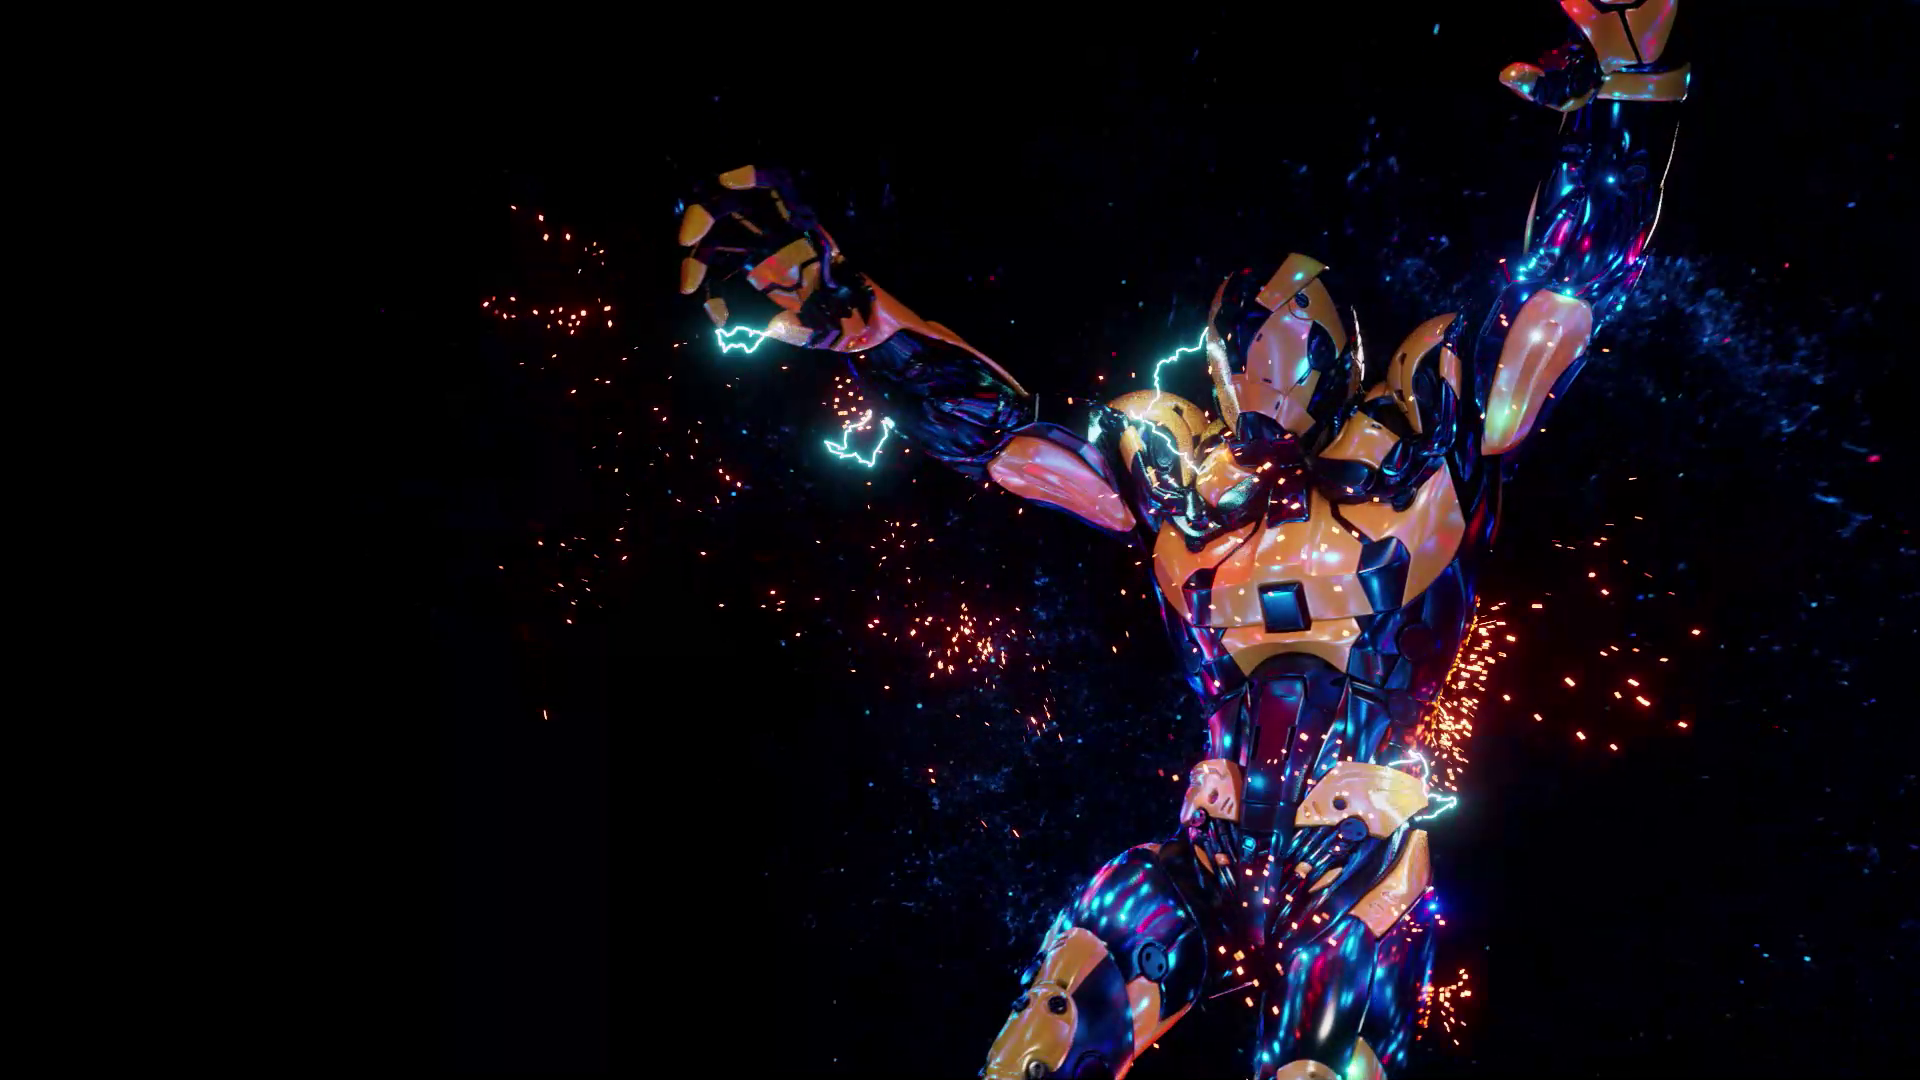
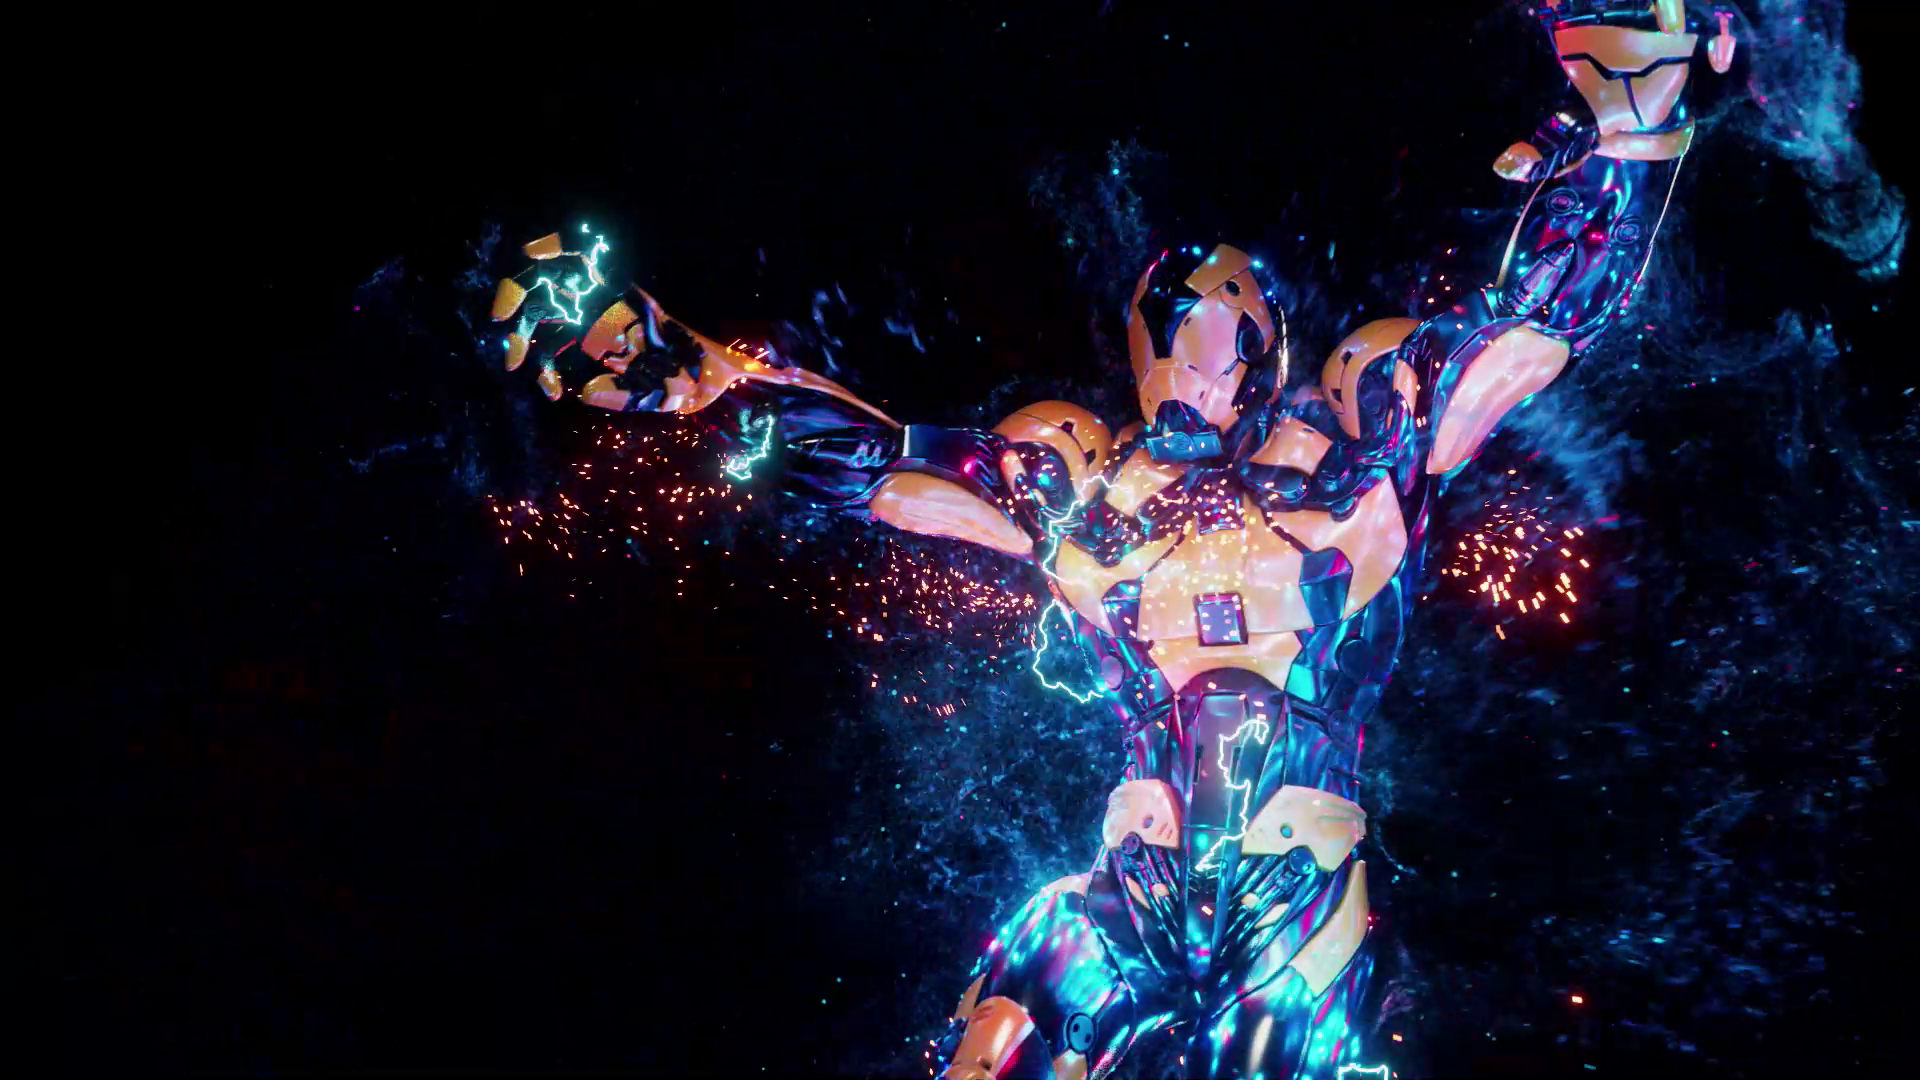
We’ll develop two more layers for the final effect: Electricity Arches and Sparks. We’ll use POPs and a custom system for pairing points and creating the electric arches traveling through our character’s body. These will occasionally generate Sparks that we’ll base on the new Houdini 19.0 quick setup and some customization.
Chapter 5
Finalizing the energy blast's look will be accomplished in the final chapter by rendering all the different FX layers in Redshift.
Chapter 6 (Coming soon as a free update)
We’ll explore shading, lighting and rendering with Karma in Solaris.
@media print { .ms-editor-squiggler { display:none !important; } } .ms-editor-squiggler { all: initial; display: block !important; height: 0px !important; width: 0px !important; }
COMMENTS
Please log in to leave a comment.