PDG FOR INDIE GAMEDEV | SECTION 2 | GETTING SET UP
1 | Introduction
In section 2, we are going to focus on getting our development environment set up so we can then move onto building our procedural system with TOP’s and PDG. If you are familiar with Installing Houdini and the Houdini Engine, you can skip those particular lectures, but it is highly recommended to watch from the “Creating Our First Top Network” lecture and all lectures after that.
2 | Getting the Latest Houdini Build
For those users who are new to Houdini, it is very important to know how to get the latest version of Houdini for this course. We will look at where to get the latest Daily build from the Side FX website.
3 | Installing the Latest Houdini Build
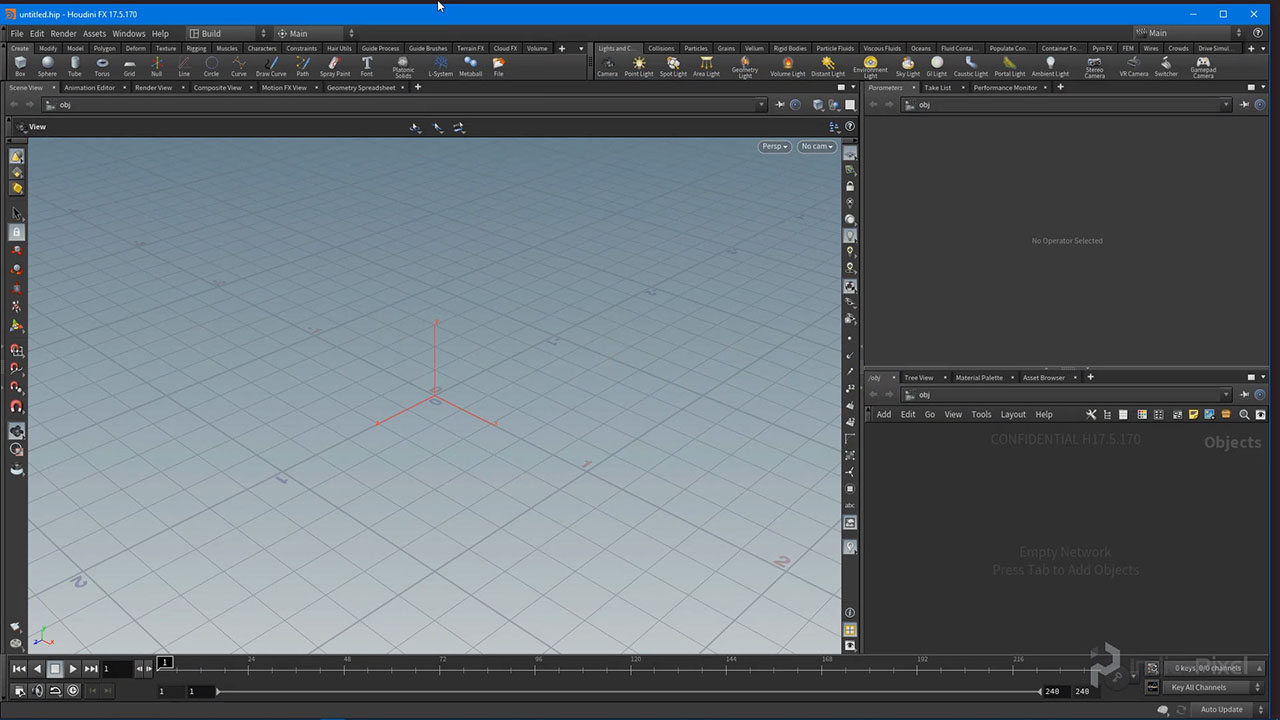
Now that we have downloaded the latest build let’s take a look at installing it. This will walk us through the installation process as well as show us how to make sure we have the Houdini Engine plugin as well.
4 | Creating a Houdini Project
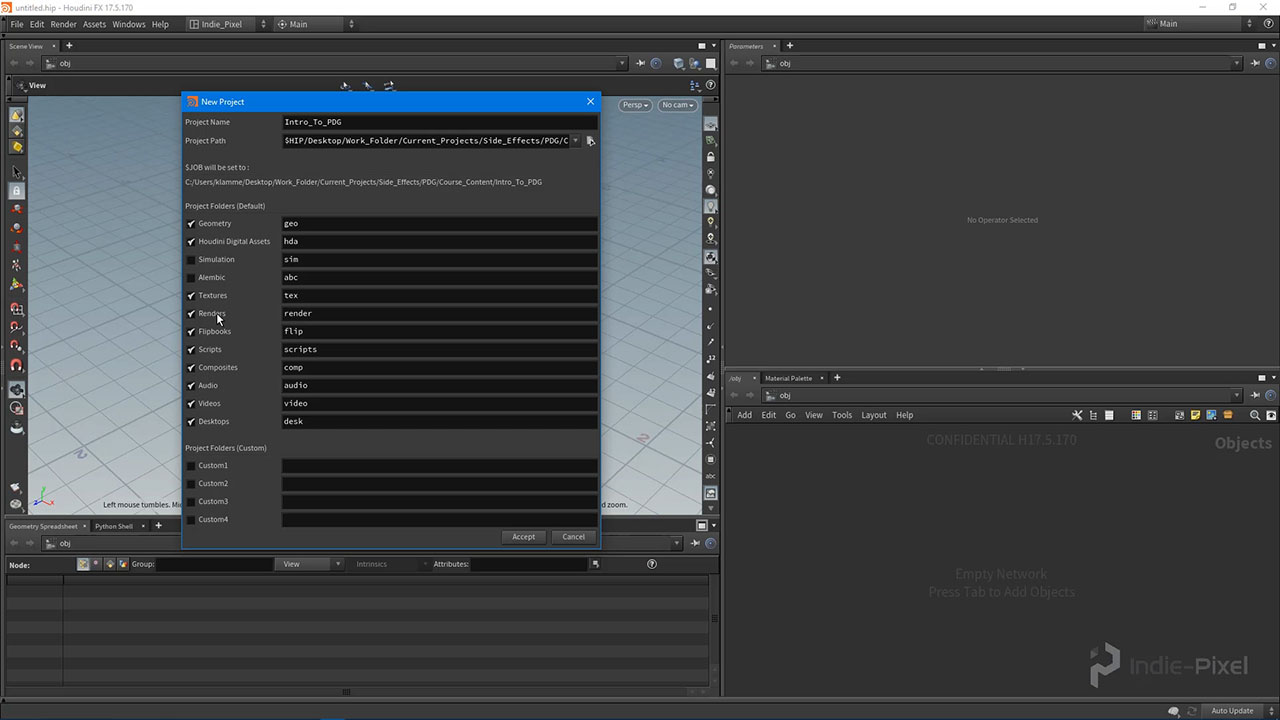
With Houdini up and running, let’s get ourselves organized by creating a Houdini Project. This is very important when working with PDG and TOP’s as we will be generating a lot of files. So we should make it easy for us to manage all those files, by creating a project directory structure.
5 | Create your First TOP Network
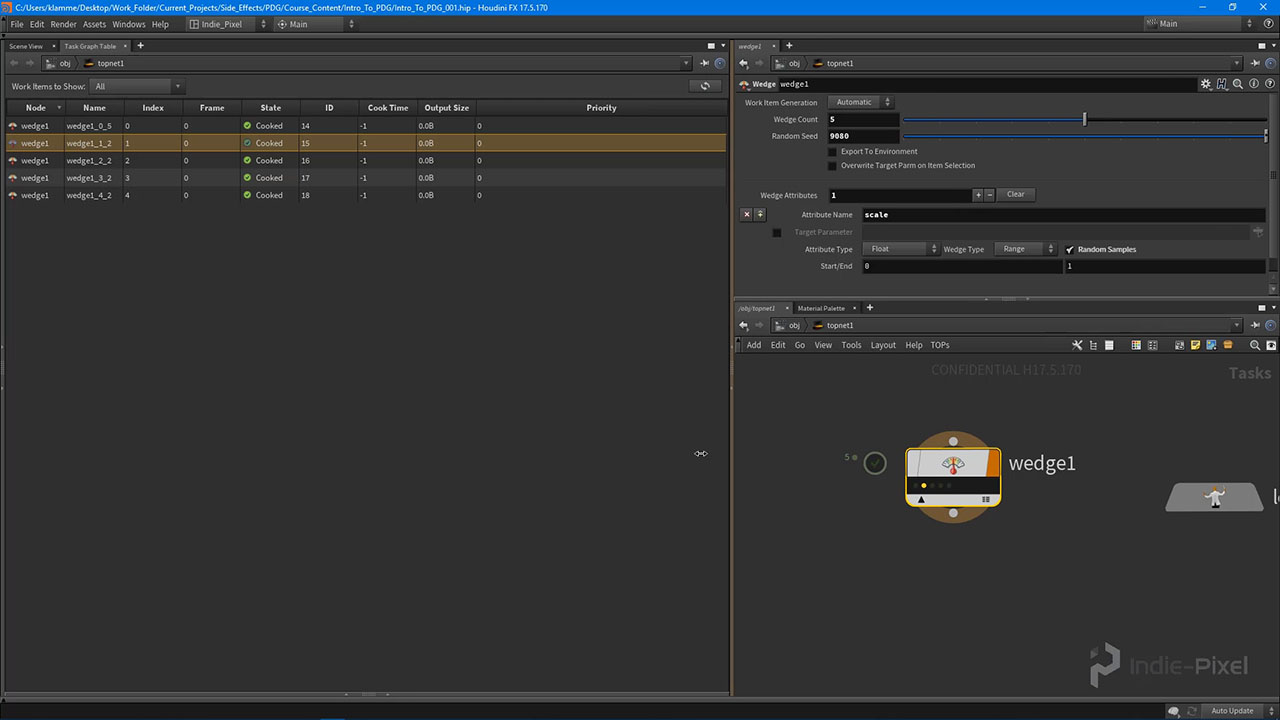
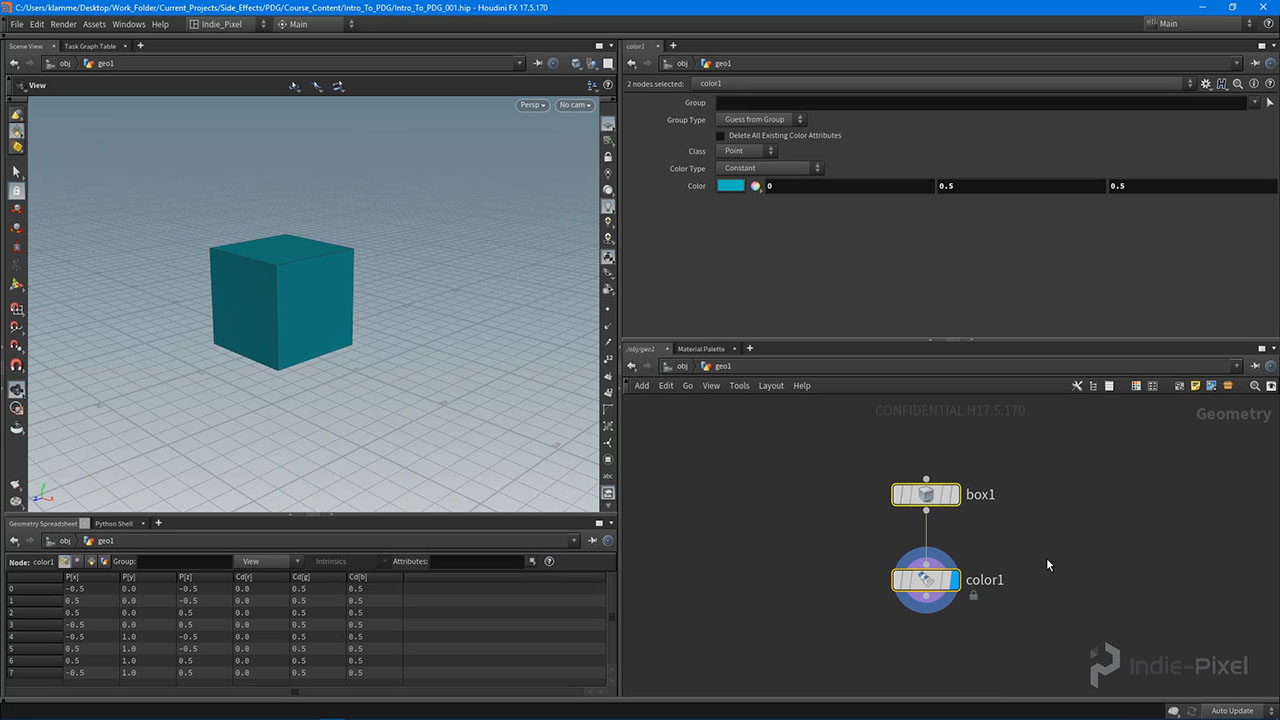
Now the real fun begins! We are going to create our first TOP network! This lecture will show you the ultimate basics of using TOP’s. It is meant to give you a gentle introduction to how the nodes works, how the data works, and the overall workflow of using TOPs.
6 | Quickstart to the HDA Processor
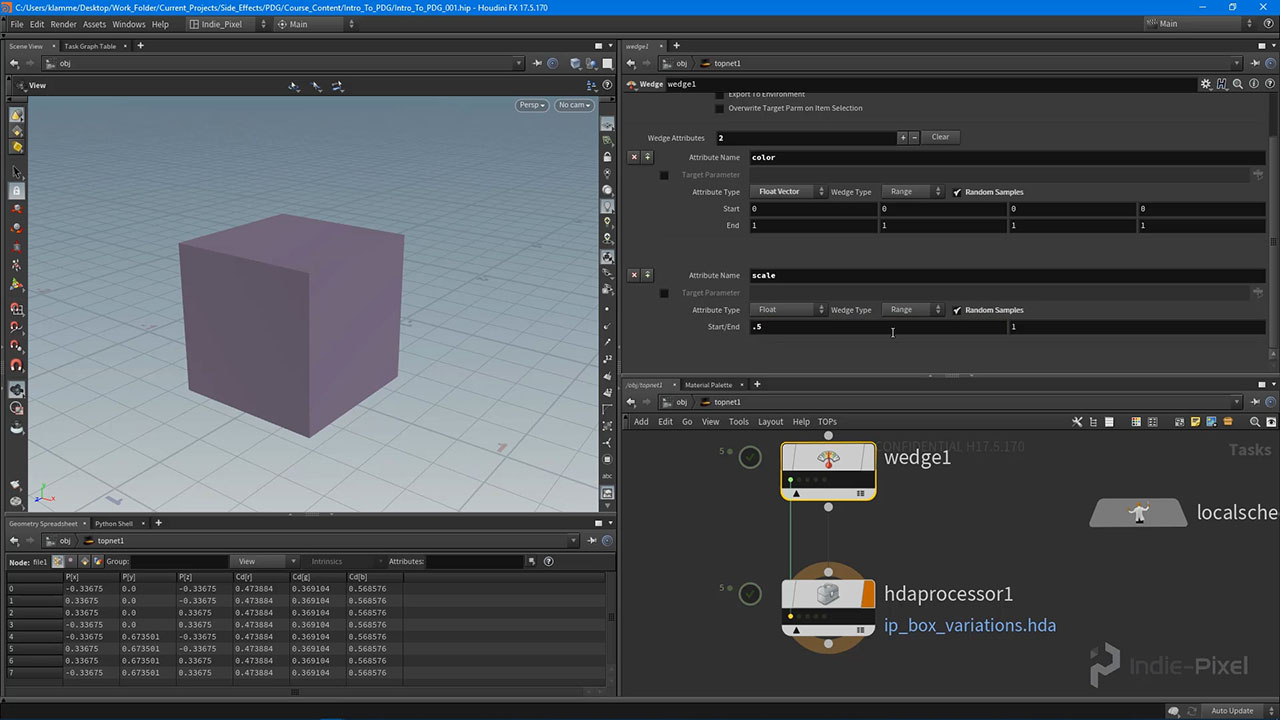
With the general concept of a TOP network out of the way let’s take a look at one of the more important TOP nodes we will be using throughout this course. The HDA processor allows us to plug in HDA functionality to process incoming geometry. This is super powerful when it comes to developing a Procedural level systems as it gives us a way to create tons of functionality with just a single TOP network.
7 | Visualizing the TOP Network Results
If you have been following along so far, you might have noticed that we cannot see the results of the TOP nodes after they cook. While they are producing geometry, it would be nice to see the results, on a per node basis, after each node cooks. IN this lecture we will learn how to do just that.
8 | Setting up Unity for TOPS
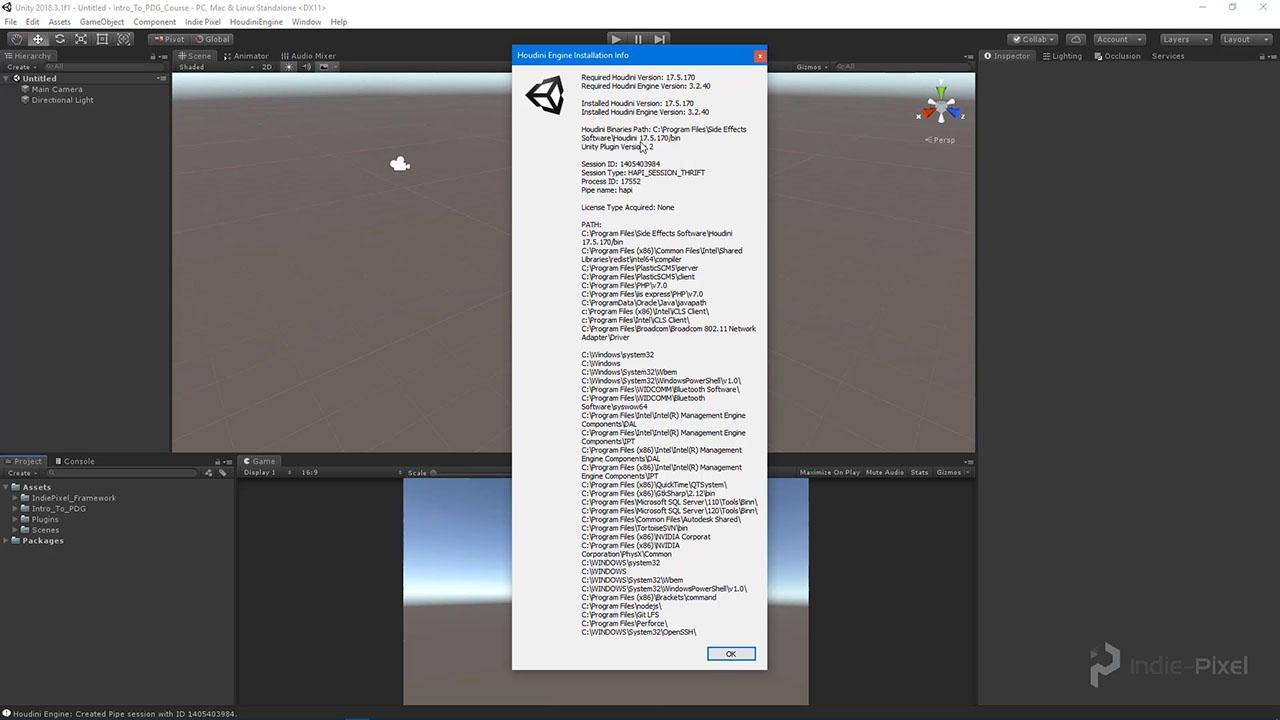
Now that we have become a bit more familiar with TOP networks in Houdini, we now need to apply this knowledge to our game development environment. In this lecture we are going to get the Houdini Engine up and running inside of Unity, so we can begin to test our TOP network in the Unity editor.
9 | Testing our TOP HDA in Unity
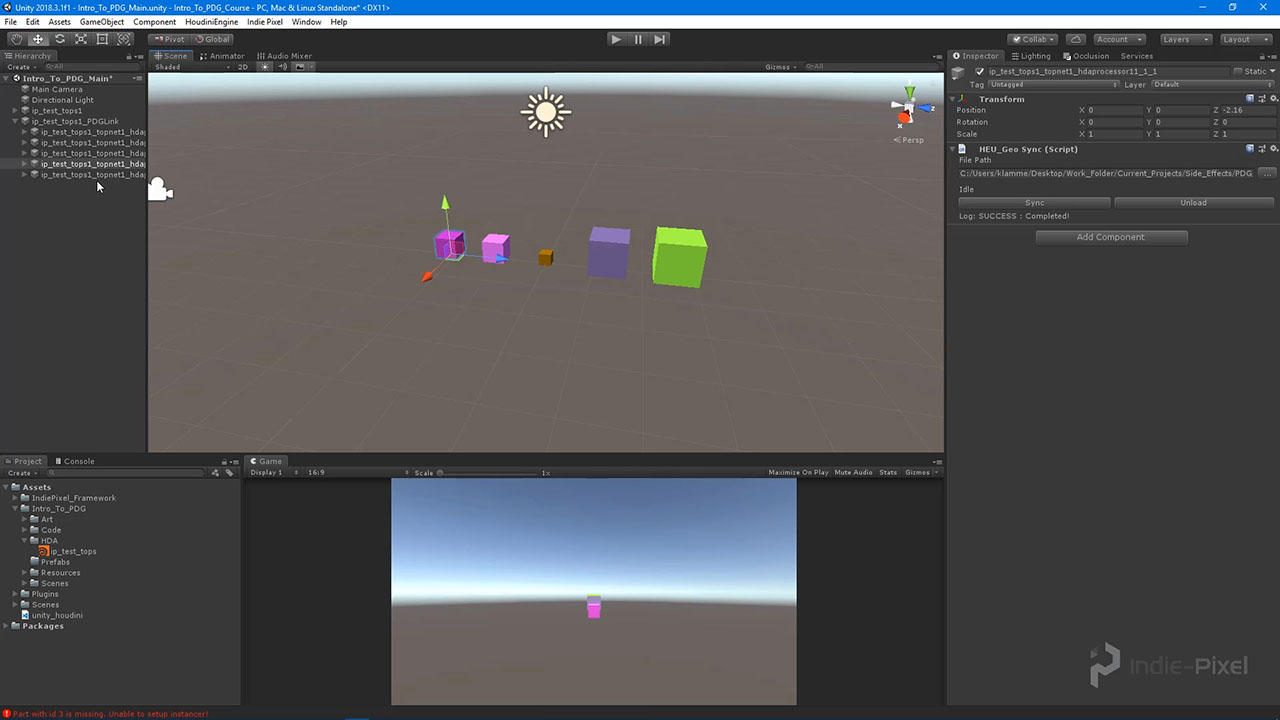
We are almost done with our complete TOP / PDG setup. The last thing we need to do is test out our TOP network inside of Unity. So we are going to bring our TOP HDA into Unity and learn to use the basics of the PDG Asset Link tool that comes with the Houdini Engine.

COMMENTS
anon_user_75466869 5 years, 8 months ago |
fantastic, I will study all this material because it is very well explained.
Indie-Pixel 5 years, 8 months ago |
Thanks Alfredo! Do let me know if you have any questions! I try to respond as fast as I can. Thanks so much! :-)
Sam Bivens 5 years, 8 months ago |
Why does the HDA Processor cook so slow? That is like the most basic hda ever and it takes multiple seconds per hda. Just seemed weird to me.
Indie-Pixel 5 years, 8 months ago |
Well we are writing the geometry out to files on the disk and loading them back into the scene. This way we have the data on disk as well. For something as simple as a box, you wouldnt really need to use PDG, it was more of an example of explaining how TOPS work with Unity and HEngine. TOPs and PDG becomes very fast and useful when dealing with massive procedural systems. So when creating a PDG system for HEngine, we still create smaller HDA's that produce props or tools for level designers, and then pass that data into our PDG system. It saves a bunch of time since we arent dragging and dropping a ton of HDA's to build a whole level. Hopefully that helps! Thanks! :-)
Sam Bivens 5 years, 8 months ago |
That makes sense. Thanks for the answer and thanks for the tutorials! I've learned a lot from you over the past year or two.
Indie-Pixel 5 years, 8 months ago |
Howdy Sam!
If you want to bypass the saving of the geometry from the TOP network, then you can use an Invoke TOP node...this will make the geo result in memory, instead of writing it to disk. This will make it fast but you lose the write to disk. So it becomes a pipeline decision at that point. Hope that helps! :-)
Bill_Sansky 5 years, 8 months ago |
Thanks a lot for the tutorial, really well explained and easy to follow!
I have the same issue with the time it takes to cook the hda processor node. For me each hda took around 72 seconds to cook, and I'm writing on an SSD drive: could there be a problem somewhere? I understand that there is an overhead linked to the fact that we write to a file, but the files are less than 2kb large: that doesn't sound right to me :D
Bill_Sansky 5 years, 8 months ago |
Maybe it's linked, maybe not, but I also cannot visualize the result when right-clicking on the task result and selecting View Task Output: it tells me the file couldn't' be found (but it's there, and when I select it manually it works)
Indie-Pixel 5 years, 8 months ago |
Thanks Bill! Im glad you are enjoying the course so far! :-)
With regards to the speed in the HDA processor, try using a ROP Geometry Output to load geometry in dynamically and get around the I/O process. It works just like any other subnet. Double click the node to dive in and start to build out the network yourd like just like if you were working inside of a geo node. You can also speed things up by putting things into compile blocks and invoking them from within TOP's. But I didnt dive into that stuff in this course as it is a bit too much for a beginner course. Take a look at those and let me know if any questions pop up.
I think that may be a bug with TOPs...the geo file not being found....I have enocountered that before as well. Might need to report it to Side FX. Which node is giving you the issue?
Thanks! :-)
Bill_Sansky 5 years, 8 months ago |
Thanks for your answer :)
I also tried to disable the "Write to geometry" option, and it seems that I was wrong about the I/O: the node cook in roughly the same time when disabling it.
I will check out those options you mentioned. I also found out that by changing the "Maximum CPU to Use" to something big allows the nodes to be cooked at the same time, which speeds up the process.
3clipse 5 years, 7 months ago |
Brilliantly explained... Best SFX tutorial I have come across... onto the next part and the fun.
Dean Deakyne 5 years, 7 months ago |
Hi Kenny,
Not sue what was skipped in the video but I got lost at the point where you were changing the directory in Visual Studio.
After the failed cook in Unity took place you opened the asset in a new instance of Houdini and opened up the Variables tab.
Your path in the variables was HUE_ENVPATH_JOB BUT Mine is still set to HIP and nothing that I do changes that path variable.
What step am I missing? I wanting to create all my assets from scratch so I can follow along, I am not using the project you provided.
Thanks,
Dean Deakyne
Dean_Lv 4 years, 10 months ago |
same issue.
psrolvag 5 years, 7 months ago |
Hi,
Great tutorial. Will you release one for those who use Unreal Engine?
MarkcusD 5 years, 6 months ago |
Please update this for UE4.
jjerome 5 years, 6 months ago |
Hi all,
If, like me, you encountered problems with Houdini Engine for unity and PDG cook here is a useful thing to check.
I had two installs, one with Indie licence on steam and one through the stand alone installer without any licence.
By default Houdini Engine takes the stand alone as the debug/run instance of Houdini and can therefore throw a licence error when using PDG.
You have to make sure that you have the correct binary linked in unity (i've uninstalled the standalone and everything worked).
To check that go to HoudiniEngine->Installation Info and check that the Houdini Binaries Path is set to your Steam installation folder.
Fantastik4k 5 years, 6 months ago |
fantastic tutorial..
I just have one problem. in video 6, when you create variations of color and scale for the box, i am unable to do it. btw i am using houdini 17.5.
Regards.
rubickdong 5 years, 6 months ago |
try oepn ur type properties and select Paramters ,set the attribute 'show parm in' as 'Main & Tool Dialogs + Toolbox' ,i fixed this problem by this way
art3mis 5 years, 5 months ago |
Thanks Kenny for sharing.
Minor critique
I believe PDG is short for 'Procedural DEPENDENCY Graph', not Procedural Dynamic Graph
Tomm_mm 5 years, 4 months ago |
Hi,
dont know why? But the 'pdg_output' in the file node.
isnt working in my Houdini.
yvesgrolet 5 years, 3 months ago |
Same for me and i've tryed :
'@pdg_output'
and
`@pdg_output`
any leads ?
Jochen Hanisch 5 years ago |
Sad, with unity 2019.2 it`s not instance the geo for the terrain. The path routing is fine and setup correctly inside unity. Warnings in the console: Part with id1 &3 is missing. Unable to generate instance! With version 2018.3.1f1 it works nicely.
Indie-Pixel 5 years ago |
Howdy guys! There have been lots of changes to unity terrains and houdini engine over the course of this year, so I made a new set of vids on using pdg here
https://youtu.be/N9zyg25MV9k
Jochen Hanisch 5 years ago |
man, you are amazing
Indie-Pixel 5 years ago |
Ahh...just a dood wanting to help out! Thanks so much!:)
collindruz 4 years, 7 months ago |
This is super helpful, I am a beginner and learning and am wondering if anyone has come to the issue with visualizing the uniform scale. It shows differences in the HDA Parameters tab when I select the different work orders but only changes the colors in the viewport. Thank you for these tutorials!
artplay 4 years, 2 months ago |
I had the same problem with the scale. in my case, I changed the name of the parameter of the scale into "scale2" . because the parameter name of the HDA's uniform scale is "scale2". and it worked.
But I got a warning massage with my HDA proccecer as follows.
WARNING:root:WARNING: an object level operator is being used and no SOP node was specified. The first valid displayed SOP node will be used.
12:41:56: PDG_RESULT: hdaprocessor20_5;-1;u'__PDG_DIR__/geo/hdaprocessor2.hdaprocessor20_5.0.bgeo.sc';file/geo;0
I cannot fix this problem.
siberia66 4 years, 6 months ago |
great tuts, thank you so much
mbaadsgaard 4 years, 5 months ago |
NOTE: In Houdini 18 it appears that using a TOP attribute named "color" throws error!
mbaadsgaard 4 years, 5 months ago |
So upon further investigation it turned out to be that a TOP attribute just can't be named the same as the parameter on the HDA....
DevoStevo 4 years, 2 months ago |
I'm currently using Houdini 18.0.566 & if you're wondering why your random scale wedge attribute isn't working on your box_variations.hda, I had to tick the "Target Parameter" box for my "scale" attribute in my wedge1 node & give it the path to my box_variations.hda/transform/scale parameter for it to work (Section 2 Video 6). I didn't have to do it for the color attribute though.
DevoStevo 4 years, 2 months ago |
Also, I was getting an error for "pdg_output" on my file node but I dived into my topnet1 node & re-cooked my hdaprocessor1, then clicked on the dots in the node to visualize it's output, and it fixed the error on my pdg_viz (geo/file) node. It was working fine when first I created the .hip project file, but after I saving & re-opened it, I got the error message.
smoluck 4 years, 2 months ago |
Hi.
Thanks again Kenny for this Tutorial.
For those who've search for creating the environment variable inside Houdini if the"HEU_ENVPATH_JOB" was missing.
Simply fill up the 2 Fields at the bottom of the Edit/Aliases and Variables window.
I was searching for a Button or Right click menu, but it was more simple than i expected.
continuing on next chapter...
artchapter 3 years ago |
Very great video, but I am not able to use PDG I dont know why, even I download the project file you provide,
the TOP node is display none... in Unity.
HaniJahan 2 years, 7 months ago |
I have the same problem! Did you find a solution for it?
HaniJahan 2 years, 7 months ago |
I have the same problem! Did you find a solution for it?
olleli1125 1 year, 7 months ago |
Hello everyone, would just like to point out that the "scale" attribute used in the TOP network might not work these days.
I changed mine to "pscale" and it got fixed.
Please log in to leave a comment.