| Since | 20.5 |
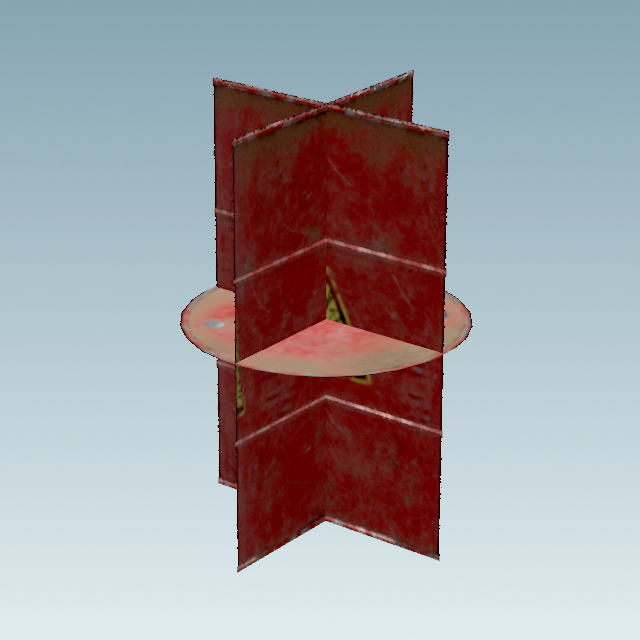
This node adds Draw Mode properties to USD Model Assets. Different draw modes can be used to optimize viewport geometry in heavy scenes, and provide some level of visualization even for unloaded payloads.
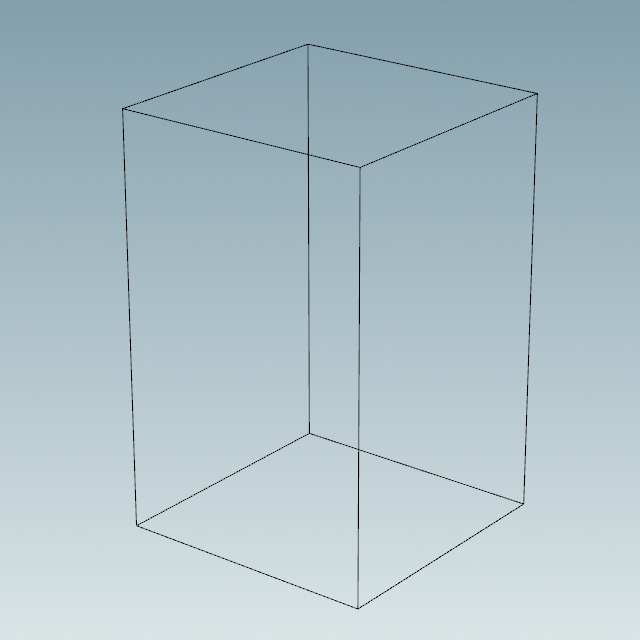
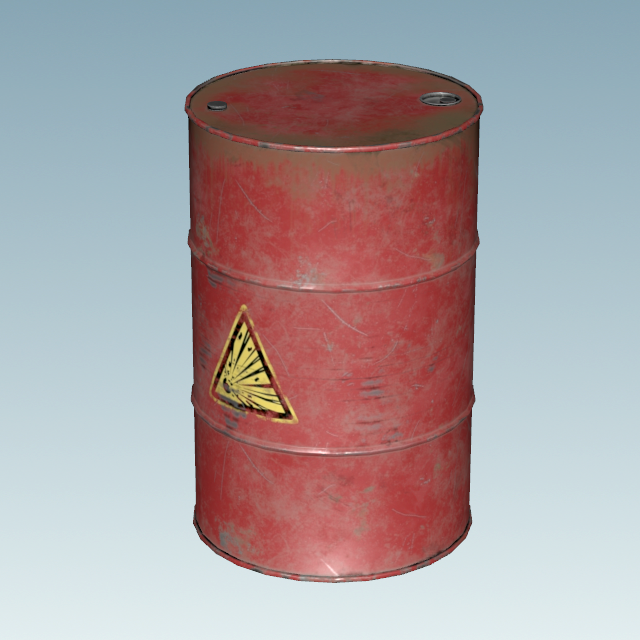
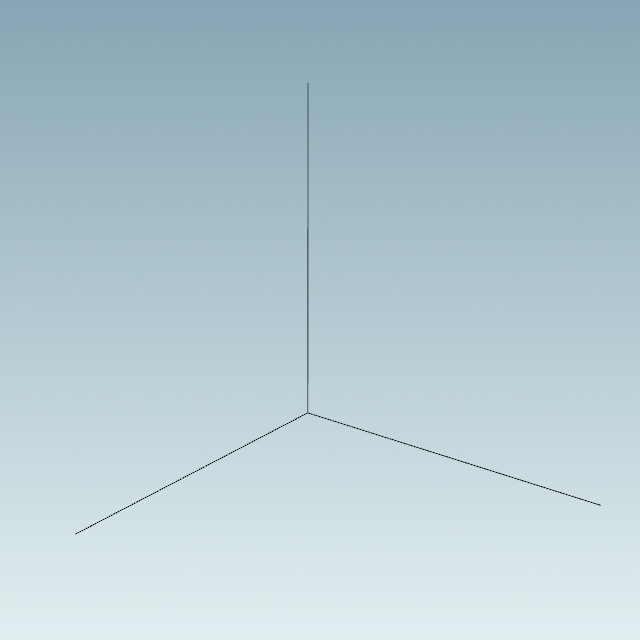
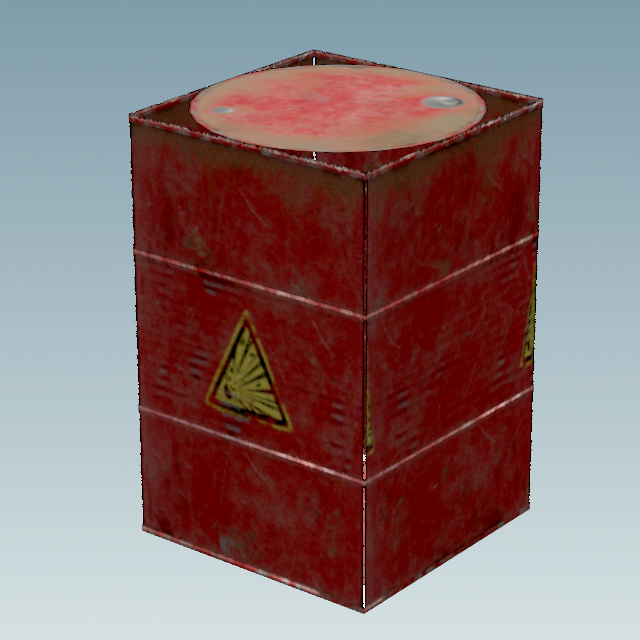
-
The first input is for your USD model assets with correctly configured model kind. USD requires this, which can be setup manually, or using the Component Builder.
-
Use this node right after a Component Geometry, or inside of a Component Material node. This allows you to setup texture cards and draw modes that are controlled by the geometry or material variants.
-
Correct extents/extentsHint attributes are also important.
-
The second input can provide lights or other settings to further customize the texture cards.
-
Having two texture cards on each axis only works well for box Card Geometry.
Parameters 
Primitives
The primitive(s) the node should operate on. You can drag primitives from the scene graph tree pane into this textbox to add their paths, or click the Reselect button beside the text box to select the primitives in the viewer, or ⌃ Ctrl-click the Reselect button to choose prims from a pop-up tree window. You can also use primitive patterns for advanced matching, including matching all prims in a collection (using
/path/to/prim.collection:‹name›).
Note
This parameter needs to be exposed in order for the transform handles to be context-aware. Without it, the handles may not be positioned properly.
Kind
See Kinds and the model hierarchy for an explanation of kinds and how they should be used. To maintain a proper model hierarchy, you should apply a kind to any prim whose descendants contain geometry.
None
Mark this prim as not having a kind.
Assembly
Mark this prim as an “important” group of models (for example, if a prop is made up of smaller moving parts, the top level of the prop would be an Assembly, and the sub-parts would be Groups and/or Components).
Group
Mark this prim as a group of models.
Component
Mark this prim as a “leaf” model.
Sub-component
Mark this prim as a subordinate part under a Component model.
Fix Kind Hierarchy
Set the kind of all parents of the selected prims so that the hierarchy is correct. Primarily this makes sure all parents of component or group have a kind of assembly or group.
Set Extents
Compute any missing extents or extentsHint attributes. This information is needed to draw the cards and bounds at the correct size for those draw modes.
Apply Draw Mode On This Primitive
Indicates that this prim should be drawn according to the draw mode set on this prim or one of its ancestors. Component prims and prims with unloaded payloads are the normal locations where the draw mode is applied. This attribute allows any other primitive (that is part of a valid model hierarchy) to be the point in the scene graph where the chosen draw mode is applied.
Draw Mode
Controls how the renderer draws geometry under this prim. These options allow you to replace extremely heavy geometry in the viewer with faster, cheaper alternatives. Descendants of this prim will inherit this setting unless they change it.
Note
You can easily switch the draw mode of primitives in the scene using the controls in the Scene Graph Tree pane. The controls in the pane modify an in-memory “view layer” that is not saved to disk, so they are more useful for working interactively. This parameter should not be set here as it will interfere with these controls, however it is useful to temporarily set it to configure the cards.
Full Geometry
Force the geometry to be drawn normally, ignoring any value set on a parent.
Origin Axes
Instead of drawing the geometry, draw a “jack” (three lines along the X, Y, and Z axes) aligned to the geometry’s local space, at its local origin.
Bounding Box
Instead of drawing the geometry, draw a world-space-aligned box representing the bounding box of the geometry.
Textured Cards
Draws rectangular polygons with optional textures within or around the bounding box of this primitive. A variety of other attributes are used to control the appearance of these cards. They may be drawn as a bounding box, or as three cards that meet at the origin. The texture maps for each of the six visible card faces are also controlled though attributes.
Draw Mode Color
Color to draw Origin, Bounds, or if all the card textures are missing
Card Geometry
#cardgeometry
If Cards Draw Mode is chosen, what kind of Cards to draw
Cross
Draw the texture cards parallel with the box sides and intersecting at the center of the extents
Box
Draw a box the size of the extents with the cards as the sides
From Texture
Use the worldtoscreen metadata of the texture to place the cards at any orientation. Houdini cannot generate these textures.
+X Texture
Texture to draw on the +X side of the box or cross. If missing the -X texture is mirrored. If both are missing then YZ plane is not drawn. This parameter can be animated.
-X Texture
Texture to draw on the -X side of the box or cross. If missing the +X texture is mirrored. If both are missing then YZ plane is not drawn. This parameter can be animated.
+Y Texture
Texture to draw on the +Y side of the box or cross. If missing the -Y texture is mirrored. If both are missing then XZ plane is not drawn. This parameter can be animated.
-Y Texture
Texture to draw on the -Y side of the box or cross. If missing the +Y texture is mirrored. If both are missing then XZ plane is not drawn. This parameter can be animated.
+Z Texture
Texture to draw on the +Z side of the box or cross. If missing the -Z texture is mirrored. If both are missing then XY plane is not drawn. This parameter can be animated.
-Z Texture
Texture to draw on the -Z side of the box or cross. If missing the +Z texture is mirrored. If both are missing then XY plane is not drawn. This parameter can be animated.
Rendering Options
This node can setup cameras to render texture cards for you.
Render Texture Cards
Renders the selected texture card axes.
Cancel
Stops any in-progress renders.
Reset
Resets the in-progress renders.
Renderer
List of available render delegates.
Maximum Image Size
Maximum width or height of the texture card images.
Dome Light
Intensity
The intensity of the dome light.
Color
Sets the color of the dome light.
Texture
Optional HDR for rendering texture cards.
Top Light
A distant light pointed down the Y-Axis by default.
Intensity
The intensity of the top light.
Color
Sets the color of the top light.
Rotate
Control the rotation of the top light.
Custom Scheduler
Choose a different PDG Scheduler for running the render jobs. Defaults to the local scheduler.
Note
To see the entire parameter set, expand the Frame Range/Subframes section.
Sampling Behavior
Cooking this node can generate many USD time samples, rather than just a single time sample at the current time. This can be equivalent to having a Cache LOP following this node, but it will evaluate much faster, and does not cache data from any other nodes. This allows animated data to be authored to USD without introducing a node time dependency which would then cause all following nodes to also be time dependent. This can vastly improve playback performance of some LOP Networks.
In all sampling modes, if a parameter on this node does not vary with time, and does not rely on other time sampled data from the stage, only a single default value will be generated in USD for the corresponding attribute. USD time samples are only generated for parameters that may vary over time.
Sample Current Frame
A single time sample will be generated for the current time.
Sample Frame Range If Input Is Not Time Dependent
If the input to this node is time dependent, this node behaves as if it is in Sample current frame mode. Otherwise it behaves as if it is in Sample frame range mode.
Sample Frame Range
The Start/End/Inc parameter is used to generate multiple times at which this node’s parameters are evaluated, and a USD time sample is created for each attribute at each one of these times.
Start/End/Inc
When the Sampling behavior is Sample frame range, this parameter controls the number and spacing of base time samples to be generated by this node. The default values of this parameter are @fstart, @fend, and @finc. These values correspond to the start, end, and step size of the global Houdini animation settings when interacting with Houdini. When using a ROP node to generate a range of frames, these values correspond to the start, end, and increment values specified on the ROP node being executed. This default ensures that a USD file written to disk will contain time samples for exactly the frame range requested by the ROP (regardless of the Houdini animation settings).
Subframe Sampling
For each primary sample generated by this node, these parameters can cause additional samples to be generated around that primary sample time. This is most often used to ensure that accurate data exists at exactly the camera shutter open and close times, as well as at the primary sample time.
Shutter
Controls the method used to specify the shutter open and close times relative to the primary sample times.
Specify Manually
The Shutter Open/Close parameter values provide exact offset values relative to the primary sample time.
Use Camera Prim
The Camera Prim parameter provides the scene graph path of a camera primitive from which the shutter open and close times are extracted to provide the offset values relative to the primary time sample.
Shutter Open/Close
When Shutter is set to Specify Manually, these two offset values are added to the primary sample time to indicate the shutter open and close times. The open time should be less than or equal to zero, and the close time should be greater than or equal to zero.
Camera Prim
When Shutter is set to Use Camera Prim, this is the scene graph path of a camera prim on the input node’s stage. The shutter open and close attribute values are read from this primitive.
Samples
The number of subframe samples to create for each primary sample. These samples are evenly distributed between the shutter open and close times. Note that such an even distribution may or may not create a sample at exactly the primary sample time.
Always Include Frame Sample
When turned on, forces a sample to be created at exactly the primary sample time. If the Samples value, together with the shutter open and close times, already place a sample at the primary sample time, turning on this option has no effect. Otherwise, this option causes an addition sample to be added. This means that the actual number of samples per primary sample may in fact be one more than the number specified in the Samples parameter.