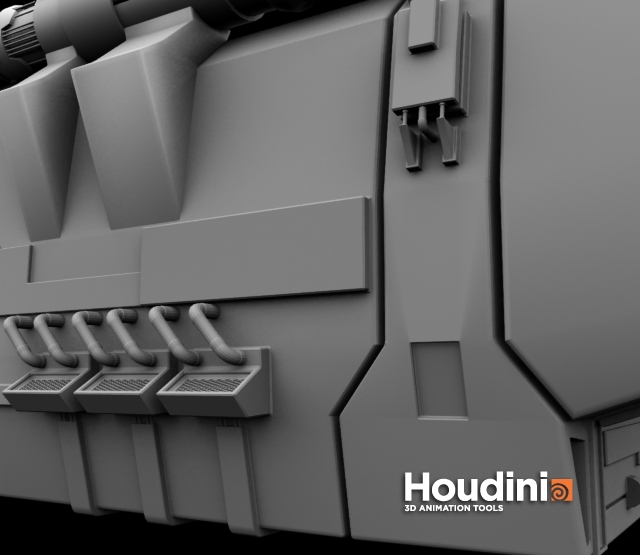
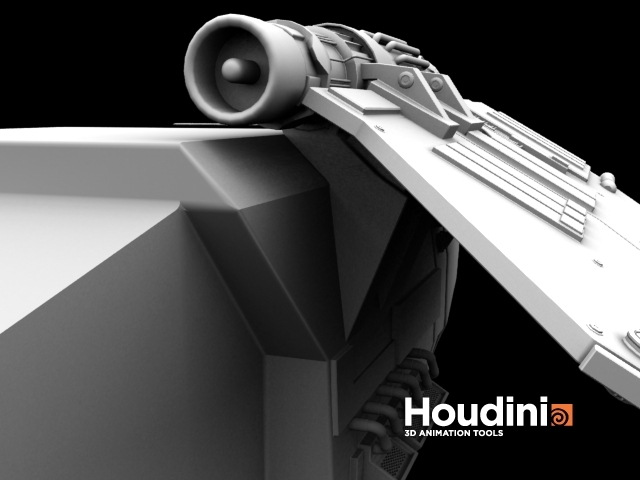
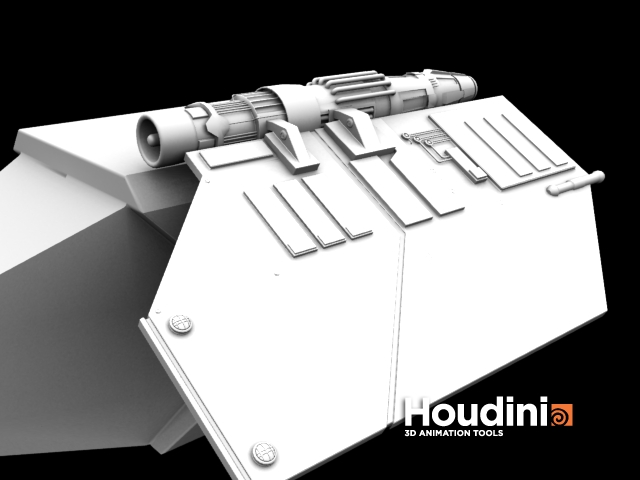
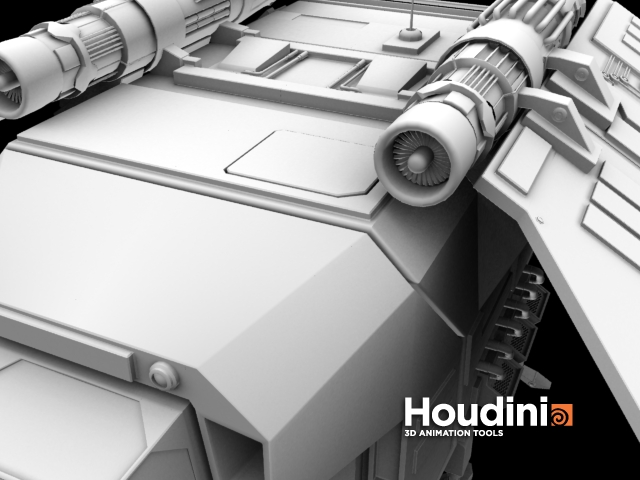
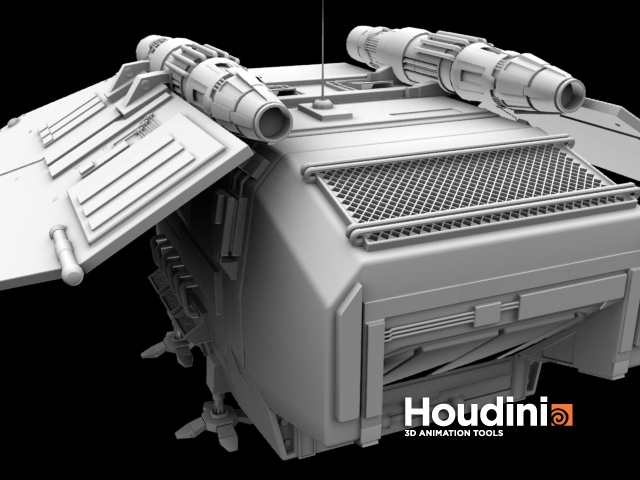
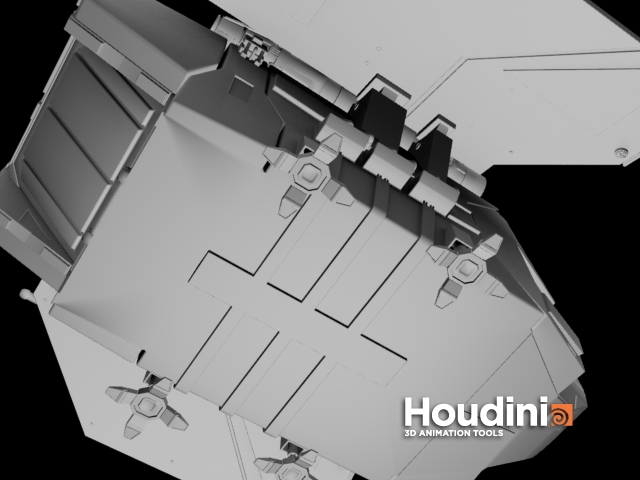
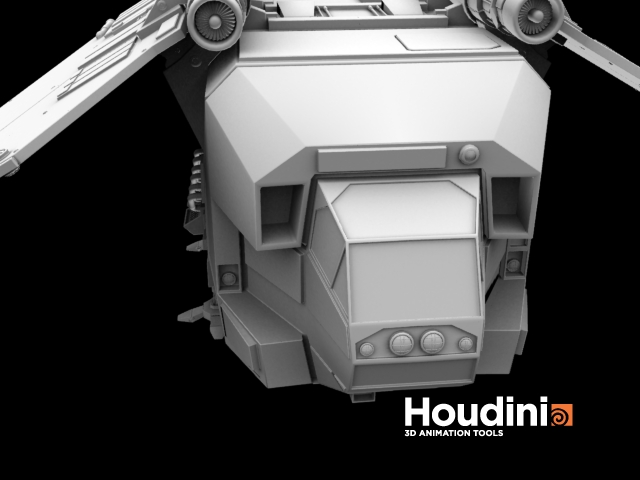
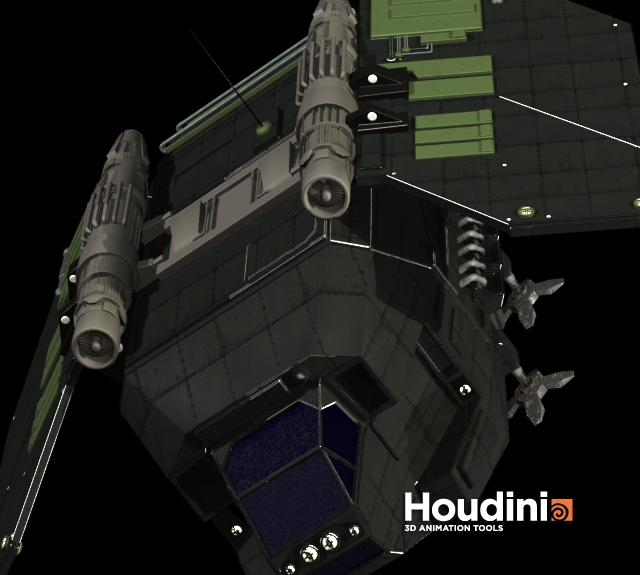
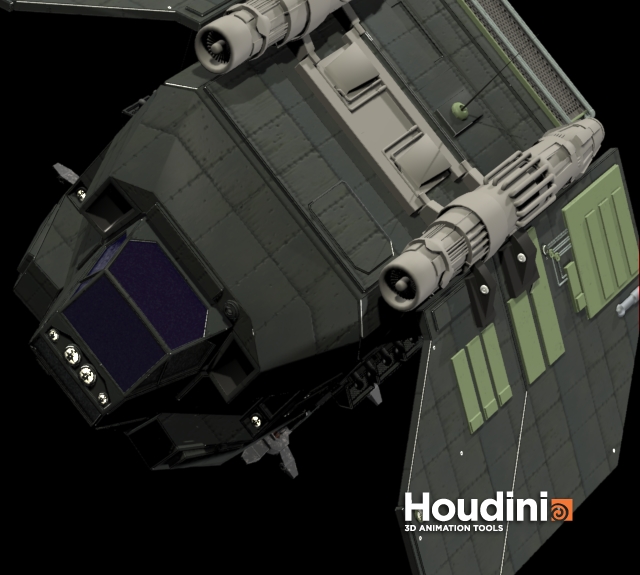
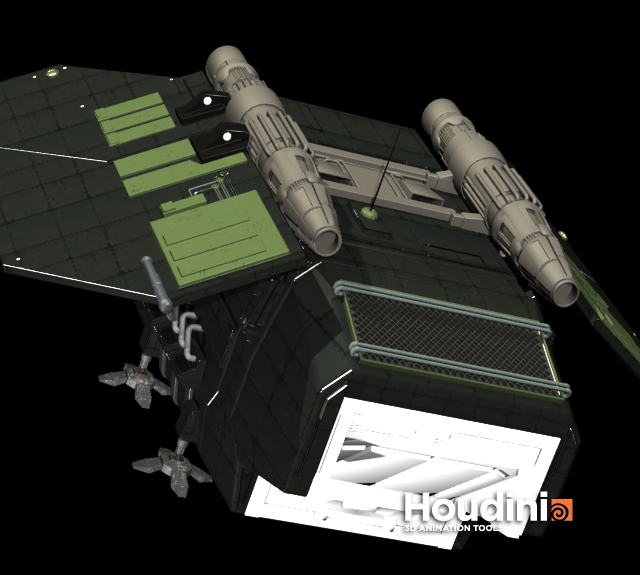
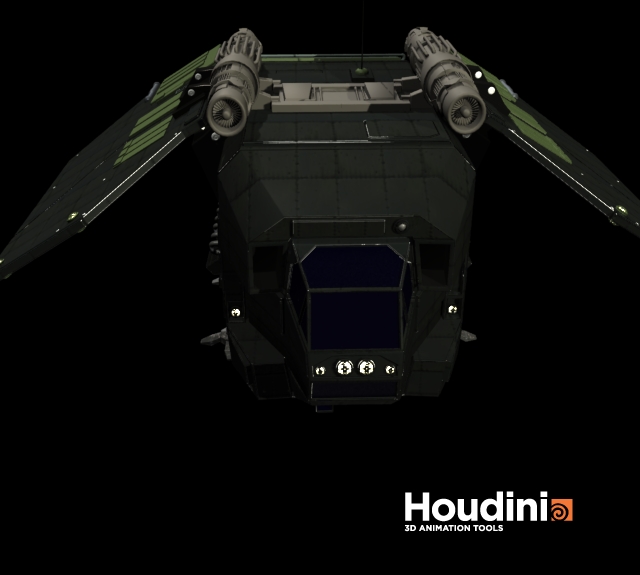
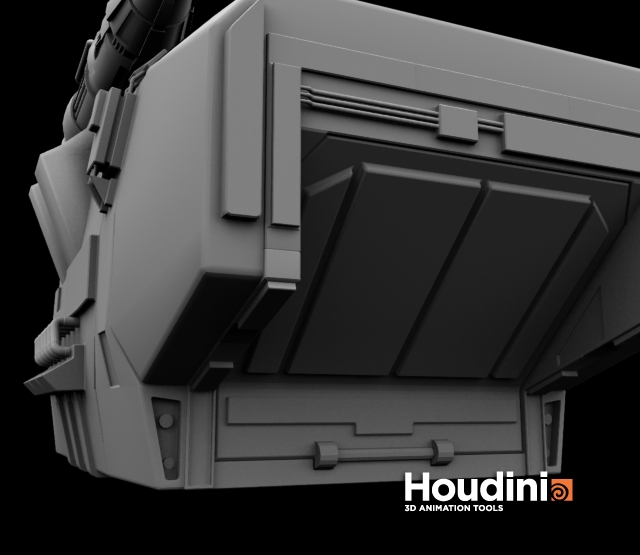
Here's some shots of a model I'm currently working on (based on tutorials at 3D Palace), all done with Houdini:
I'd personally like to thank Sidefx for putting out such an awesome piece of software. As a hobbyist (I've only been at this for a about 4 months or so) I really appreciate the Apprentice program and the opportunity to learn 3D with a high end program like Houdini! Thanks again Sidefx!
Sci-fi hi detail space ship
39279 22 5- jimc
- Member
- 295 posts
- Joined: Oct. 2008
- Offline
- probbins
- Member
- 1145 posts
- Joined: July 2005
- Offline
- jimc
- Member
- 295 posts
- Joined: Oct. 2008
- Offline
- ragupasta
- Member
- 349 posts
- Joined: Aug. 2006
- Offline
- jimc
- Member
- 295 posts
- Joined: Oct. 2008
- Offline
- pelos
- Member
- 621 posts
- Joined: Aug. 2008
- Offline
- jimc
- Member
- 295 posts
- Joined: Oct. 2008
- Offline
Sure. The idea came from Gnomon's Hard Surface Shading and Texturing DVD by Neil Blevins. As I understood it, it was basically creating uv's for each of the six sides. Neil did this with some custom script for 3D Max, I haven't seen it, so I'm only *guessing* how it works.
For Houdini, I simply create a group, go to the Normals tab and enable them. Then set up a normal depending on the side I want to group (1,0,0 for right, 0,1,0 for top, etc) and set the spread angle to range from 30 -45 degrees, depending on how much I want to trap. I end up with 6 groups, each with a different side, for normals
1,0,0
0,1,0
0,0,1
-1,0,0
0,-1,0
0,0,-1
For each group I create a UV Texture SOP, set to projection, with the appropriate X, Y, or Z axis set. I use a UV Edit SOP to move the preliminary UV's out of the way, and then when all 6 UVs are done, and use a final UVEdit to scale and position them in the 0-1 UV space.
All this stuff generally goes at the end of the SOP network, once you've got all the modeling done.
My final UV (for the dropship) look something like this:
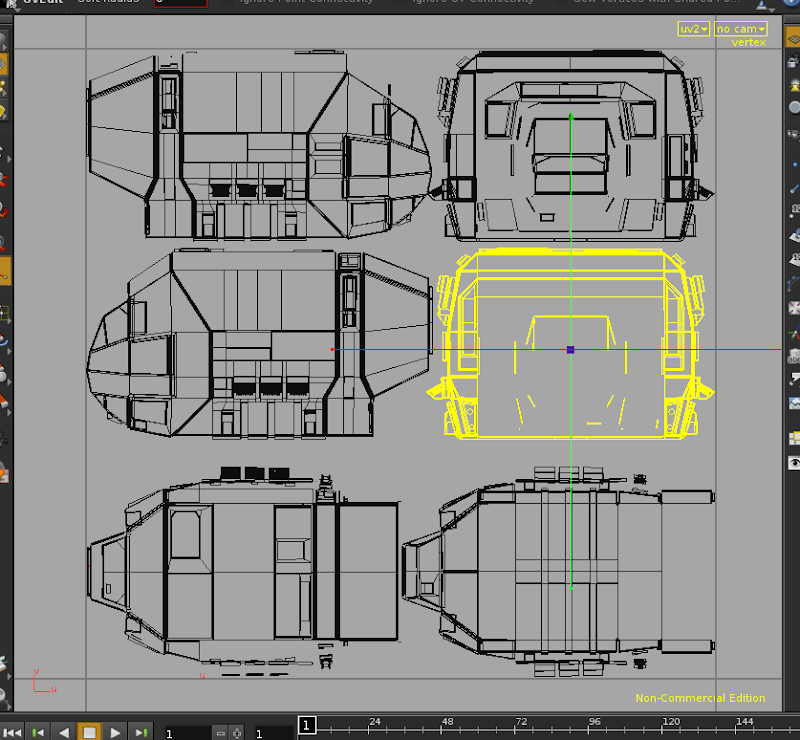
I have no idea if this is the “right” way to do this, or if I have naively come up with a disastrous/cludgy method. It does seem to work, though again, I'm not 100% sure if this is what Mr. Blevins techniques was supposed to work like.
If this *is* correct, the potential for putting this into a user friendly SOP that can do all the grunge work is pretty high, and it's something I intend to investigate.
I do wish there were more high end tutorials explaining how to do this in Houdini. I know people must do this, because I've seen scene breakdowns where Houdini is being used for more than just special effects (i.e. the latest Terminator movie), so clearly at least one individual out there knows how to do this
- itriix
- Member
- 152 posts
- Joined: June 2008
- Offline
hi there, great work there! keep it up. *i'm not a uv expert* so sorry can't really tell you if that's the correct way or not, but i'd say if it works, and it's not giving you any problems then that's just fine
I fully understand wanting to “KNOW” the correct way to do it however, and to my knowledge I haven't seen any houdini tutorials that really cover that “in depth” afaik. if i ever learn otherwise i'll be sure to post it here.
Cheers,
Jonathan
I fully understand wanting to “KNOW” the correct way to do it however, and to my knowledge I haven't seen any houdini tutorials that really cover that “in depth” afaik. if i ever learn otherwise i'll be sure to post it here.
Cheers,
Jonathan
- edward
- Member
- 7899 posts
- Joined: July 2005
- Offline
- jimc
- Member
- 295 posts
- Joined: Oct. 2008
- Offline
- jimc
- Member
- 295 posts
- Joined: Oct. 2008
- Offline
edwardjimc
As I understood it, it was basically creating uv's for each of the six sides.
Doesn't the UVUnwrap SOP provide this functionality?
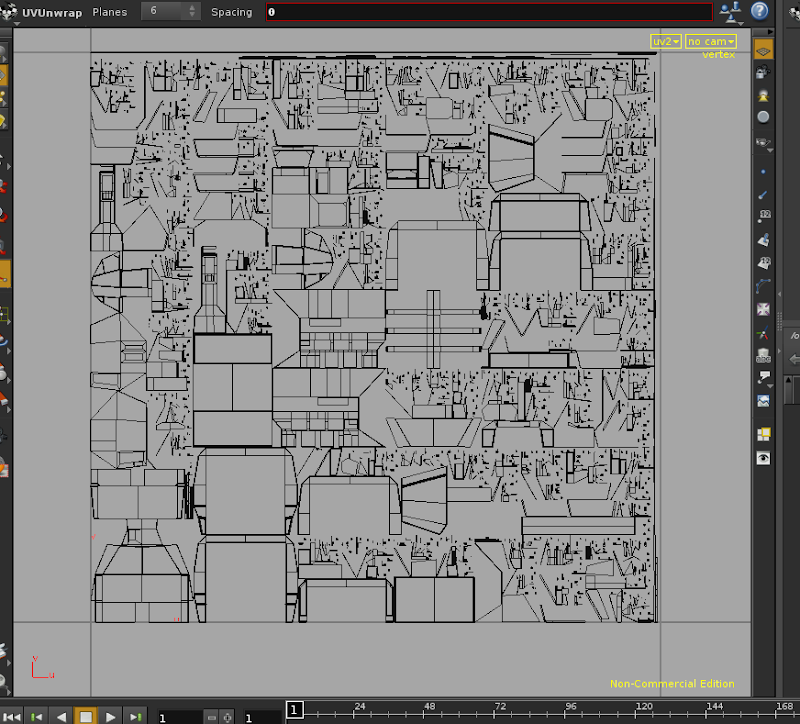
Just as an experiment I tried running the dropship through the UVUnwrap, with spacing set to 0.
This is what I got:
That would seem to me to be rather difficult to paint against, wouldn't it? I can see some of the big pieces are kept together, so maybe this is the way a uv map is supposed to look, I honestly don't know.
- edward
- Member
- 7899 posts
- Joined: July 2005
- Offline
jimc
Yes it does (I think), however it doesn't keep stuff together very well, at least in my limited experience with it. It seems like it just randomly spreads the faces all over the place. Maybe there's something I'm missing?
Ah right, you're doing it with an angle tolerance. UVUnwrap takes each polygon and projects it with the closest box face I think. So yeah, I guess the UVUnwrap doesn't work in this case.
- jimc
- Member
- 295 posts
- Joined: Oct. 2008
- Offline
- edward
- Member
- 7899 posts
- Joined: July 2005
- Offline
- oat
- Member
- 479 posts
- Joined: Dec. 2009
- Offline
- jimc
- Member
- 295 posts
- Joined: Oct. 2008
- Offline
oat,
thanks, the lighting is pretty simple, an area light, and the clay material, if memory serves. You can also set up global illumination pretty simply by just adding a light template, a VEX Global Illumination Shader, and then setting the light template's shader to point to the GI shader you added.
- ragupasta
- Member
- 349 posts
- Joined: Aug. 2006
- Offline
jimc
oat,
thanks, the lighting is pretty simple, an area light, and the clay material, if memory serves. You can also set up global illumination pretty simply by just adding a light template, a VEX Global Illumination Shader, and then setting the light template's shader to point to the GI shader you added.
Dont forget to use a seperate mantra node to write out a photon map so you can add it to the vex global illimination shader (dont have to, but with complex geometry and lots of photons, makes things a little easier going). Being to see that map in a seperate geometry node with points turned on, really helps in getting nice smooth lighting.
- oat
- Member
- 479 posts
- Joined: Dec. 2009
- Offline
ragupastajimc
oat,
thanks, the lighting is pretty simple, an area light, and the clay material, if memory serves. You can also set up global illumination pretty simply by just adding a light template, a VEX Global Illumination Shader, and then setting the light template's shader to point to the GI shader you added.
Dont forget to use a seperate mantra node to write out a photon map so you can add it to the vex global illimination shader (dont have to, but with complex geometry and lots of photons, makes things a little easier going). Being to see that map in a seperate geometry node with points turned on, really helps in getting nice smooth lighting.
Hi, Jimc and ragupasta, Thank you very much! May try the rendering according to your guidance.
- pbowmar
- Member
- 7046 posts
- Joined: July 2005
- Offline
For the UVs, it depends what you're painting with. If you have a “real” 3D Paint app like 3D Coat or Bodypaint, then the UV layout actually doesn't matter that much as long as they're evenly spaced and don't have stretching.
I'm a big fan of 3D Coat, partially because it's super-cheap ($250, for 2 licenses, Linux and Windows), partially because it runs on all three platforms (Win, OSX and Linux) and partially because the guys developing it are like SESI, very interactive and quick to fix bugs and add little useful features based on user feedback.
It also has quite powerful UV manipulation/creation features though they're a little under-documented right now.
Anyway, I've found I'm much happier using 3D Coat and not worrying about the UV layout as much
Cheers,
Peter B
Cheers,
Peter Bowmar
____________
Houdini 20.5.262 Win 10 Py 3.11
Peter Bowmar
____________
Houdini 20.5.262 Win 10 Py 3.11
- jimc
- Member
- 295 posts
- Joined: Oct. 2008
- Offline
Peter,
Thanks for the info. I wanted to try and get this to work in Houdini once, and go through all the steps just to kind of learn how all of this works. However after trying a number of different approaches, it seems like this is just not even close to being worth the hassle, at least for hard surface models like jets.
A number of people on other forums suggested that working with the pre-subdivided mesh to create the UV map was preferred, but when I do that and apply the subdivide, the uvmap inevitably get's distorted in some way that just can't be fixed, the distortions simply get shifted somewhere else.
So it appears that you either resign yourself to not having the subdivide mesh around, or use some other program for the UV maps.
I've downloaded 3D Coat. I also have Modo, it may be that Modo's UV tools will be good enough. I just need the UV Map, because I'd like to learn to work with the texture map painting in Photoshop first before moving to a 3d paint tool.
-
- Quick Links