| On this page |
There are several MPM Configure examples available through the tab menu. These are similar to shelf tools that put down networks of nodes for learning purposes. The basic MPM Configure example is a good starting point, as it is a simple setup that demonstrates how a typical node tree should be wired together.
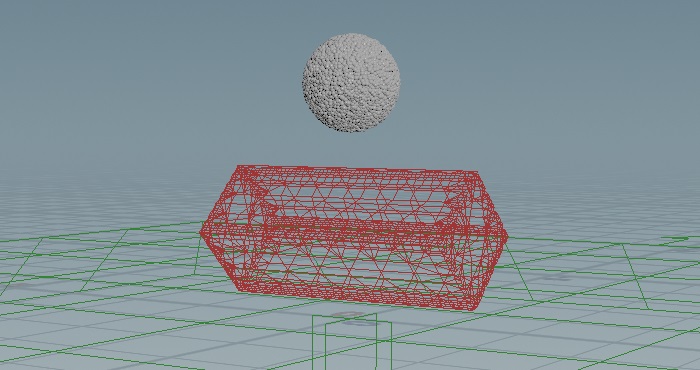
This ready-to-use tool creates a sphere as the source and a box as a collider.
Important nodes 
mpmsource
The first branch is the ![]() MPM Source, which defines the material you're going to simulate. It is also linked to the
MPM Source, which defines the material you're going to simulate. It is also linked to the ![]() MPM Container in the third branch, which drives the resolution. The Emission Type is set to Once, so the simulation will only emit particles on the first DOP substep of the simulation.
MPM Container in the third branch, which drives the resolution. The Emission Type is set to Once, so the simulation will only emit particles on the first DOP substep of the simulation.
mpmcollider
The second branch is the ![]() MPM Collider, which can either be animated or static. It is also linked to the
MPM Collider, which can either be animated or static. It is also linked to the ![]() MPM Container in the third branch, which is the same one that is being linked by the source. This node converts the box into a VDB.
MPM Container in the third branch, which is the same one that is being linked by the source. This node converts the box into a VDB.
mpmcontainer
The third branch is the ![]() MPM Container, which defines resolution of the simulation using the Particle Separation parameter, and allows boundaries to be defined which can either delete or bounce the particles on contact. When you reduce the Particle Separation by half, the resolution increases by a factor of 8.
MPM Container, which defines resolution of the simulation using the Particle Separation parameter, and allows boundaries to be defined which can either delete or bounce the particles on contact. When you reduce the Particle Separation by half, the resolution increases by a factor of 8.
mpmsolver
All 3 of the components mentioned above feed into the ![]() MPM Solver, which does the work of solving the scene.
MPM Solver, which does the work of solving the scene.
Learning from this example 
| To... | Do this |
|---|---|
|
Change the material |
Use the Material Preset parameter to easily change between materials such as: snow, soil, mud, concrete, metal, jello, rubber, water, honey, and sand. This will change the parameters and attributes of the material. |
|
Make the sphere continuously emit the material |
Change the Emission Type to Continuous, and set the Activation to |
|
Make the material stick to the collider |
In the Material section, there are Friction and Sticky parameters. Increasing the value of the Sticky parameter to |
|
Move the particles |
Give your particles some Velocity. For example, if you set the Velocity to |
|
Make the collider animated |
|
|
Increase the resolution of the whole simulation |
Decrease the Particle Separation on the |
|
Increase the resolution of only the collider |
Decrease the Voxel Size on the |
|
Turn on boundaries to act as colliders |
|
|
Turn on boundaries to remove particles |
|
|
Increase the number of substeps based on the speed of the material |
Reduce the CFL Condition on the |
|
Increase the number of substeps based on the type and stiffness of the material |
Reduce the Material Condition on the |